As someone who has a love/hate relationship with fake eyelashes, I was very curious to try out the award-winning brand Lilly Lashes. Known for being cruelty-free and making high-quality faux mink lashes, is this finally the company that has lashes that are easy to apply, wearable, AND compliments all eye shapes?
Fake lashes, a.k.a. falsies, can elevate any makeup look, whether you’re going for a natural base with neutral eye makeup, or full glam with lots of glitter. Mascara can help, but fake lashes give an extra “oomph” that can’t be replicated unless you have naturally long lashes (which I unfortunately don’t).
Falsies can also be finicky to put on, especially if you’re inexperienced. Sometimes I don’t wait long enough for the glue to dry so the band doesn’t stick properly to my lash line, or the band is too long/short for the natural curve of my eye and I have to try to reshape the band.
I’ll be testing out some of Lilly Lashes most viral lashes and giving you my honest opinion about the ease of application, wearability, and if they truly look as beautiful as they do online.
What Makes Lilly Lashes So Popular?
Raved about amongst celebrities and influencers, Lilly Lashes is THE luxury lash brand that’ll elevate your makeup look without the animal cruelty.
Despite the name of their famous 3D Mink lashes, the brand is cruelty-free and vegan-friendly. The adhesive lashes are made of a light-weight synthetic material that only feels and looks like mink fur.
Besides making ethically-sound lashes, Lilly is known for their vast assortment of lash styles that will compliment any eye shape, volume amount, band style, and application style you are looking for.
Different Lash Styles
Lilly Lashes does not play around when it comes to lash styles. Their shop is organized into collections where you can choose from an extensive array of lash styles from 3D Mink (full dramatic length), Lite Mink (natural full short length), Butterfl’eyes (half-lash band), and so much more.
If you struggle with using glue to apply your falsies, they have self-adhesive lashes that are body-heat activated and magnetic lashes that are applied by using a magnetic felt tip eyeliner.
They also have blended brown false lashes that feature a 60/40 blend of black and brown lashes that would be perfect for blondies.
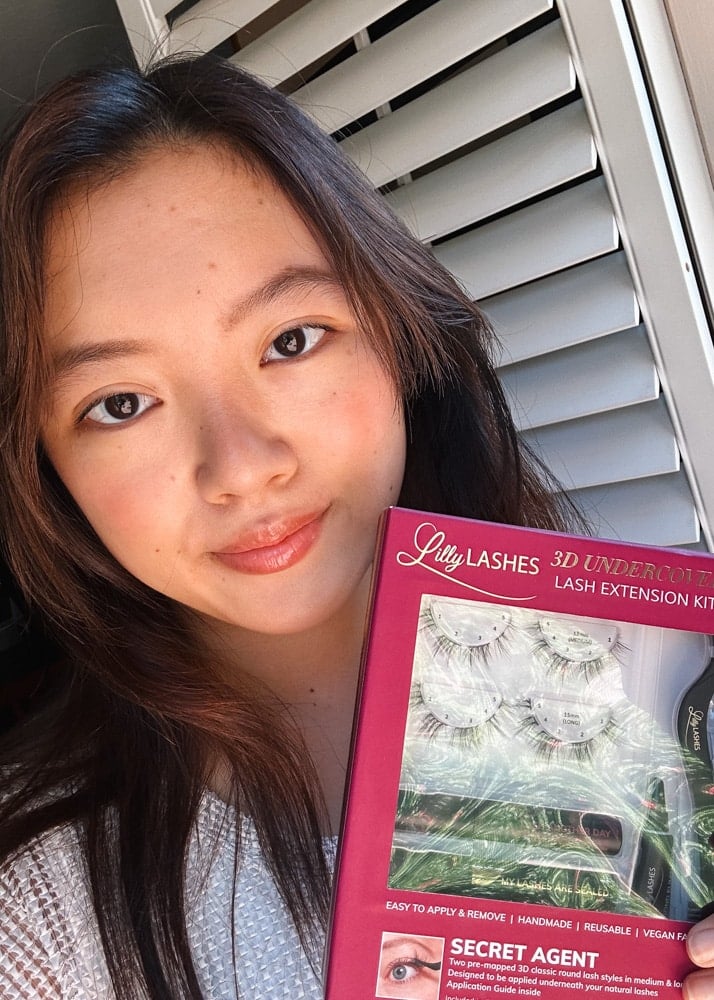
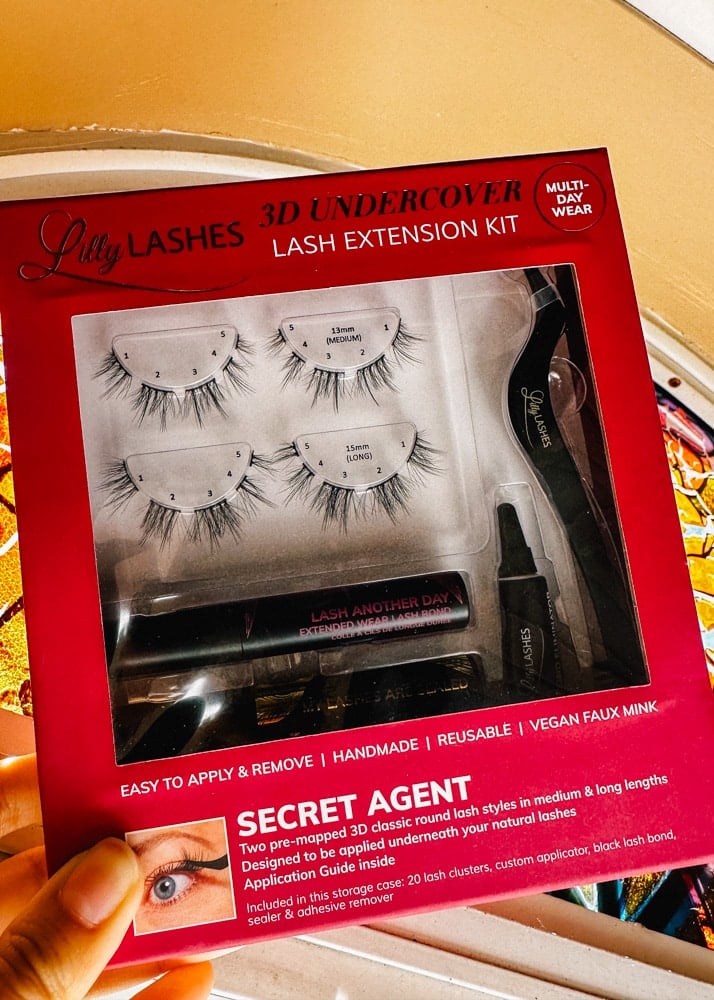
3D Undercover DIY Lash Extension Kit
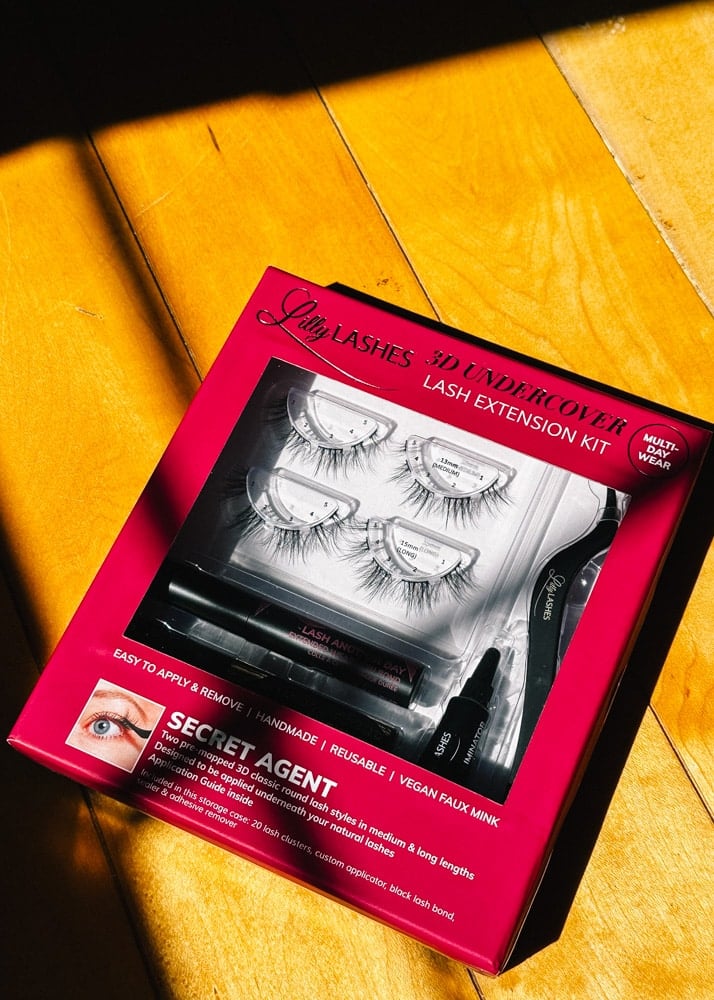
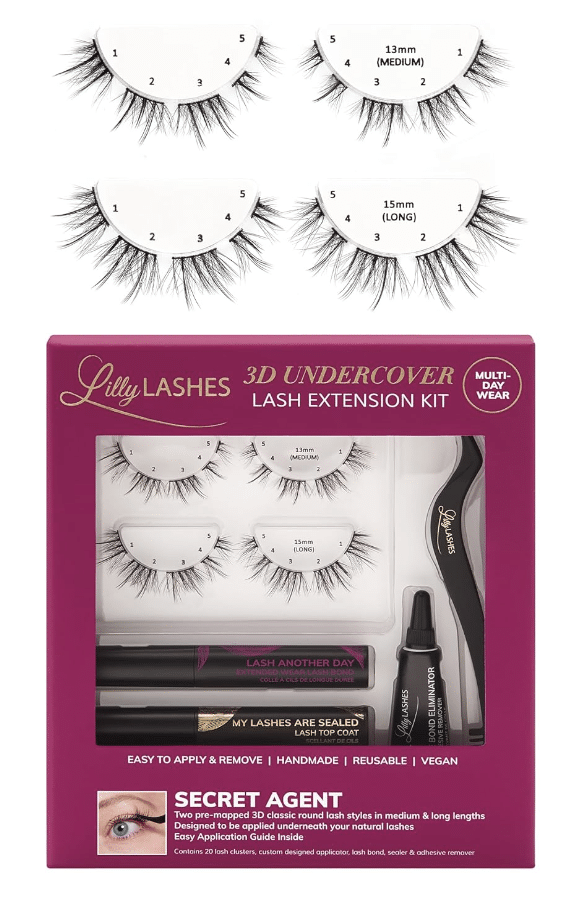
The lashes I’ll be testing out are part of their 3D Undercover DIY Lash Extension Kit, meant to replicate the look of extensions done in a professional eyelash salon. What immediately drew me toward this particular kit is that the lashes are already pre-cut into smaller strip lash clusters. This would allow me to use as many (hello, bold volume!) or as little clusters on my lashline.
I prefer to cut m1y falsies into small clusters because of my natural eye shape, which is somewhere between round and almond. I often find that eyelash bands don’t curve naturally along my lash line so instead, I prefer to cut up my lashes and only put clusters on the outer corners for a butterfly effect that opens up the eye and creates a flared look.
The 3D Undercover lashes would be best for those who are looking for lashes that they can wear for multiple days at a time and can adjust how many lash clusters they apply.
Secret Agent vs. Espionage
Lilly Lashes’ 3D undercover extensions collection comes in two different styles: Secret Agent and Espionage.
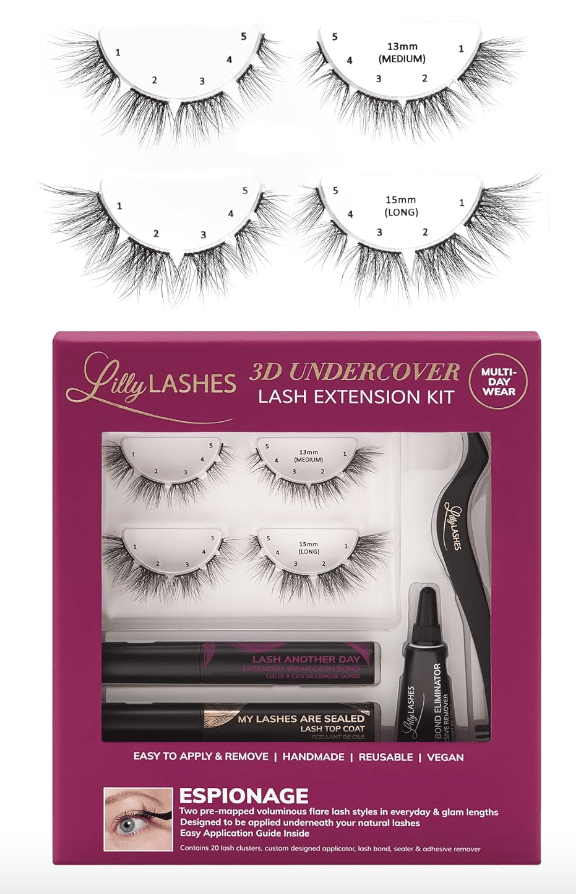
On their website (and Amazon!), you can purchase the full Secret Agent and Espionage kit, each equipped with one medium length lash, one long length lash, applicator, lash bond, top coat sealer, and adhesive remover. You can also purchase each element separately, like if you only wanted to try out a medium lash or if you have your own application tools at home.
The biggest difference that I notice between the Espionage and the Secret Agent is that the Espionage has longer and fuller lashes with a more dramatic flare in the outer corners that creates a butterfly effect, while Secret Agent has more natural, evenly dispersed lashes in each cluster.
- Secret Agent: 3D classic round style with natural separation that looks like your real lashes
- Espionage: Voluminous flare style with wispy lashes in v-shaped patterns
Both are intended for everyday or glam wear.
LillyLashes Application Tips
Today, I’ll be testing out Secret Agent and seeing how easy this at-home lash extension kit is to use at home with no professional experience.
The steps for applying the clusters seem straightforward, however, there are definitely more steps than a normal falsie would require. I’ll be taking you through each part of the process and giving my tips for a hassle-free application process.
Step 1: Apply the Lash Bond
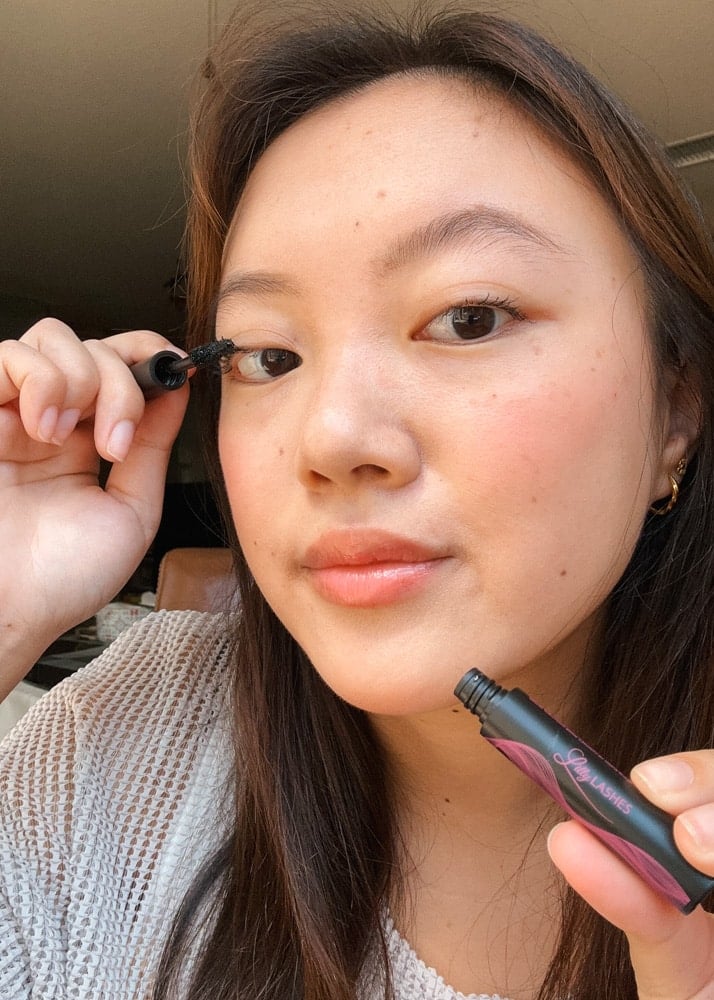
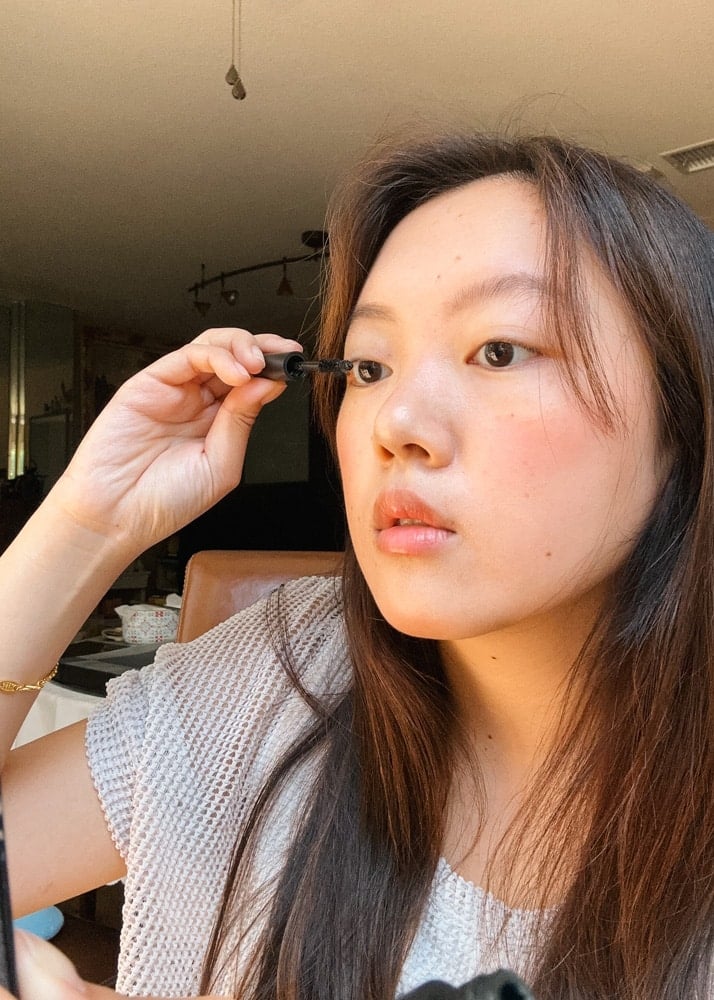
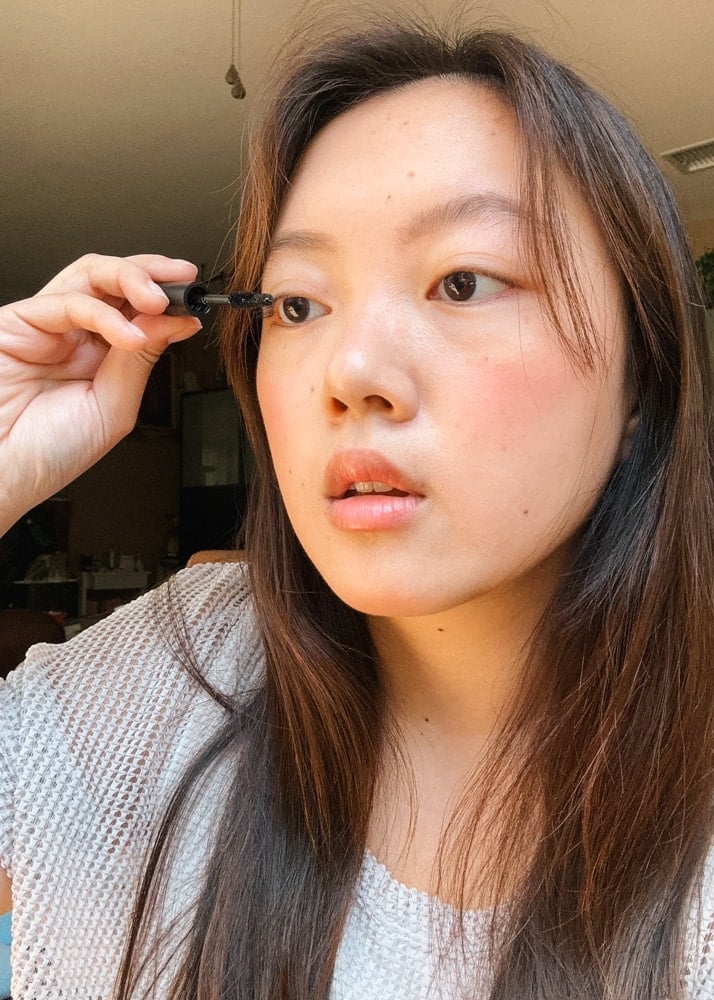
Apply the Lash Another Day Lash bond to your natural lashes as you would mascara. DO NOT apply the lash bond to both eyes at once as the bond will dry quicker than you can apply the clusters. Instead, apply the lash adhesive to one eye at a time, and you can even apply the bond to individual sections of your eye lashes at a time if you work too slowly.
The bond is sticky and will clump your lashes together, so use the brush on the applicator to gently separate your lashes and remove any big clumps. Allow the bond to dry for 20 to 30 seconds until tacky, then you’ll be ready to apply the clusters.
Step 2: Apply the Lash Clusters to the Underside of your Natural Lashes
Gently remove the cluster from the package using your fingernails or tweezers. If you are too rough, you can damage the shape of the lashes as the lash hairs are very delicate.
Apply a small amount of the bond on the lash band of the cluster and allow to dry until tacky. (The lashes will not stick properly if you do not apply bond to the sheer band, so don’t skip this step!!)
Using your applicator, or fingers if that is more comfortable, pinch the cluster close to the band and place it to the underside of your natural lashes. Try to place the band as close to your water line without touching it. The closer the band to the waterline, the more seamlessly your fake lashes will blend into your natural lashes.
Step 3: Press the Clusters Together with your Natural Lashes
Using the flat part of your applicator, gently press the clusters up into your natural lashes. If you find that using the applicator isn’t helping them stick together, you can carefully use your fingers to press them together.
You may need to wipe down the applicator between each cluster applied as the bond may get onto it, causing it to become sticky and not allowing the cluster to come off.
If you notice that the band is not attached to your lashes, gently lift up the band and use the tip of the bond applicator to dab product on before pressing your lashes together.
Step 4: Apply the Top Coat
Once all the clusters are applied to both eyes, apply My Lashes Are Sealed Lash Top Coat to the top and bottom of the lashes. Using the round tip, lightly dab along the base of the lashes, focusing on the corners, ensuring that the clusters are firmly secured.
Removal Process
You can wear these lashes for multiple days and once you are ready to remove them, use the adhesive oil-based remover. If the bond gets onto your eyelids during the application process, use the adhesive remover as well.
- Step 1: Open The Bond Eliminator Adhesive Remover by cutting the tip of the nozzle
- Step 2: Using your fingers or Q-tip, apply a drop of remover and gently massage where the
- Step 3: Wait a few seconds before gently removing the clusters
- Step 4: Massage the remover throughout your natural lashes to remove excess adhesive
Go in with your normal face washes to ensure that all of the product is off of your eye lashes.
Final Thoughts
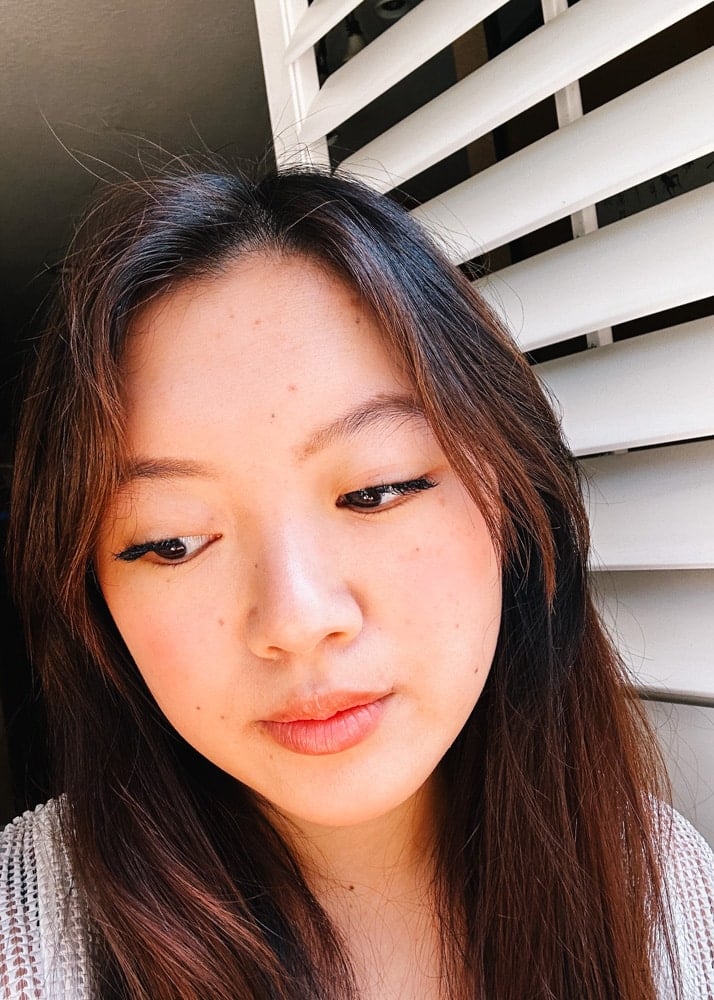
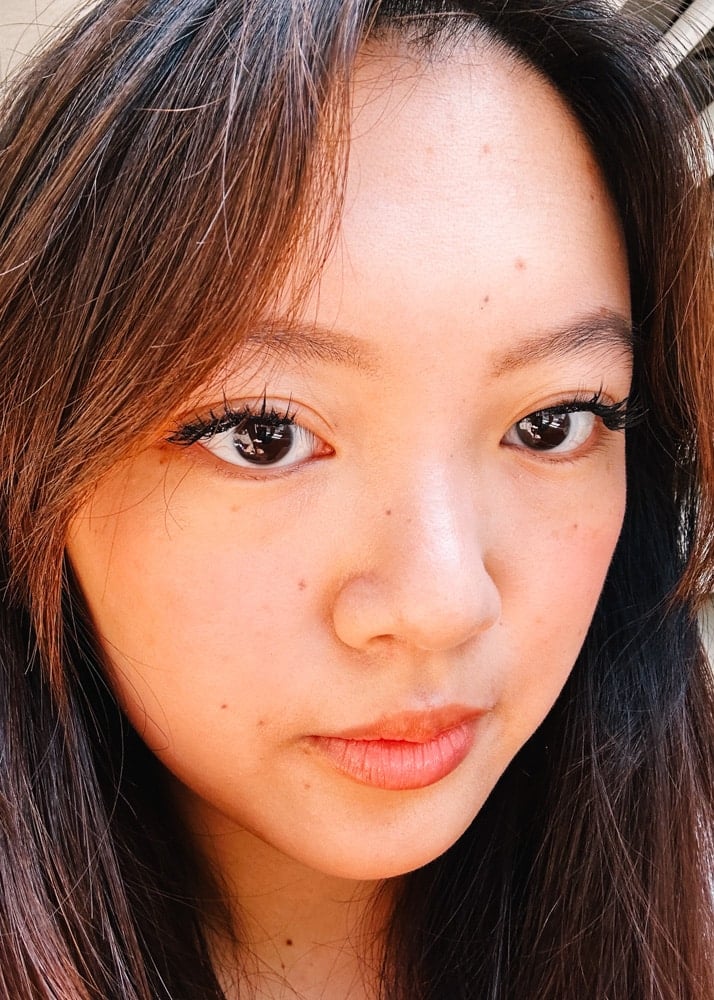
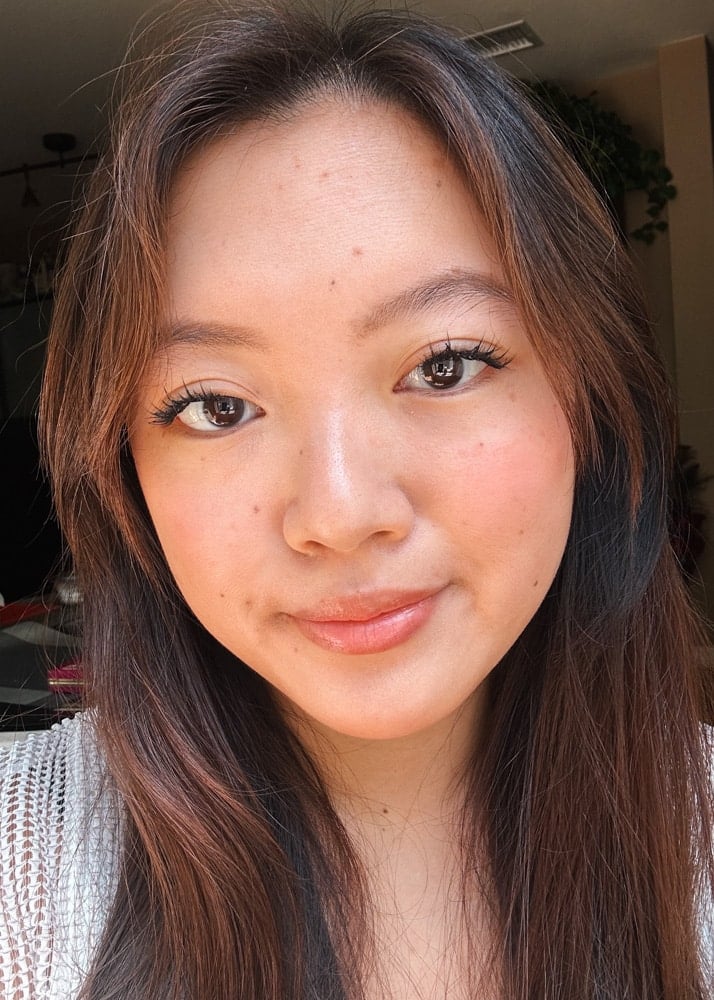
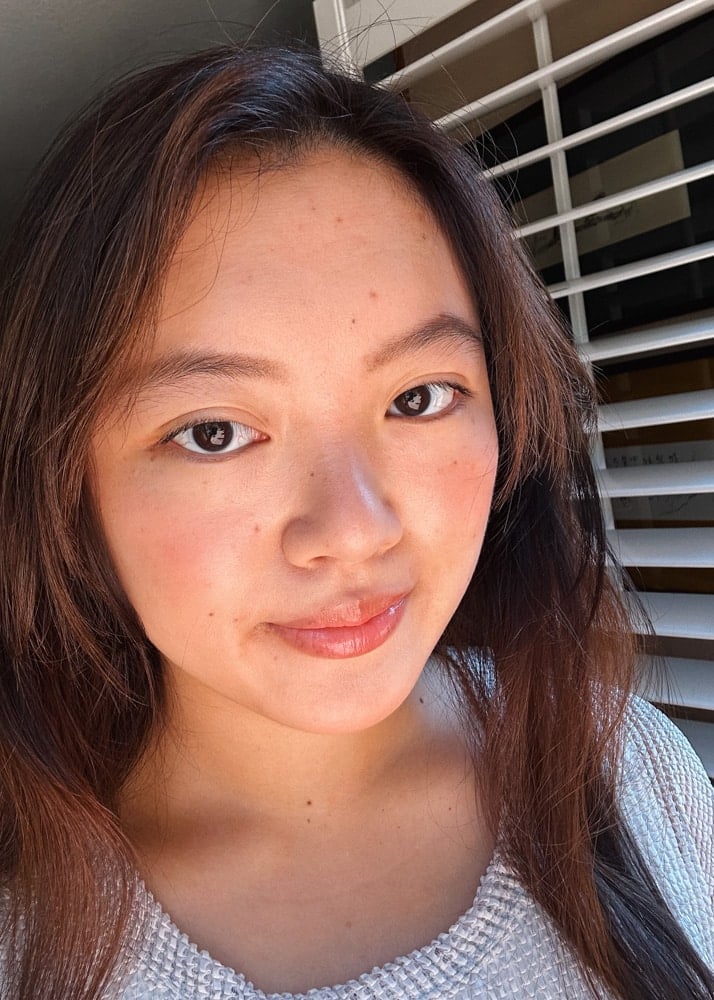
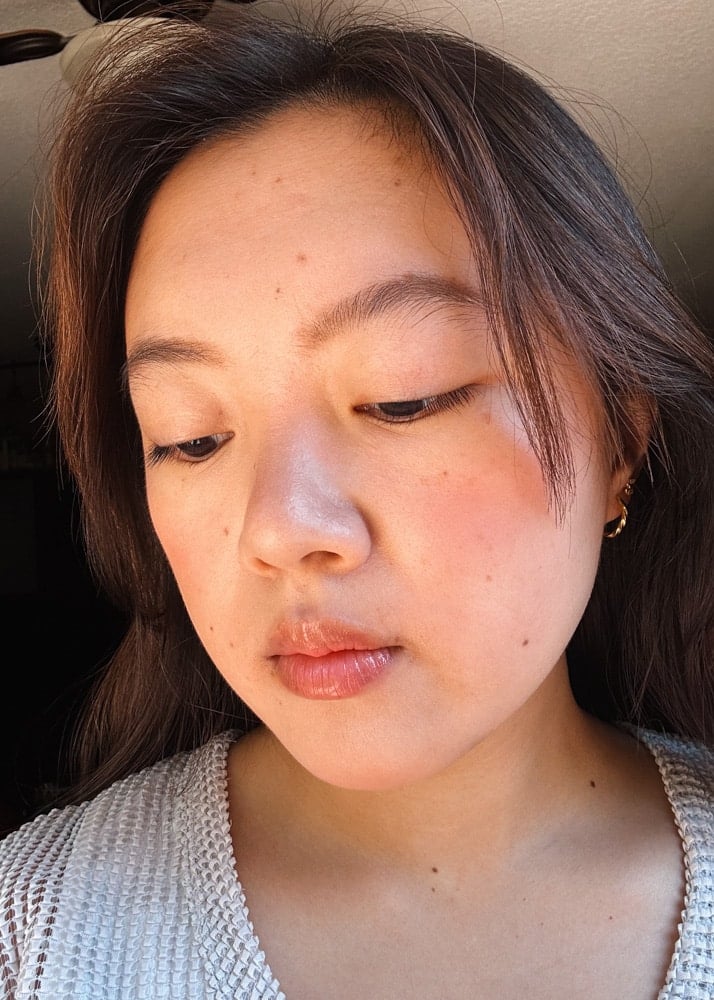
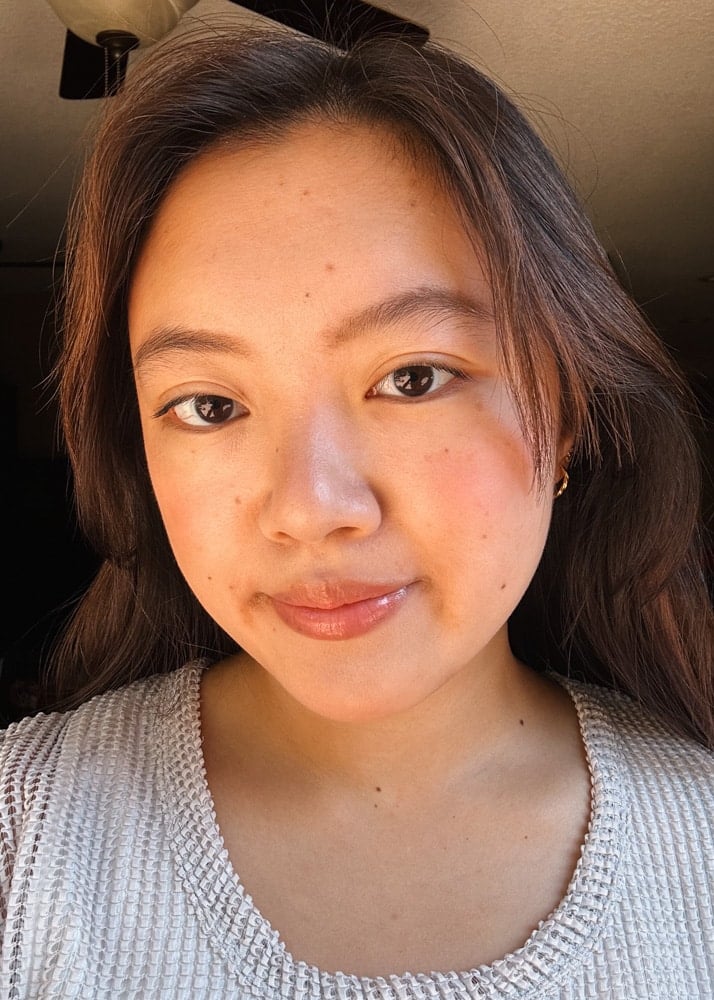
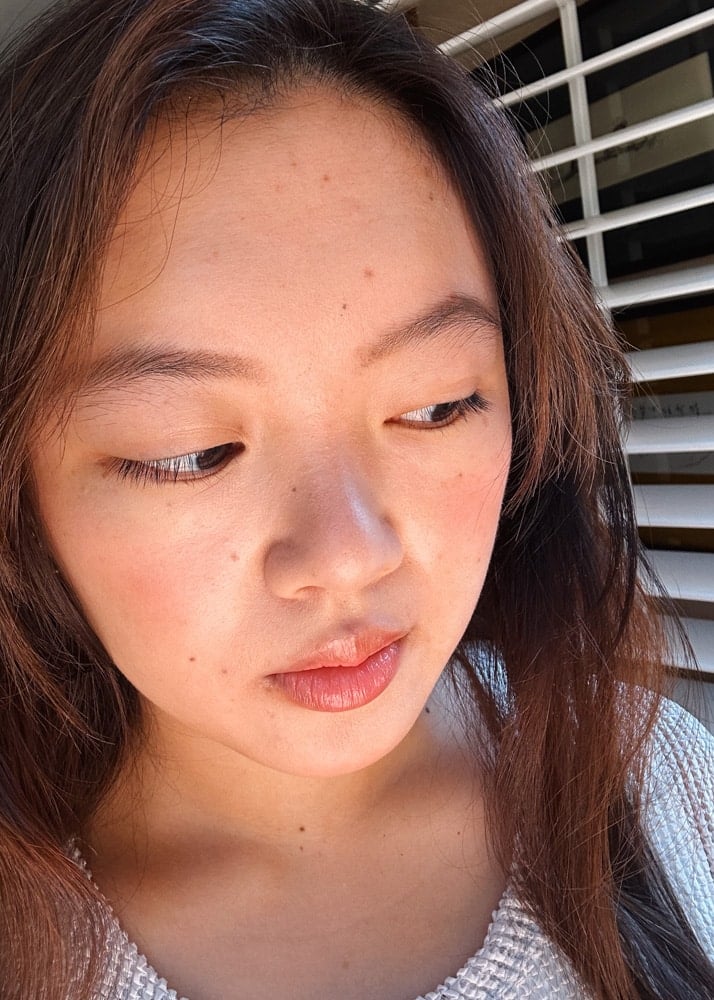
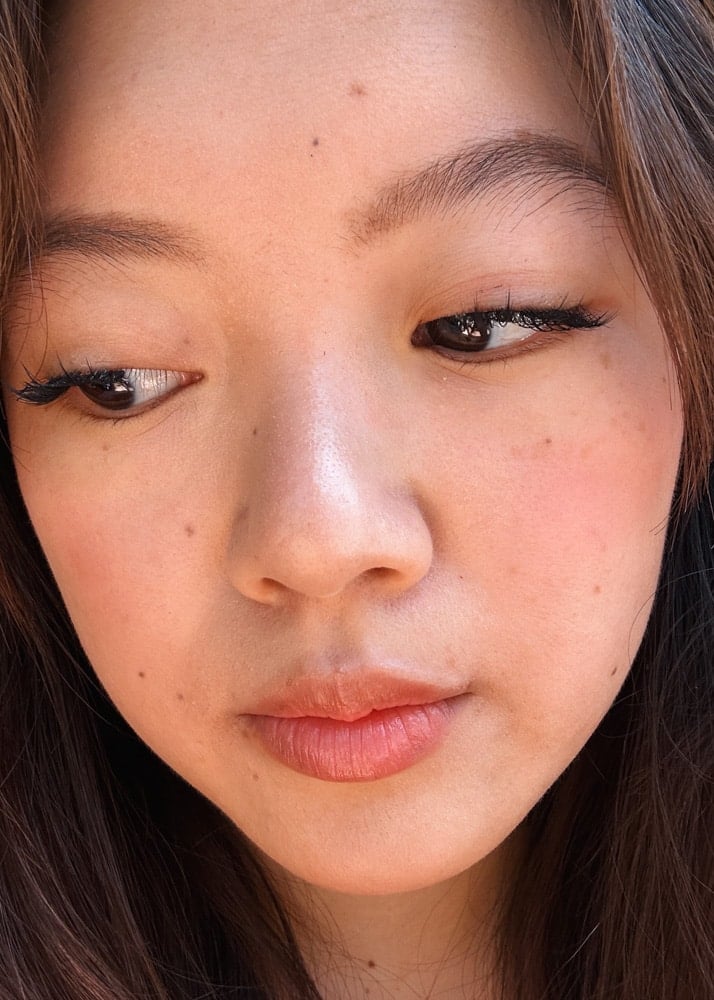
I got sooo many compliments when I had these lashes on. The faux lashes themselves are well-made, with beautiful individual lashes that complimented my eyes because I was able to choose how many clusters I used (I put three on each eye).
However, this is not the most beginner-friendly kit to use if you are not familiar with using normal falsies. If you have done the application technique of putting lash glue on your falsies and applying the band underneath your lash line, instead of above, the kit should be easy to use.
The trickiest part is the bond, which acts like the lash glue in this situation. It can clump your lashes together and if you’re not careful, get onto your skin and isn’t the easiest to remove.
I do still prefer using individual lash clusters, but instead of the extension kit, I’d opt for Lilly Lashes’ half lashes or individual flares and use falsie glue. As lightweight as the lashes are, I don’t prefer the feeling of the bond on my lashes as it feels like very sticky mascara. Since this kit is meant for multi-day use, it would be best for people who don’t have very sensitive eyes and don’t mind having product on their eyes while they sleep.
Overall, I believe that Lilly Lashes makes high-quality products that are worth the price of purchase if you’re looking for a glam lash. However, if this kit seems too advanced, just go old school and stick with the regular trusty falsie glue and leave the eyelash extensions to the professionals. False eyelashes are not for the weak!
Comment below if you’ve tried out any of Lilly Lashes’ products and tag us on Instagram @whimsysoul with your thoughts and fav lashes!


2 comments
57no5r
my ex-boyfriend dumped me 7 months ago after I caught him of having an affair with someone else and insulting him. I want him back in my life but he refuse to have any contact with me. I was so confuse and don’t know what to do, so I visited the INTERNET for help and I saw a testimony on how a spell caster help them to get their ex back so I contact the spell caster and explain my problems to him….. he cast a spell for me and assure me of 15 hours that my ex will return to me and to my greatest surprise the third day my peter came knocking on my door and beg for forgiveness. I am so happy that my love is back again and not only that, we are about to get married. Once again thank you Dr Okosun , you are truly talented and gifted contact him on WhatsApp +2348054338132 Okosunspelltemple33@gmail.com