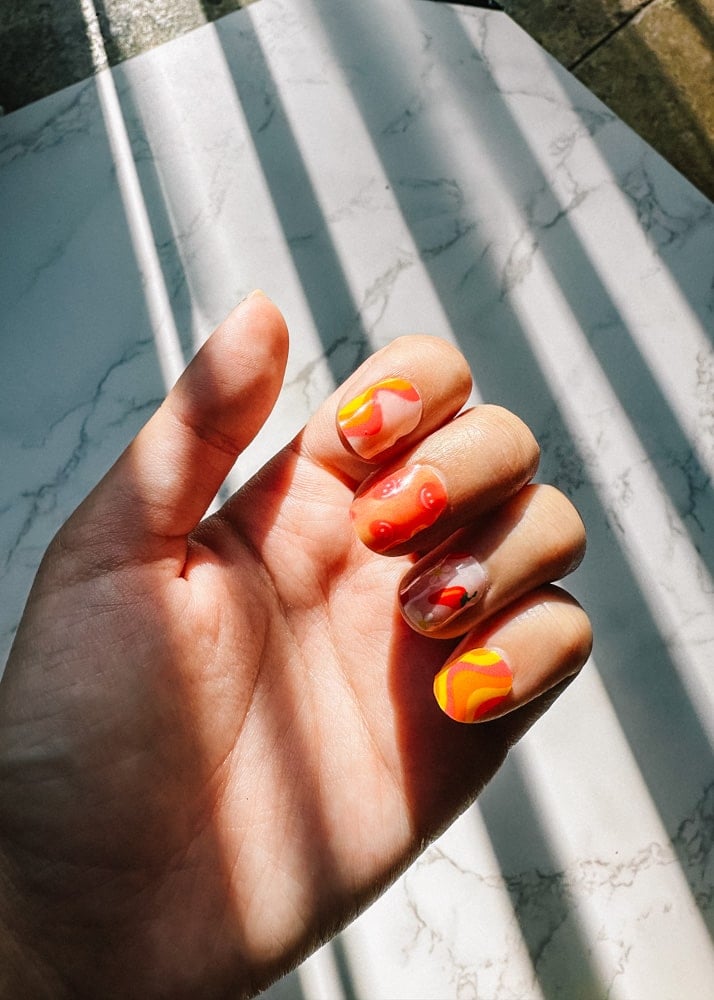
There’s nothing like a polished mani that’ll make you feel put together and on top of your game. However, after months of having my nails professionally done in a nail salon, they had become so thin and brittle from the constant filing that I’ve had no choice but to go natural.
Ever since, I’ve been letting my nails slowly grow out and have been thinking of the next best solution to professionally done nails, but without the damage or high cost.
That’s where I introduce you to at-home nail kits by Dashing Diva. They’re a fraction of the price and less damaging on your nails. The Dashing Diva Gloss nails supposedly give you the look of professional gel manis, but guess what – it’s a nail sticker! The real question is if I can trick those around me to look past the nail sticker and believe I’ve had my nails professionally done.
From someone who loves salon manicured gel nails, but hates the long-lasting damage they can cause on your natural nails (and wallet), here is my honest review of Dashing Diva nail products.
What is Dashing Diva?
Founded in 2003, Dashing Diva creates easy-to-apply nails to be done in the comfort of your own home.
Dashing Diva doesn’t sell gel nail polishes, instead focusing on pre-designed nail strips, stickers, and press-ons that come in a variety of colors and designs for every holiday and occasion.
Dashing Diva Products
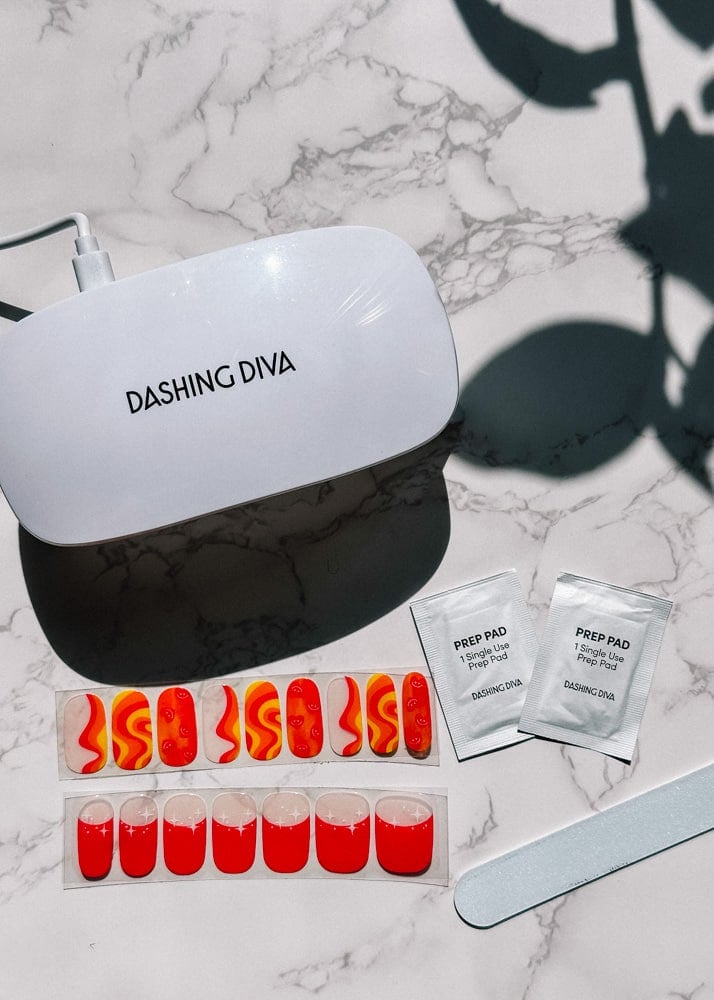
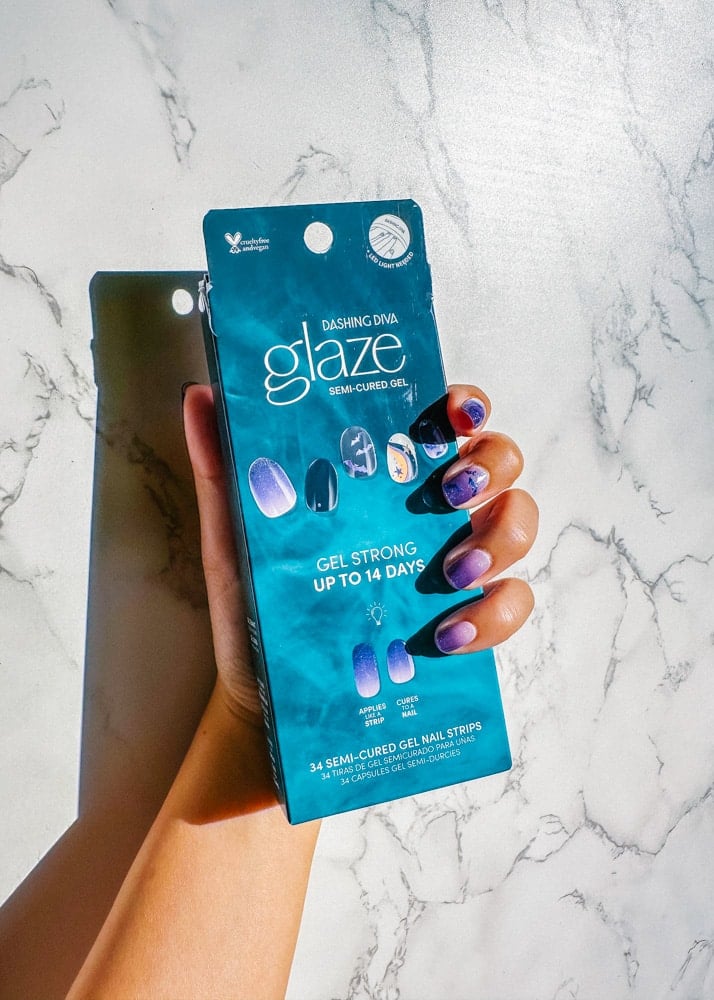
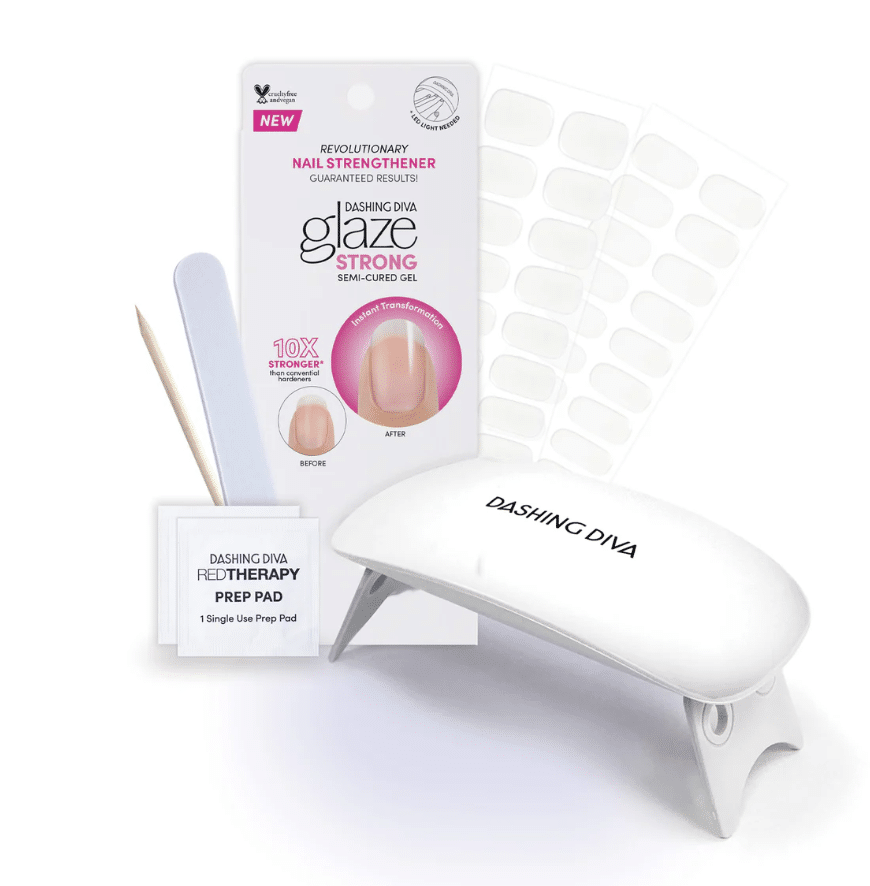
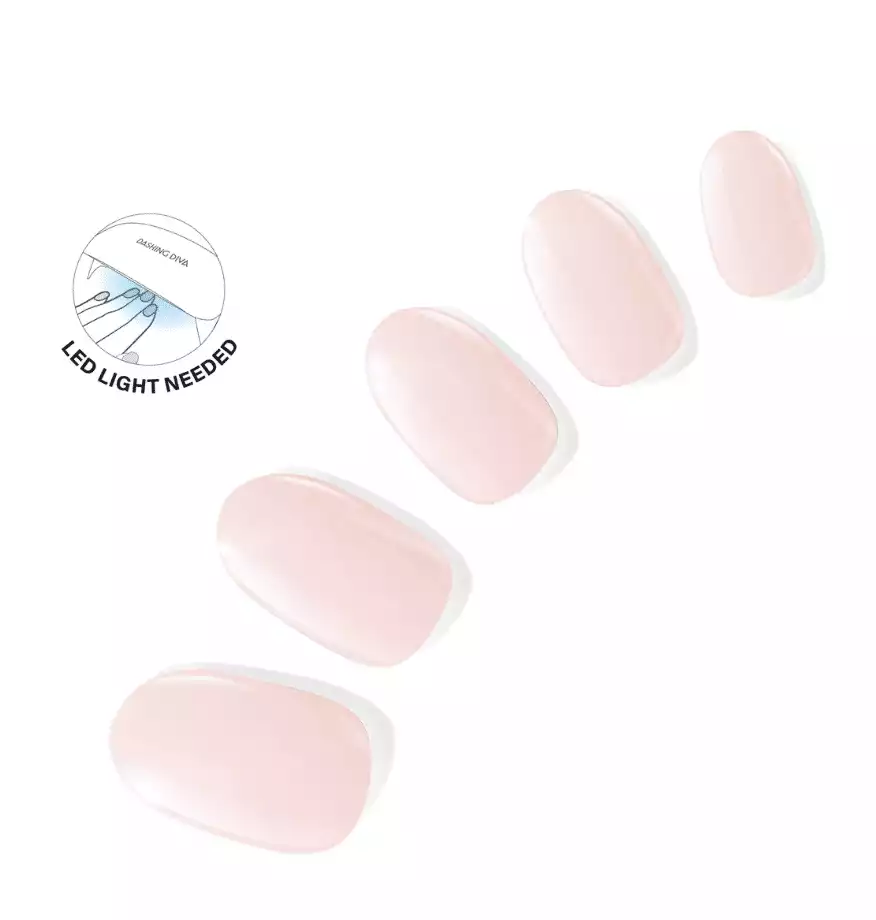
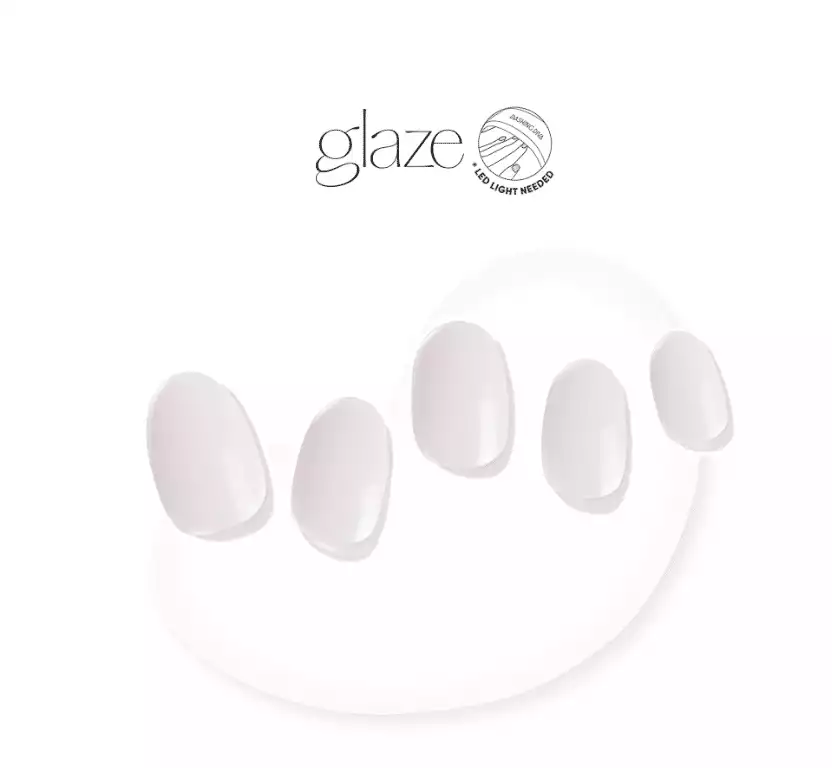
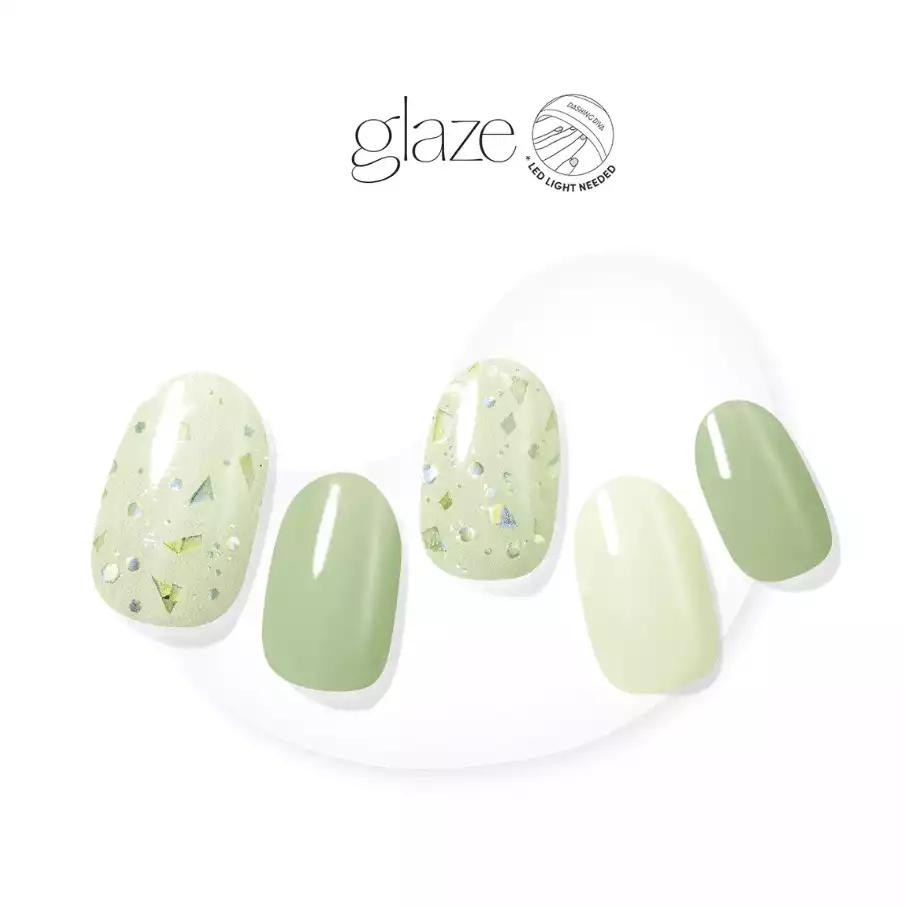
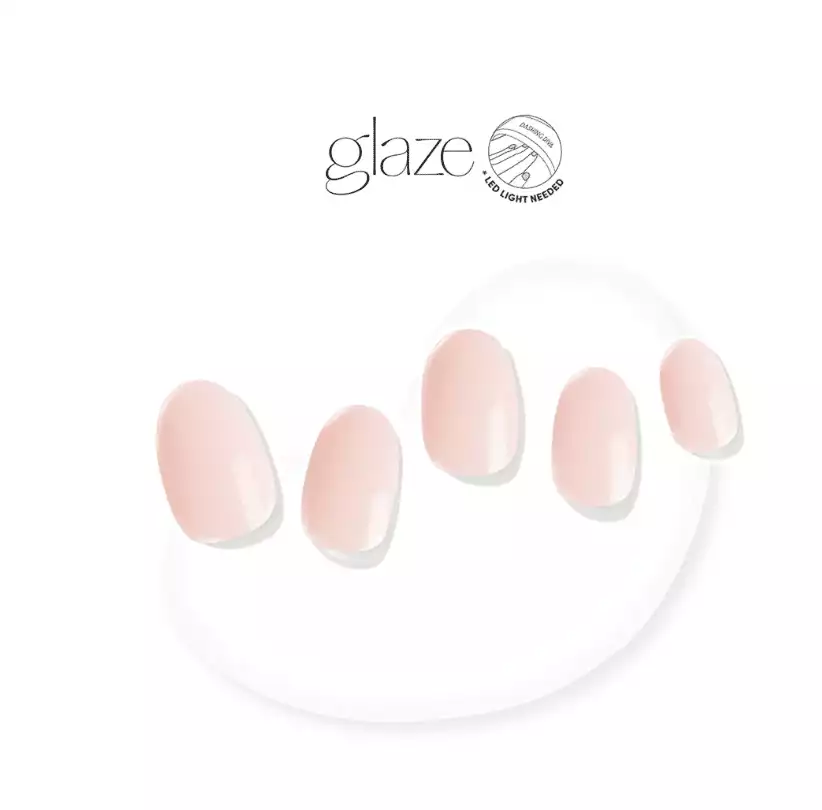
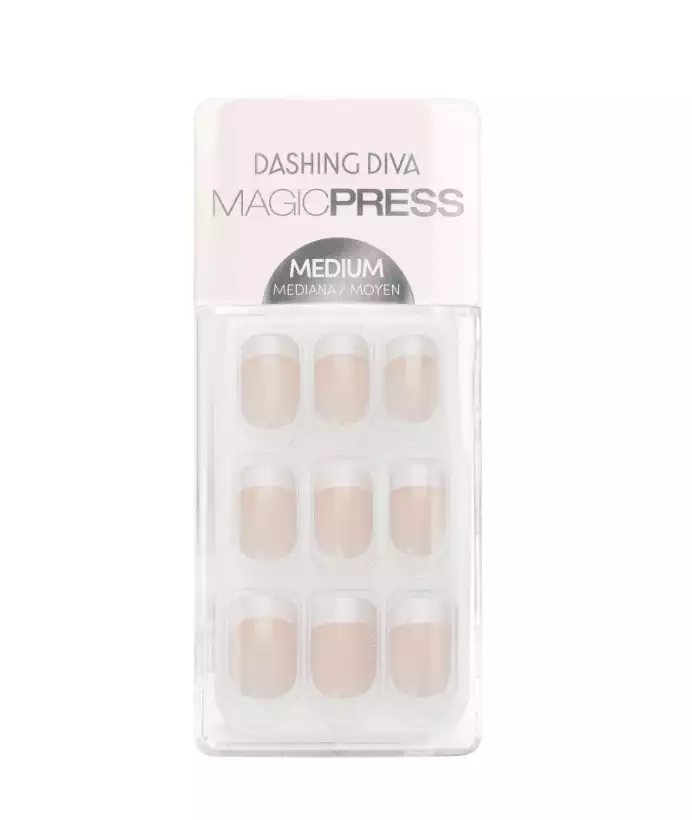
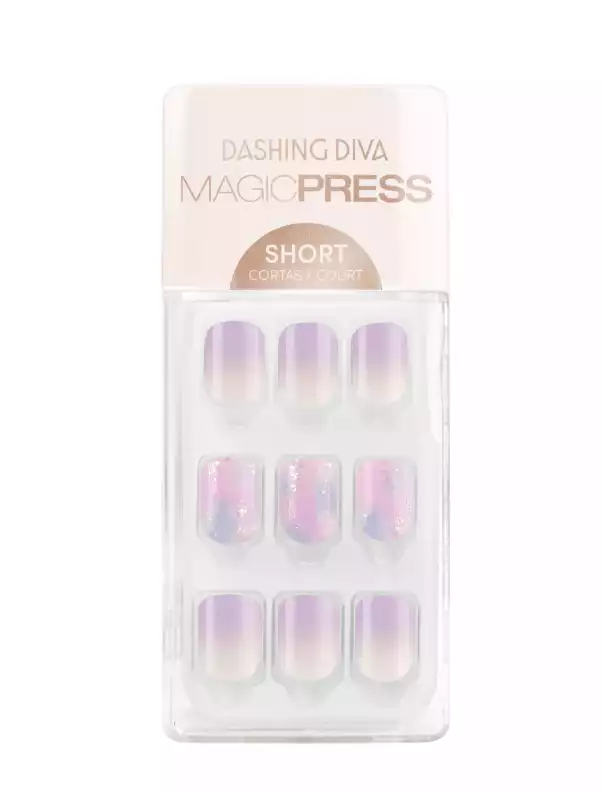
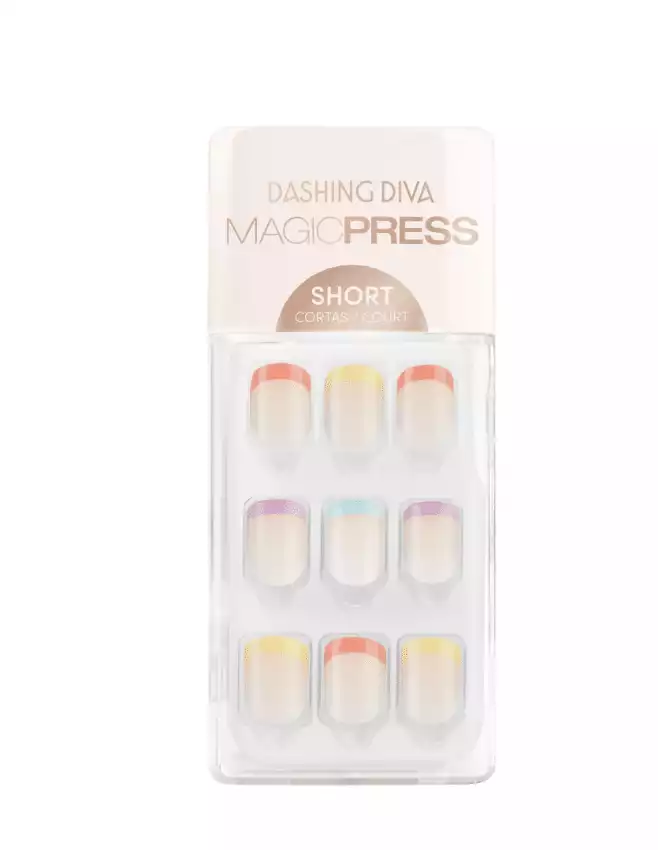
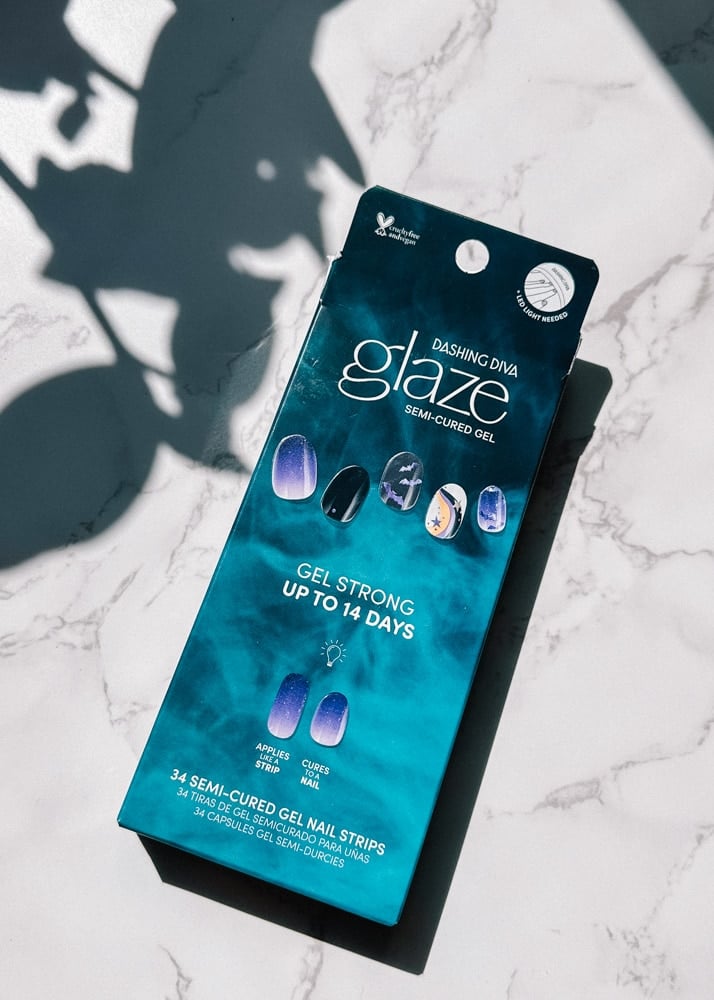
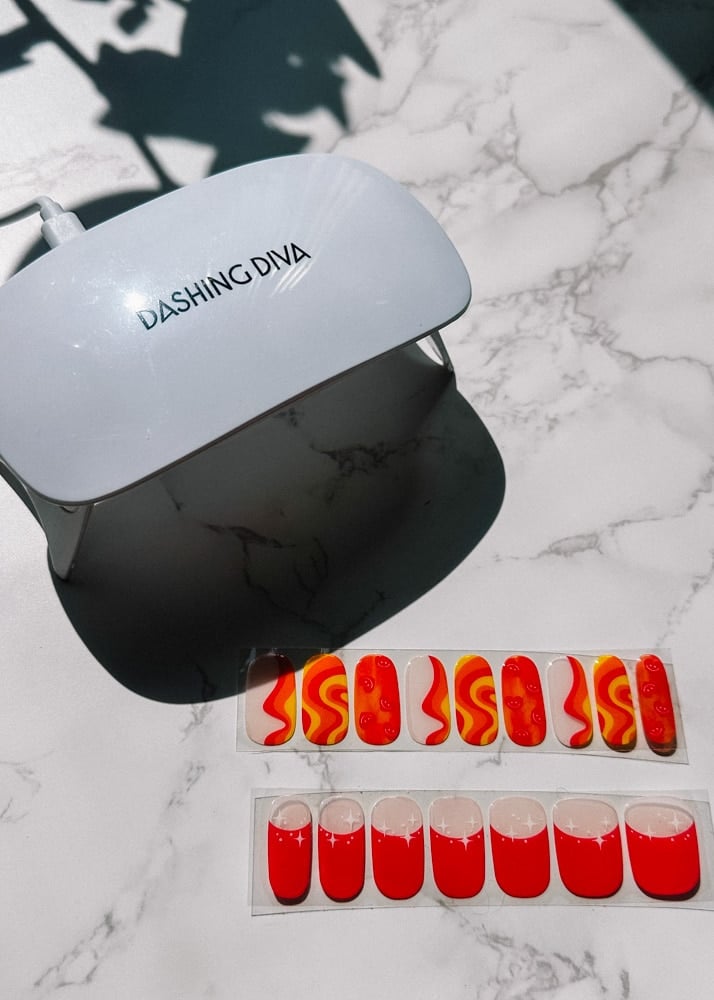
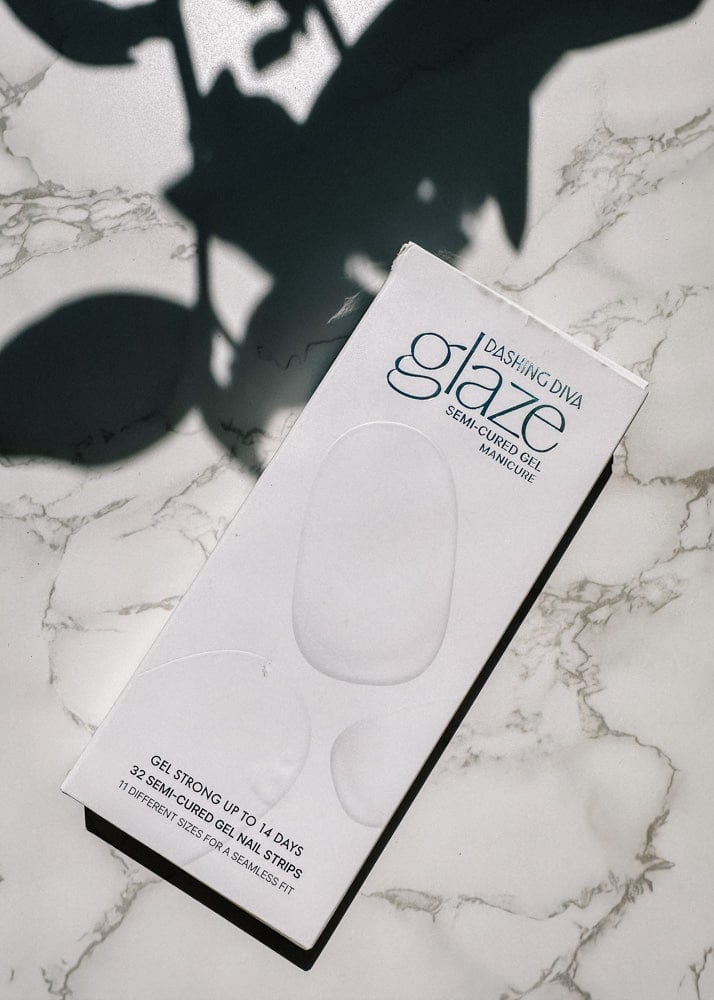
On Dashing Diva’s website, they sell five different types of nail application products. I got a chance to try their glaze semi-cured gel manicure at home, which uses a LED light lamp like you would in a professional nail salon. Customers can choose from a variety of designs including solid color nails, glitter, gradient, French tips, and holiday themed.
Here they are listed in order from the strongest long-lasting nails to the easiest nails to apply.
GelXtend
An at-home Gel X kit with everything you need to get started.
- Starter Kit includes 60 clear nails, 2 wooden manicure sticks, 2 prep pads, file and buffer, super gel glue, LED lamp, USB cable, instruction sheet
- Retails for $23
- Lasts up to 14 days
How is Gel X different from acrylic or regular gel nails? Gel X uses extensions like acrylics, but the extensions don’t sit at the tip of the nail, instead they are placed close to the cuticle. The extensions are also made from the same material as gel polish, giving them a natural flexibility.
Glaze Gel Nails
Easy-to-apply nail strips that are cured with LED light.
- Kit includes 32 gel nail strips in different sizes, 2 prep pads, 1 nail file, 1 wooden manicure strip
- Retails for $14
- Lasts up to 14 days
- Nail strips need to be clipped and filed to fit the natural nail
- Separate LED light would need to be purchased
Glow No-Cure
Easy-to-apply nail strips that don’t need to be cured with LED light.
- Kit includes 32 gel nail strips, 1 prep pad, 1 nail file, instructions
- Retails for $10
- Lasts up to 14 days
- Nail strips need to be clipped and filed to fit the nail
- Nail strip is 2x thicker than your natural nail to hide ridges
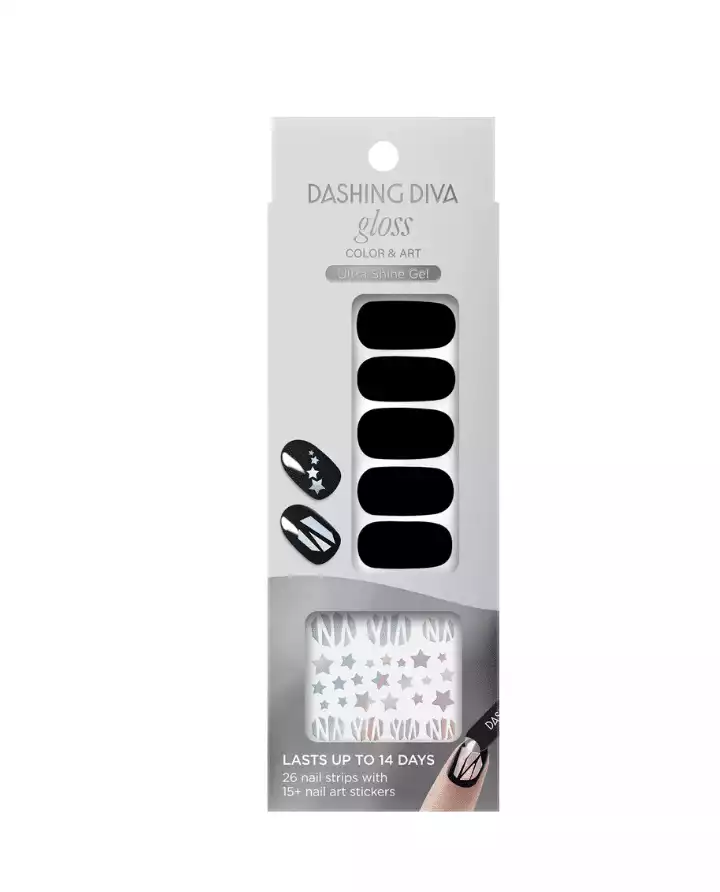
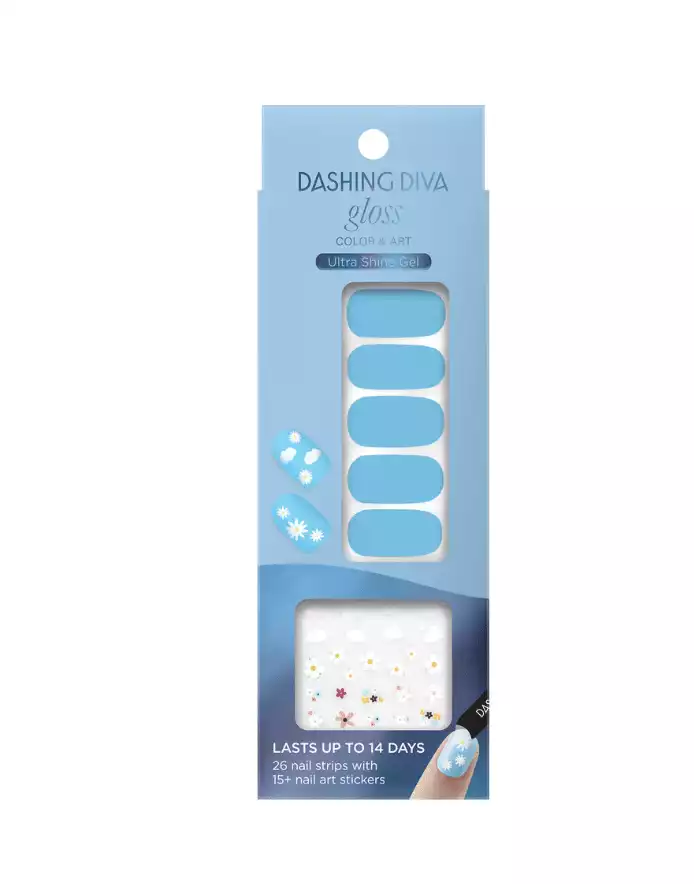
Gloss Nail Stickers
Easy-to-apply nail stickers that don’t need additional application products.
- Kit includes 32 gel nail strips, 1 prep pad, 1 nail file
- Retails for $8
- Lasts up to 14 days
- Nail strips need to be clipped and filed to fit the natural nail
Magic Press-On Nails
Press-on nails that don’t need additional application products.
- Kit includes 30 gel nails in 12 sizes, 1 prep pad, 1 nail file, 1 wooden manicure stick
- Retails for $9
- Lasts 7 to 10 days
- Natural nails need to be shaped before application
Additional Nail Care Items: polish remover, super glue gel, easy cut scissors, easy cut clippers, base shield for magic press, base seal for gloss.
Glaze Semi-Cured Gel Manicure Application + Tips
**KEEP UNUSED STRIPS AWAY FROM NATURAL LIGHT!** I made the mistake of having the strips I wasn’t using just out in the open since I thought it wouldn’t take me that long to pick and apply each nail. Big mistake. By the time I had applied all the nails to my left hand and was ready to move onto my other hand, some of the nail strips had lost their stickiness and wouldn’t adhere to my fingernail.
It wasn’t even that sunny where I was sitting and I only took about twenty minutes to apply the nails to my left hand. I unfortunately had to toss some unusable strips away, so please keep unused nail strips under the metallic strip it comes with until you need to pick the nail size.
Step 1: Shape and file your nail
You will also have to do this step after applying the nail strip, but doing it beforehand as well will make the process easier.
Step 2: Prep your nail with the prep pad
Using the prep pad in the kit, or an alcohol wipe, gently clean your nails to remove any oils. This is an important step to ensure that your nails last as long as possible.
You can also choose to push your cuticles back like they do in a nail salon, but I personally don’t prefer to do this since it causes your nails to be more susceptible to infection. This includes avoiding buffing your nail, since the goal is to prevent any unnecessary damage.
Step 3: Select the size of the nail strip that will fit closest to your natural nail shape
Holding the strips on top of your nail, match the nail closest in size. I would recommend sizing down if you’re unsure since any overlap will not stick and just peel off.
Step 4: Apply the nail strip to your natural nail and remove the film
Gently remove the nail strip from the plastic and place onto your nail. Place the strip as close to the cuticle line as possible, making sure that it is placed evenly down the center of the natural nail. Press down, starting from the center and moving outwards. You can use the manicure stick in the kit to press down the edges, but I found using my fingers worked just as well. Once secure, remove the protective film and remove any remaining air bubbles.
Step 5: Trim the nail strip
Trim the Diva nail strips as close to your natural nail as possible. Any overhang will cause cracking and lifting. If you’re having trouble seeing where your natural nail ends, turn your hand palm-side up to trim. File if necessary.
Step 6: Cure under the LED lamp
After applying nail strips to all your nails on one hand, place under the light lamp for 45 seconds to cure. You may have to do another session for your thumb if the light doesn’t hit it in the first round. If you’re unsure if the nails have cured, feel free to do a second round. Or you could even add a clear top coat to make sure it’s secure. It’s always better to be safe than have your nails fall off the next day!
Step 7: File to finish
File and shape any excess overhang and you’re all ready to go!
Removal Process
Dashing Diva recommends using cuticle oil to remove Glaze nails. If you do not have cuticle oil, get a warm bowl of water and add hand soap and any kind of oil you might have. Soak your fingers in the water and using a manicure stick, gently lift the nail strip starting from the cuticle corner.
If you feel tension, DO NOT try to pull off the nail strip, this will only cause more damage to the nail bed. Instead, add more oil and gently massage into the nail, focusing on the cuticle area. Allow time for the adhesive to dissolve and continue peeling back with the manicure stick.
And ta-da! If you do this properly, you should have no damage and healthy nails that you should give a chance to breathe before starting a new mani.
Dashing Diva vs. Olive and June
We’ve also reviewed the popular nail brand Olive and June, check out our review here, so here’s a short side-by-side comparison of the brand next to Dashing Diva.
- Olive and June: Sells both nail polishes and press-ons
- Dashing Diva: Doesn’t sell nail polishes, but has more variety of nail application types
One thing I noticed when navigating both websites, is that Olive and June is much easier to navigate since you can also filter the nails by color, shape, length, and design. Dashing Diva doesn’t always specify nail shape for the press-ons, which can be troublesome when trying to find your preferred nail shape.
The prices of Dashing Diva and Olive and Junes’ press on nails are very comparable with the former being $12 and the latter being $10. When choosing what brand to go with, it comes down to your preferred nail designs/ colors and what style of nail applicator you prefer to use.
Does Dashing Diva Pass the Mani Test?
On the first test, Dashing Diva did not pass the mani test, but that was due to human error. The nail strips had partly cured due to sunlight exposure and only three out of the ten nails fully stuck. The nails that did stick still had air bubbles and all the other nails were peeling up at the edges even after I cured them. No matter how hard I pressed, the strip wouldn’t stick where the nail curved on the sides.
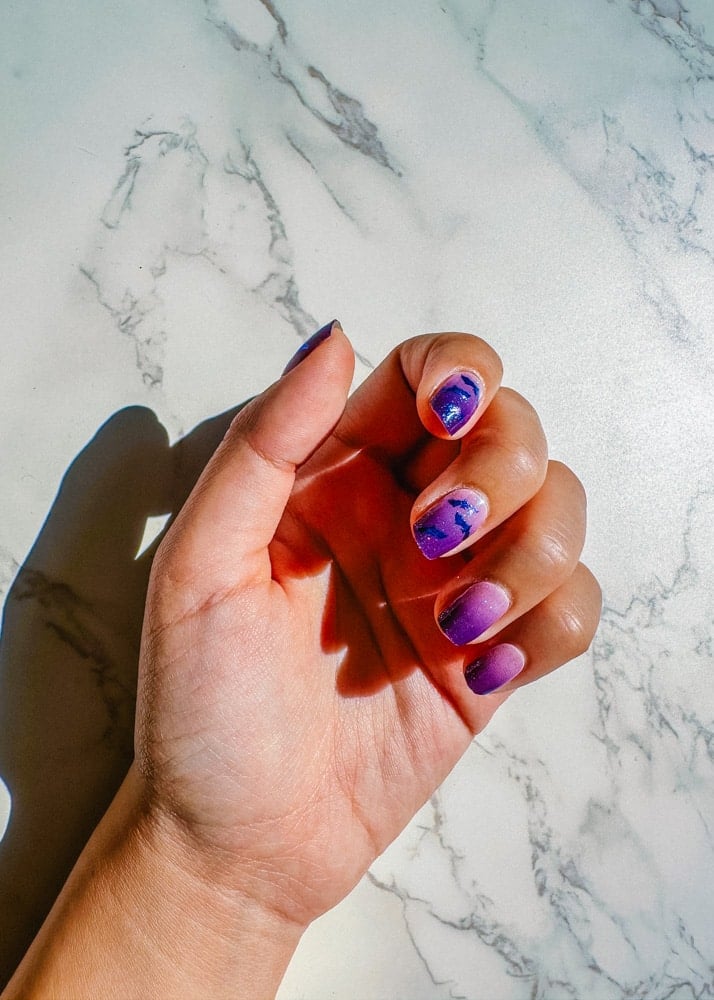
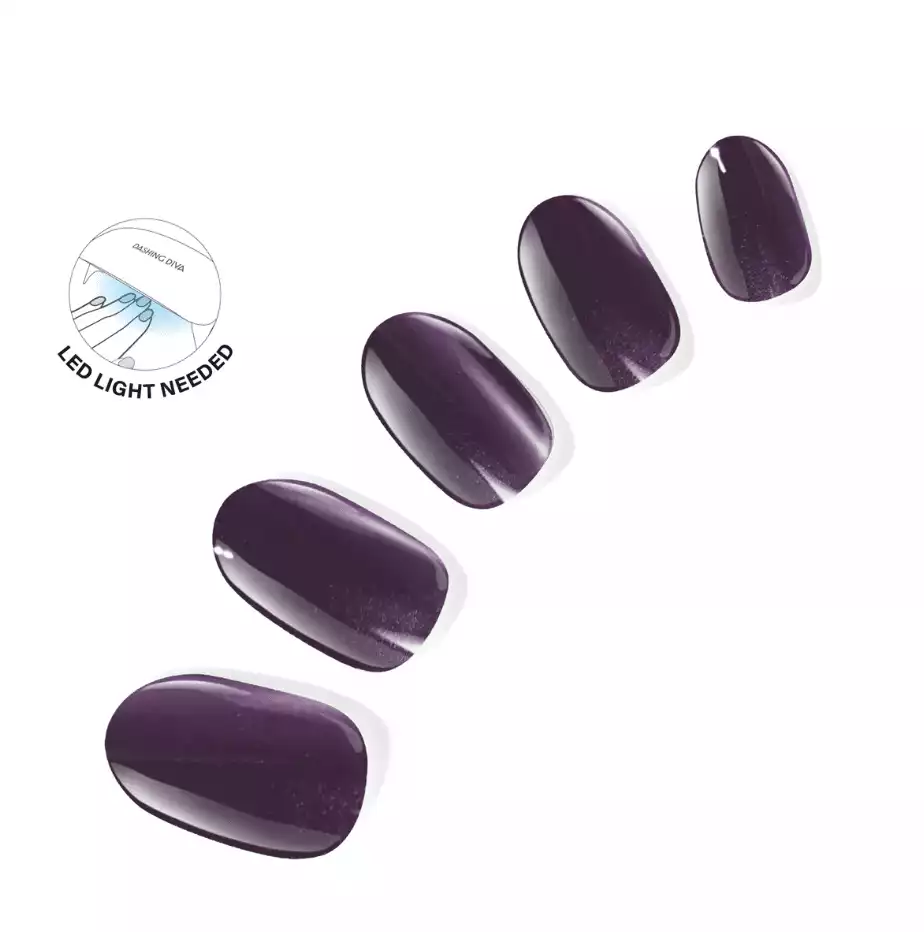
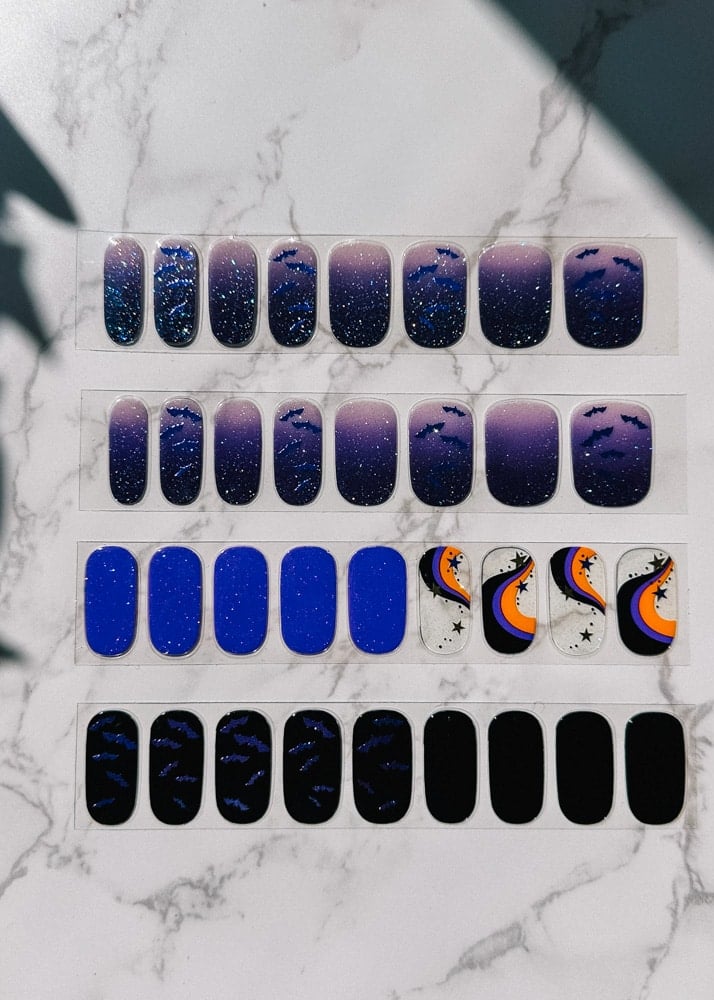
I decided to give the Glaze strips a second chance with an unopened box and voila! The nails stuck on beautifully. The nail strips were very sticky and adhered to my nails well. (Almost a little too well, since once you place it down, it’s hard to adjust). Each hand took me about ten minutes to apply the nails and another couple minutes to cure them. I’ve never used a product like the Glaze nails before and am thoroughly impressed by the design (mine had sparkly purple bats on them) and ease of application.
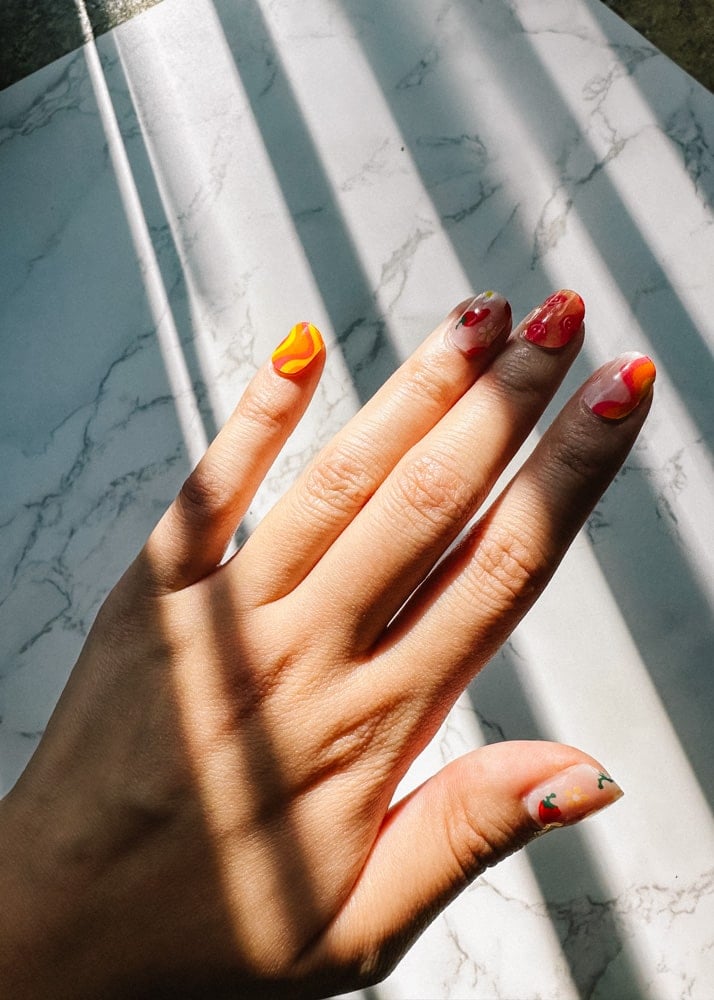
The thickness of the strip also hid the ridges and bumpiness in my natural nails and gave them a polished finished look. When asked whether my nails look professionally done, my friends couldn’t tell that it was a sticker applied from an at-home nail kit!
Should you try Glaze? When compared to other nail products like press-ons, Glaze is more suitable for those who are happy with their natural nail length and shape since it is not a nail extension. There is also a learning curve for new users and my biggest piece of advice for that is to prep well and be thorough with the application before curing the nails. LED exposure means no more adjusting, so be sure that the sticker is firmly secured and to your liking.
My only other complaint is that some of the nail strips didn’t fit perfectly on my nail (mainly my pointer, middle, and ring finger). The nail strips were a tad too small for my nail shape, but this is preferable over having sizes too large. Nonetheless, I’d love to see more inclusive nail sizes from Dashing Diva in the future!
If I hadn’t done a second test, I wouldn’t have found out how easily the nails apply when they aren’t defective. Due to ease of application, efficiency, and appearance, I give Dashing Diva Glaze nails a 4.5/5.
