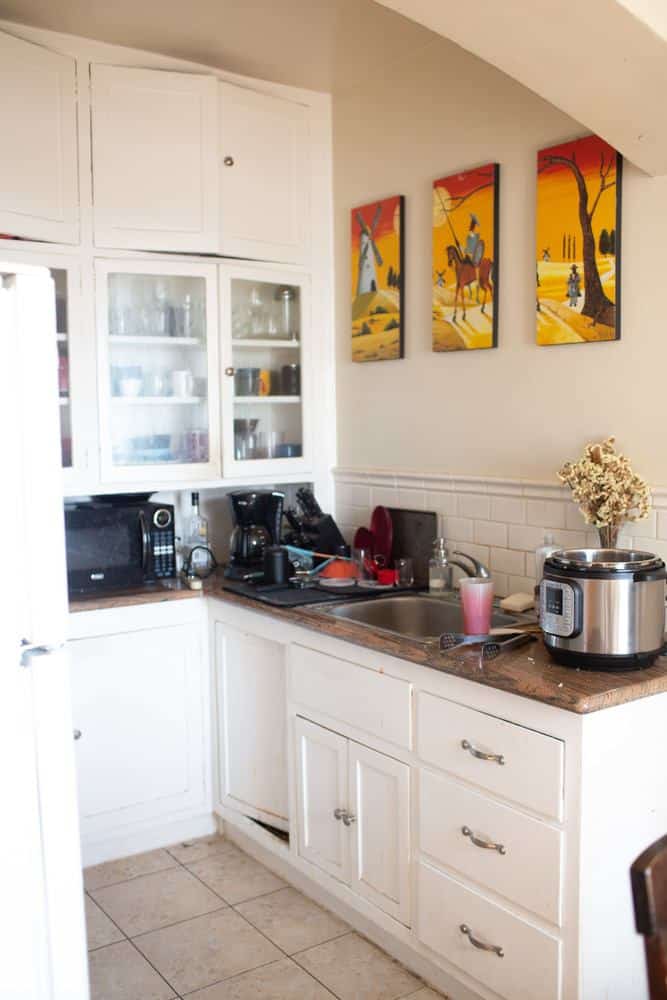
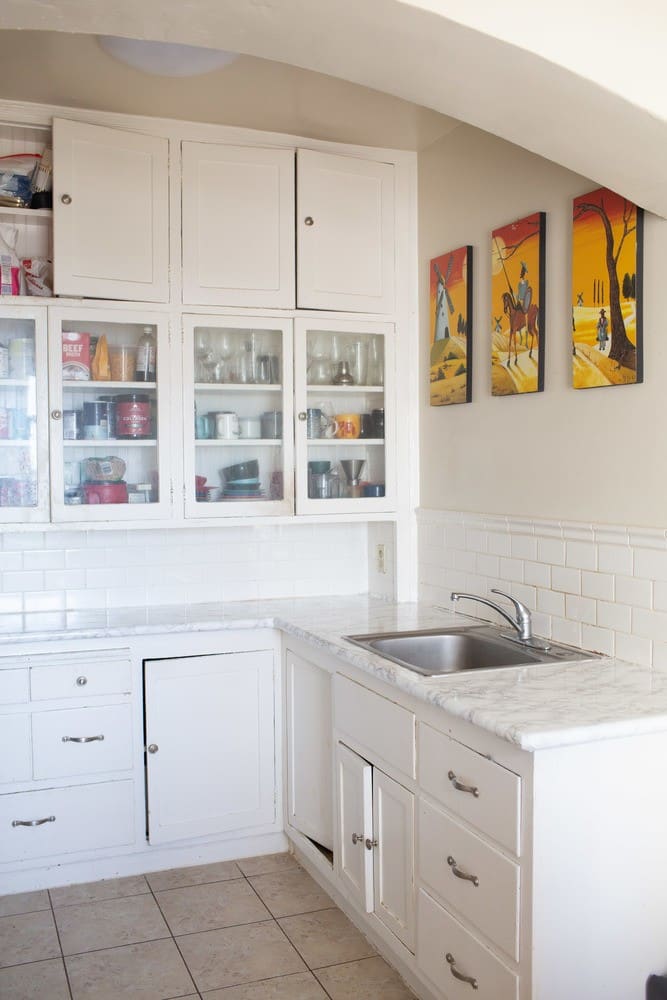
I’ve hated my kitchen counters for the entire time we’ve lived in our apartment. I love our kitchen, though. We live in an old building that has tons of charm (like these arching ceilings!) and a window that has the perfect view of the sunset over the ocean.
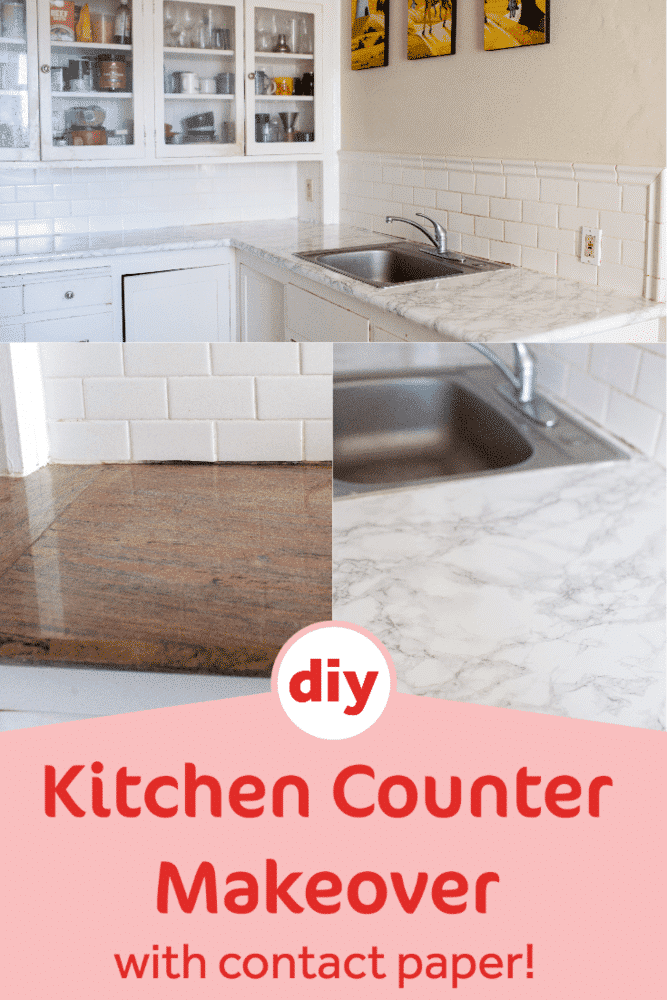
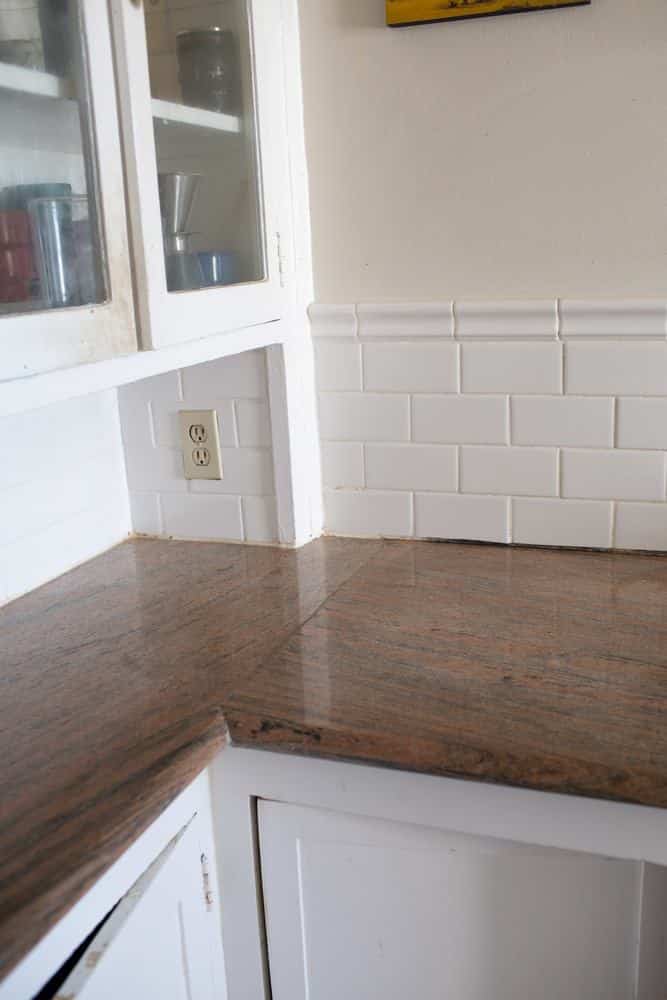
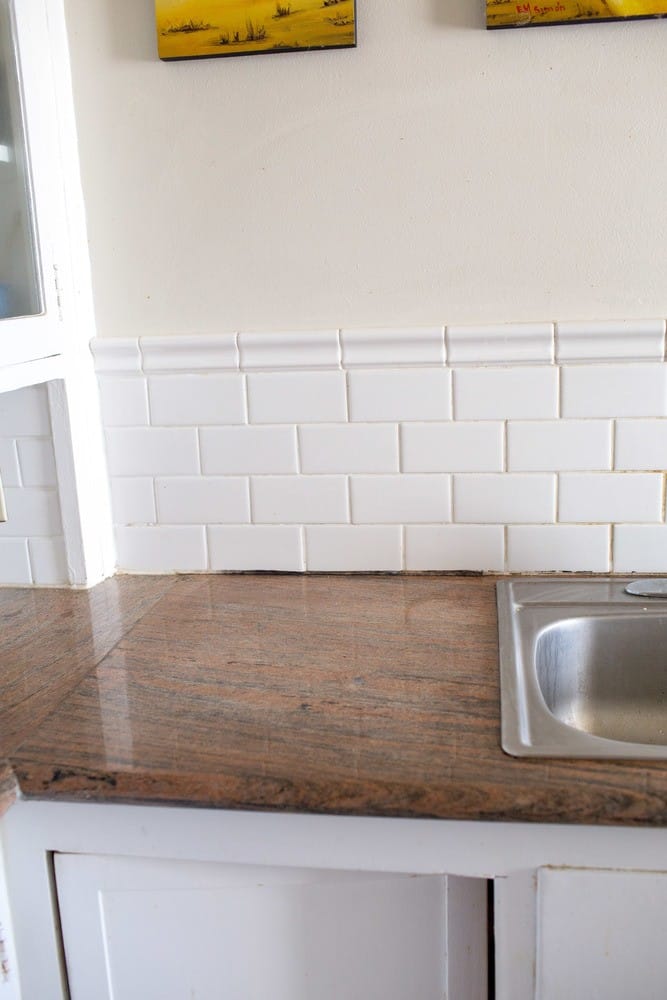
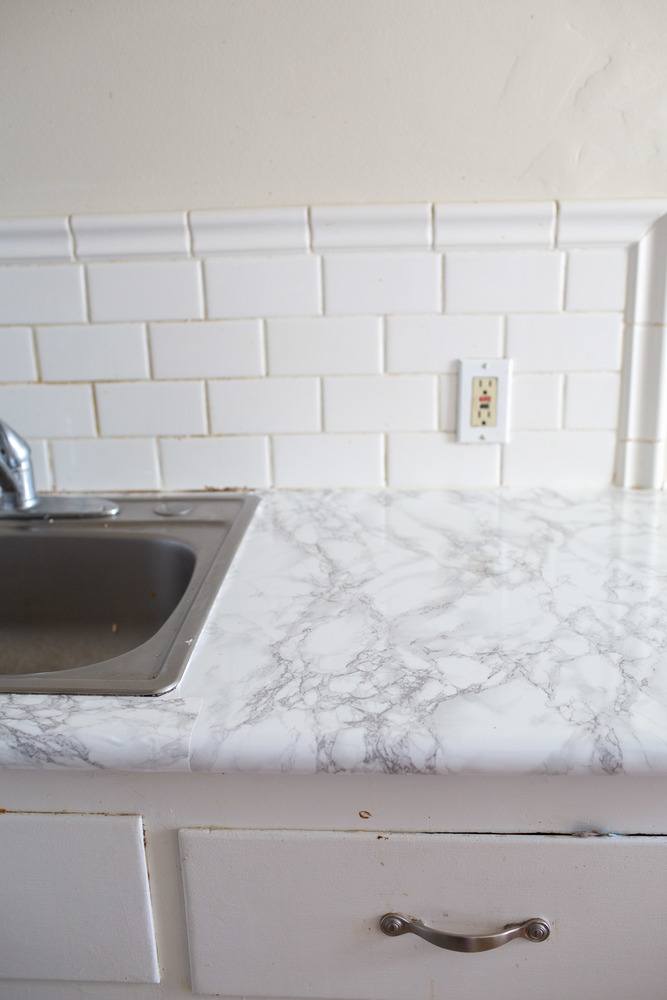
But DANG I hate these brown granite countertops. After 5 years I finally decided quarantine was the perfect time to do a budget-friendly AND renter-friendly kitchen makeover. First step was turning my gross brown countertops into chic faux marble ones.
In this post I’m sharing my tips on how to properly install contact paper over your counters, the exact marble contact paper I used & before and after photos!
My Renter-Friendly Kitchen Counter Contact Paper Makeover! (Before & After Photos!)
>> Got a question about my kitchen makover that you need answered quickly? DM me on Instagram @thewhimsysoul and I’ll be happy to help!
Confession: Looking at these before and after photos makes me feel embarrassed to even admit I had spent so much time living in a kitchen that just made me unhappy. I basically got stuck — the color of the counters and the type of floor tiles always made this space look dirty.
The cabinets needed to be repainted years ago but I kept putting if off. It’s a small kitchen in general (hey, I do live in San Francisco after all!) and I guess I spent a lot of time just thinking “I’ll wait until I move into house to have a nice kitchen”
But life is short and after I got bitten by the DIY life bug during quarantine, I realized it’s actually incredibly easy to transform my kitchen into a beautiful space. Oh, and it’s all budget-friendly too! I spend too much on rent to pay a lot for DIY home improvement venture on something that’s not my forever home.
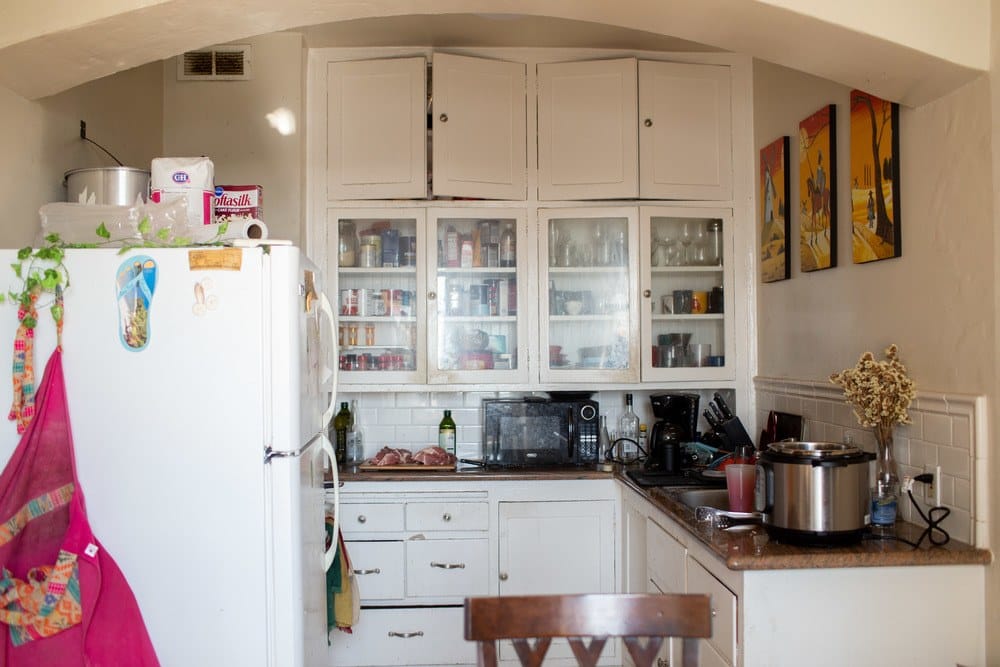
I’m actually totally overhauling the entire kitchen in a huge renter-friendly kitchen makeover. The countertops was step one, but I’m also repainting the kitchen, reorganizing the drawers, switching up the floors, swapping out the decor and even adding contact paper to our fridge for a pop of color.
But changing the countertops was the first move and already it’s made such a big difference visually! Removing that line break of brown was key.
Having white counters makes the entire kitchen brighter and happier.
Finding the perfect adhesive faux marble contact paper was challenging. We cook a LOT in our household, so we needed something that could stand up against all the water around the sink and the frequent wipe-downs.
After tons of research, I actually landed on this marble countertop contact paper from Amazon. I picked this d-c-fix contact paper for a few reasons:
- it has good reviews from people who claim it’s held up and is easy to install
- Some adhesive films are permanent, this is not
- it’s affordable, which fits my budget
- It shipped quickly, even during quarantine
- I also think it’ll be super easy to reorder in the future if I need to replace a section of my faux marble counters (ie if I accidentally ruin the contact paper or something)
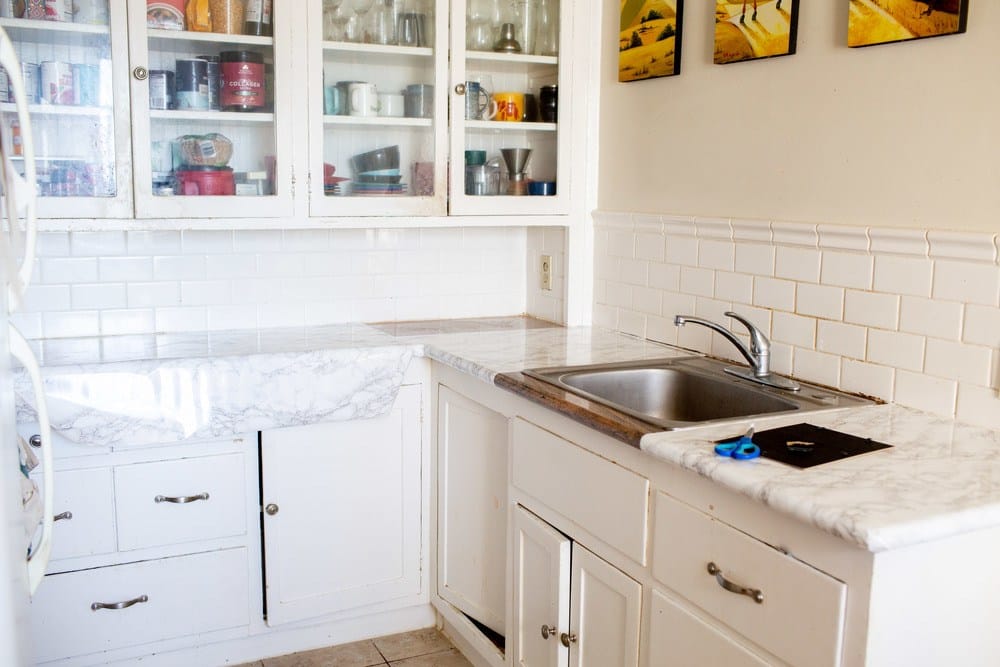
How To Install Kitchen Contact Paper: Tips & Tricks
Covering countertops with contact paper is not easy, let me tell you. The trick about contact paper is that it’s much easier to apply when you spritz a bit of Windex on your counters before applying.
Don’t spray too much or the contact paper won’t be able to stick at all. But a little lets the counter paper slide around as you adhere in JUST the right place. Then you can squeeze the liquid out as you flatten your paper (kind of the same way as you smooth a screen protector on your phone to remove air bubbles.)
Here’s the steps in detail:
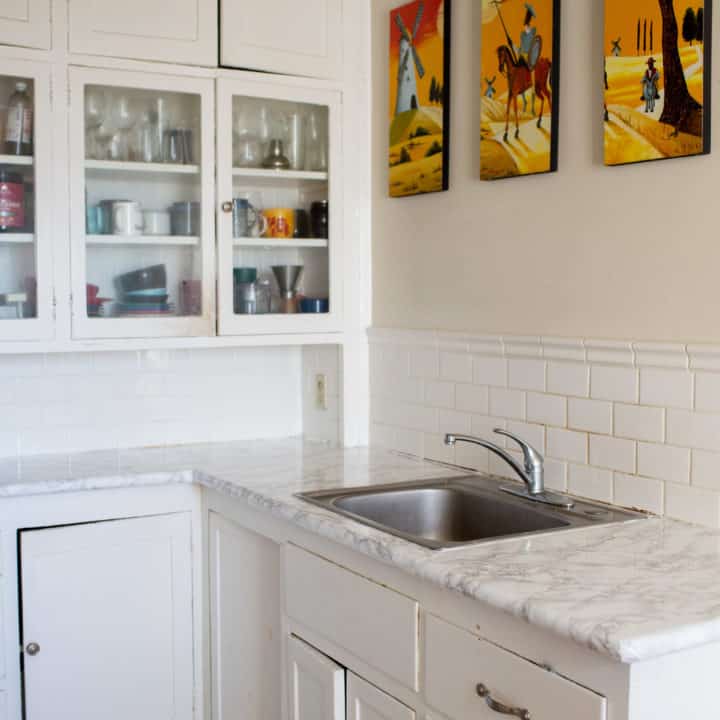
How To Install Kitchen Counter Contact Paper
Materials
- Rolls of contact paper (amount depends on the size of your counters!)
- Windex
Tools
- Scissors
- Squeegee
- Paper towels
- Pencil to mark cuts
- Exacto knife
- Measure tap (optional)
Instructions
PREP YOUR COUNTERS
- Clean your counters VERY well (you don't want to trap dirt under there!) This includes patching any caulk that needs repairs, etc.
- Let your counters dry.
INSTALL THE CONTACT PAPER
You can do this solo but I find it's much easier to install contact paper with a friend!
- Measure out how much contact paper you need for each section. Remember the rule: measure twice, cut once.
- Spritz a light layer of Windex over your counters.
- Peel off your contact paper carefully. I find for me it's easier to take it all off at once and, with the help of a friend, carefully lay it over your counter.
- It's ok if you have to readjust! That's what the Windex is helpful for!
- Once you get your contact paper in the right place, use your Squeegee to gently smooth the paper out. You'll want to work out the Windex AND the air bubbles.
- Keep working until the contact paper is smooth and to your liking!
- I find it dries/sticks pretty quickly, but just to be safe, don't cook on the counters for at least an hour.
Trim Time
- Once you have covered your counters, now take an Exacto knife or a blade from your scissors to trim your contact paper when needed. (ie trim around the sink or edges against the wall.)
And that's it!
Notes
I recommend buying 1-2 EXTRA rolls of contact paper because trust me, you WILL mess up at least once and you'll be thankful you bought extra.
My Countertop Makeover Before & After!
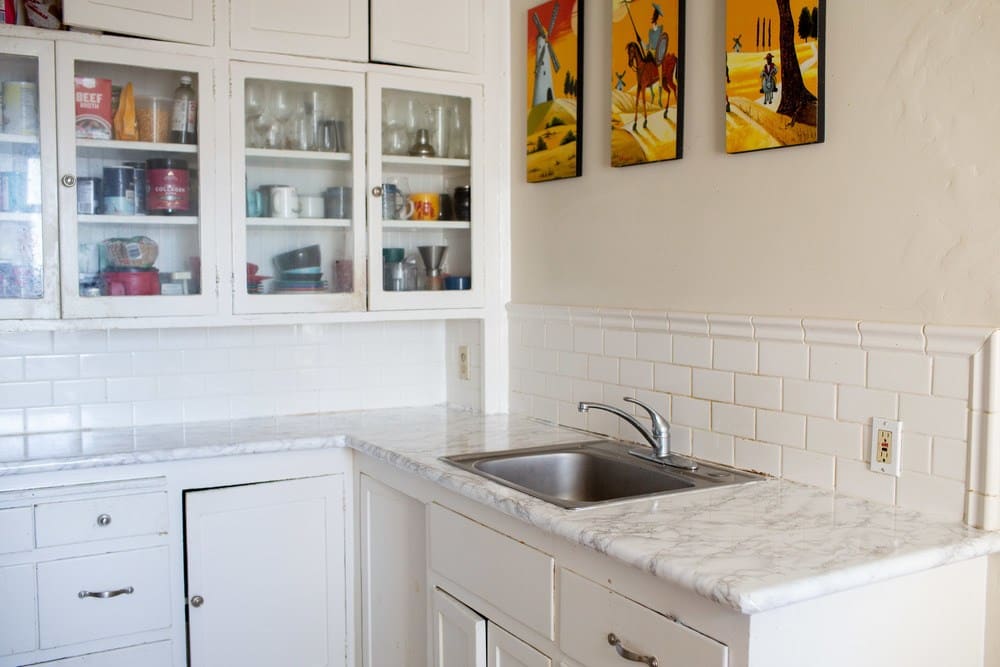
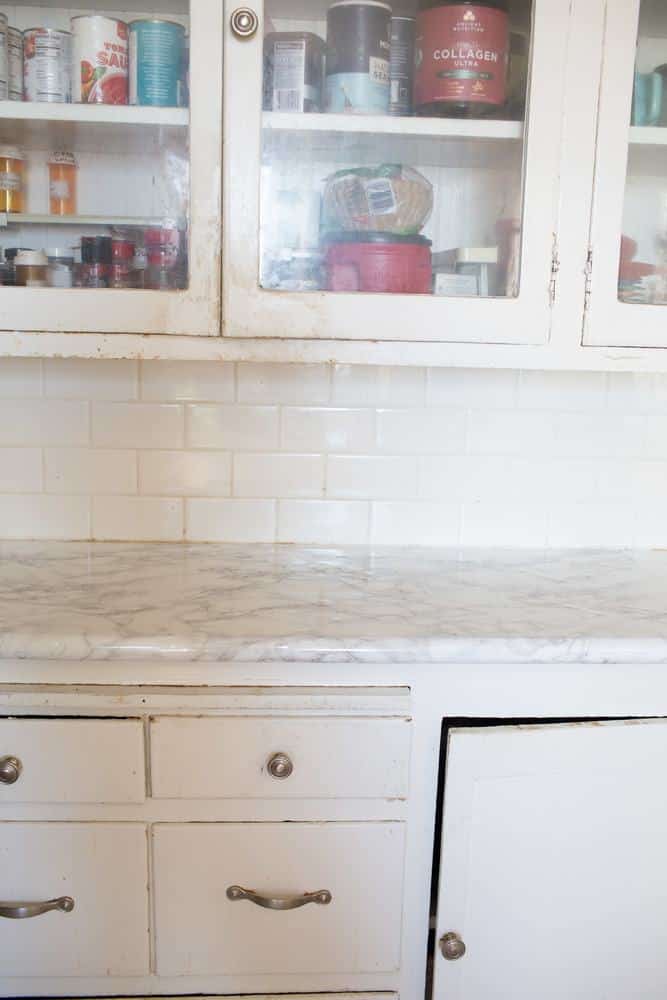
So, drumroll, above are the before and after photos!
All in all, it took about 2 hours of time and $40 in contact paper to transform my space.
To be transparent, this is NOT perfect. I wasn’t able to get some air bubbles out and I realized after installing the paper that I should have cut it differently.
BUT I’m super happy with the counters and they bring me so much joy to look at. And hey, I do rent after all. When I buy a house I’ll be investing in real marble counters but for now, this $40 makeover is a great solution.
I’ll make sure to keep you updated here on how long it lasts! I’ve already decided that if the contact paper only lasts let’s say a year, it makes total sense to once a year spend an afternoon and $40 to redo the counters because I think it’s worth it.
So, that’s my kitchen counter contact paper makeover! I hope this helps you learn how to do your own DIY kitchen makeover and help inspire you to refresh your space.
If you liked this post, consider giving me a follow over on Instagram or YouTube where I’ve been sharing more videos and photos around my whole kitchen makeover progress.
If you have any tips to add, please leave a comment so everyone can see! If you have questions, leave a comment or DM me on Instagram @thewhimsysoul and I’ll make sure to help you out!




8 comments
Excellent job!!
Hey Kara!
This is super helpful, thanks for the detailed process with photos!
One big question- while leaving the rental did you remove the sheets? How easy was it and most importantly, did it leave any residue or damage the original kitchen platform?
Will be really helpful if you can let me know. I’m going to follow your article but am scared of the possible damage.
I was hoping to find out what the removal process is like and if it leaves any trace behind. Like will my landlord know I did this to the counters when moving day comes? I think that’s the most important thing here.
Hi Kara, this looks great! I’m about to move and I have a twinkle in my eye to do some DIY to the new rental…is the stick-and-peel paper food-safe for things like working with dough directly on the counter? Thanks! 🙂
Looked so much nicer and elegant before
Dear Sir/Madam,
I recently came across your website and was impressed with the services you offer. I am interested in learning more about your services and potentially partnering with your company.
Could you please provide me with a copy of your service catalogue? This will enable me to review your offerings in more detail and determine how we can work together.
Thank you for your time, and I look forward to hearing back from you soon.
Best regards,
Chris Guinta
Business Development Director
Hi there,
I hope you’re doing well. I’m interested in contributing a guest post on whimsysoul.com and would like to know if you accept submissions. Could you also provide details on any payment options?
Thanks!
Best, Marc
Hello, after reading thiks amazing article i amm also
delighted to share mmy know-how here wiyh friends.