You can pay upwards of $200 for acrylics at a nail salon, which is kind of insane. Plus, you have to get them redone every two to three weeks, and I don’t have the budget for that (yet).
While they might look gorgeous, it’s not the most practical unless your livelihood depends on it, or you’re someone who REALLY likes sitting in a chair for two hours without any TikTok scrolling.
As a person who tries to save every dime to later spend on food, my go-tos are cheap press-ons or a quick dry nail polish. Lately, I’ve been looking into upping my aesthetic game with a nice, budget friendly mani and wanted to share my honest Olive and June review with you guys after using this trendy nail polish brand.
Olive and June Manicure Kit Review: A Deep Dive Of The At-Home Mani System
It’s been an ongoing journey because there are so many brands and it’s hard to know what you need to make a nice home manicure.
I’ve tried KISS, Sally Hansen, and too many Dollar Tree polishes to count. They work just fine, but they don’t give you that salon feel, and I’ve been on the hunt for something that’s easy and luxurious.
I finally decided to step up my nail game with Olive and June nail polish! This brand has been circulating the internet for a while and I got my hands on their mani system with dry drops.
What Is Olive June?
Olive and June is a user-friendly nail care business founded by Sarah Gibson Tuttle, who named it after her great-grandmother and grandmother. The company puts together little kits to help you press on or paint on great-looking nails at home!
You can also purchase individual nail colors and press-ons in-store at Target or direct from Olive and June!
I used the kit on myself, my grandma, and even my eight-year-old niece. We all had opinions about it, and I’m going to dive into whether their Polish Mani System is one you need to try, including how long does the Olive and June nail polish last, and is it worth the price tag? Read on for my honest Olive and June manicure kit review!
Shopping the Olive and June Systems
Olive and June provides a fairly straightforward way to shop with nail systems, but let me break it down. Each has different nail care essentials and you can pick out what colors you want to show up at your front door. Here are your options with a little bit of “choose your fighter” energy:
- The Polish Mani System
- The Press on Mani System
- The Pedi System
- The Complete System
- The Mani Weekender
Plus, they have a membership program for $40 a year that gets you free shipping, 10% off on everything, and free gifts! If you’re a nail girl, this might be an investment for you.
How To Order Online
The Olive and June site is super fun and pretty easy to navigate. First, I was asked to choose how many polishes I’d like. You can get 1, 6, or the summer set with 7 pre-chosen polishes.
Not sure if or how this changes seasonally, but a great option if you’re feeling overwhelmed with options. I didn’t want to go overboard so I started with one color to test!
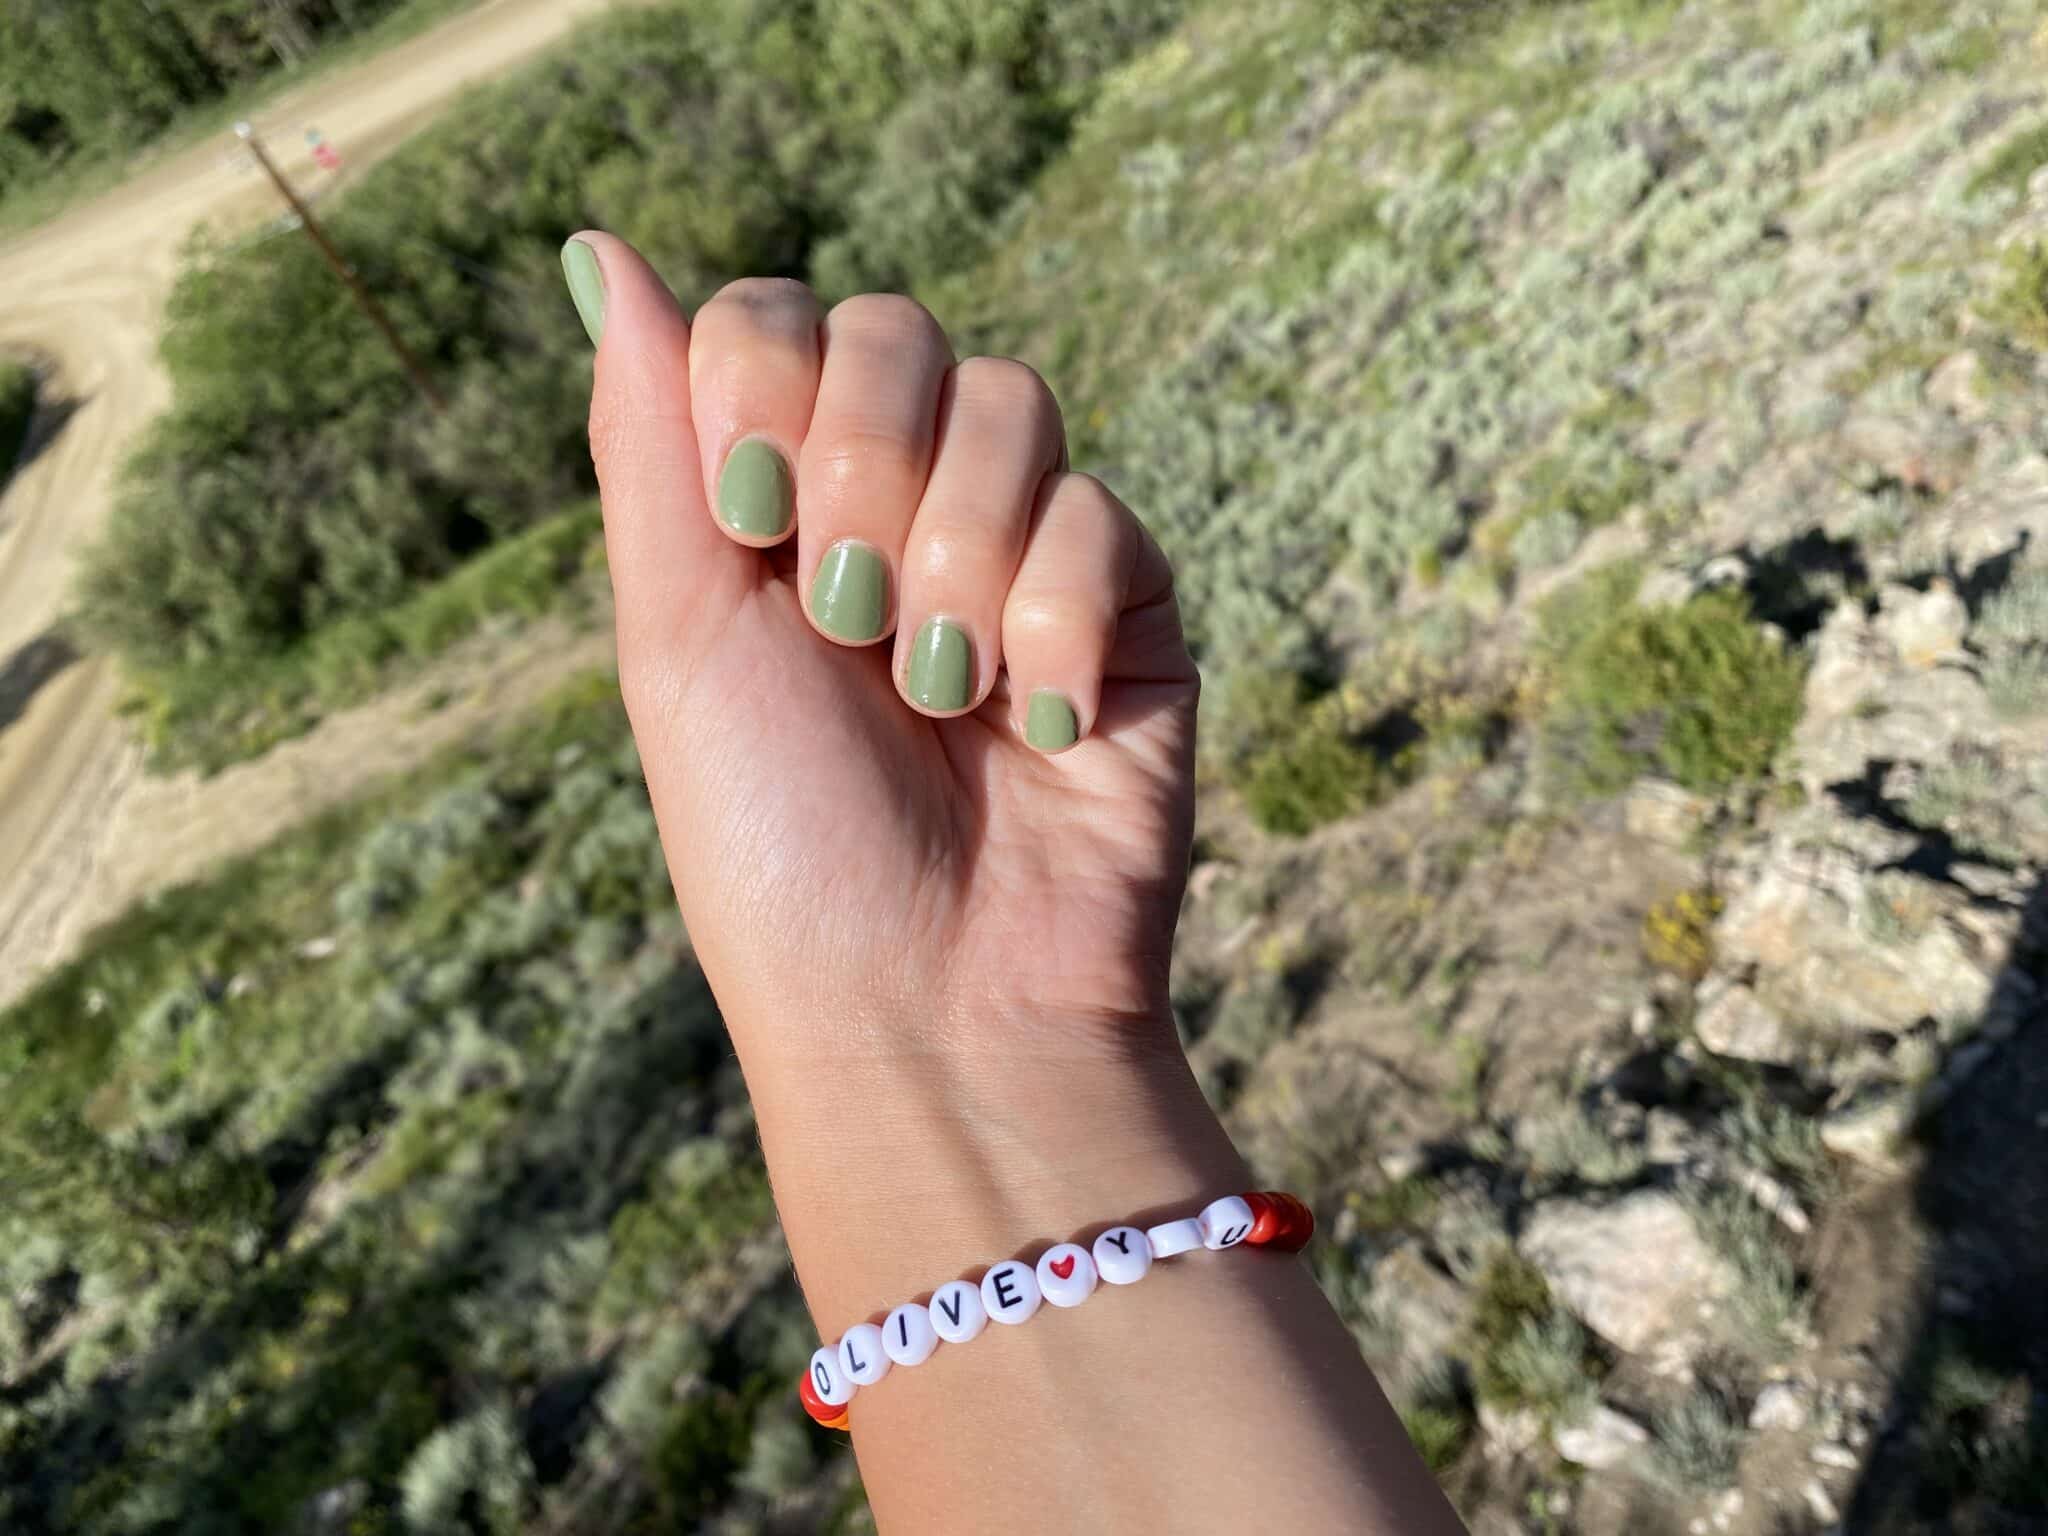
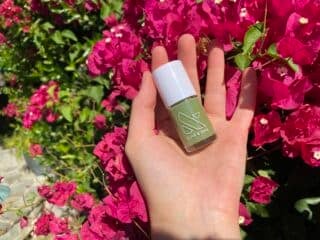
Next, I was guided through their color shop, where I selected an olive green polish. They have SO many Olive and June nail polish colors to choose from and it took me only a second to find one to settle on.
Once you choose your color(s), they ask if you want to add extras to your kit, like the dry drops or their nail primer. I recommend sorting through what items might work for your routine.
Then they ship it and within a week or two, you have this great little kit that everyone can use!
What I Got: Olive and June Mani System
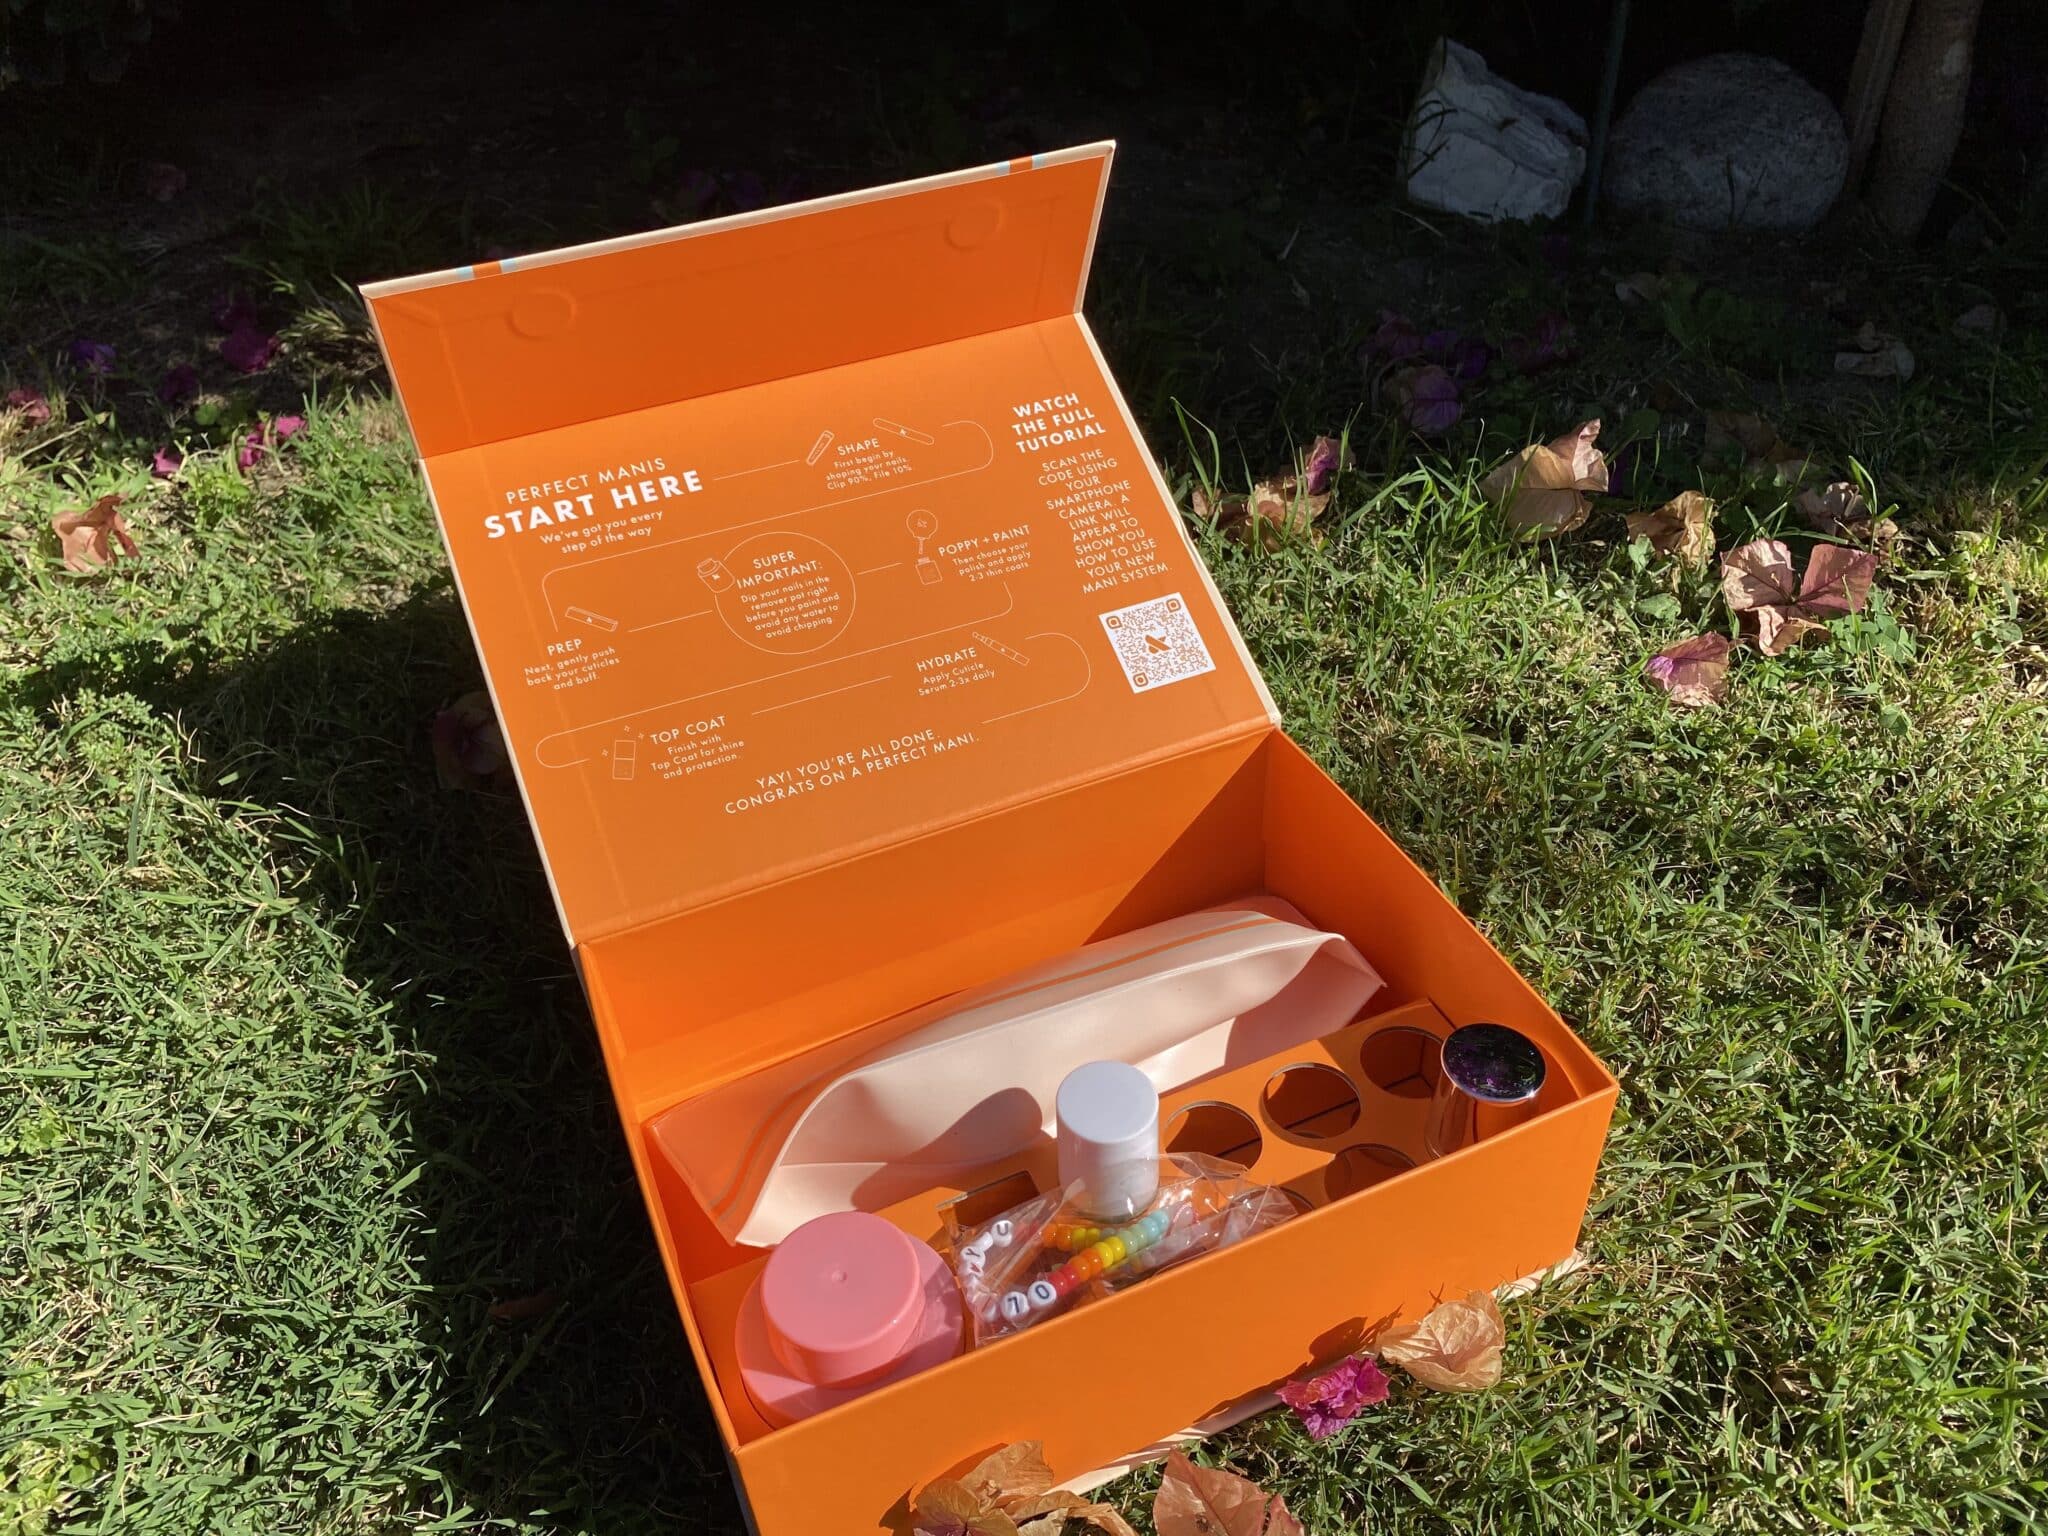
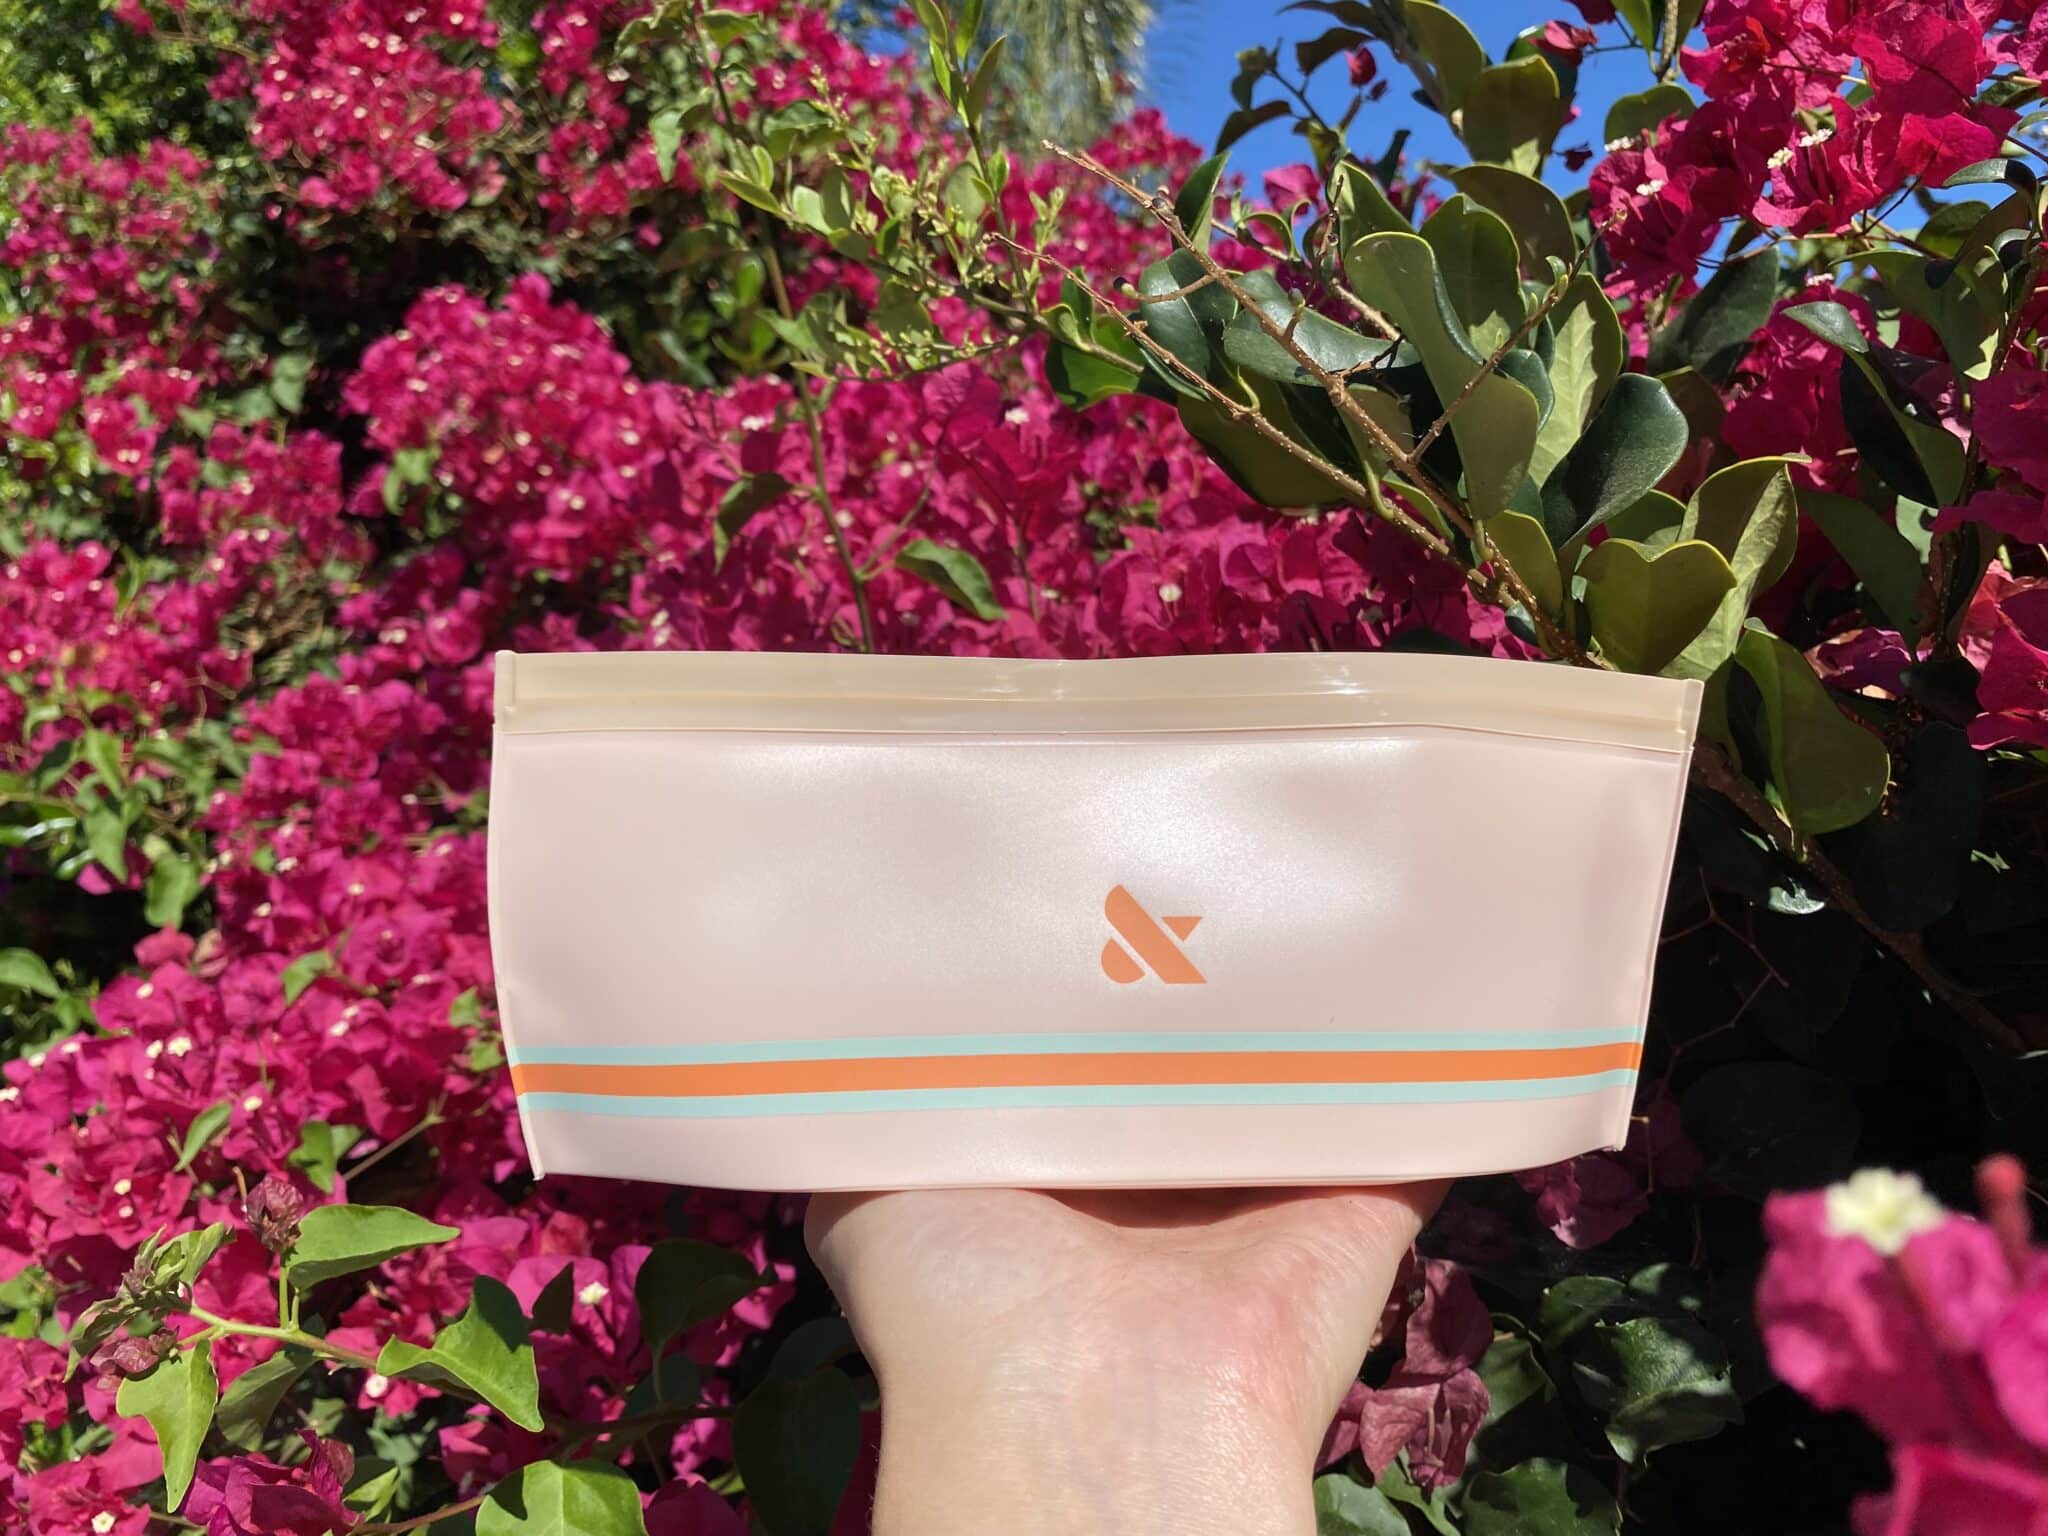
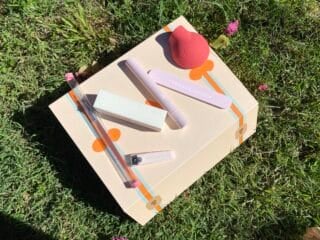
I ordered the Olive and June Mani System for $47.12, and picked up their Dry Drops for an additional $10.00. It came in cute packaging with tons of goodies!
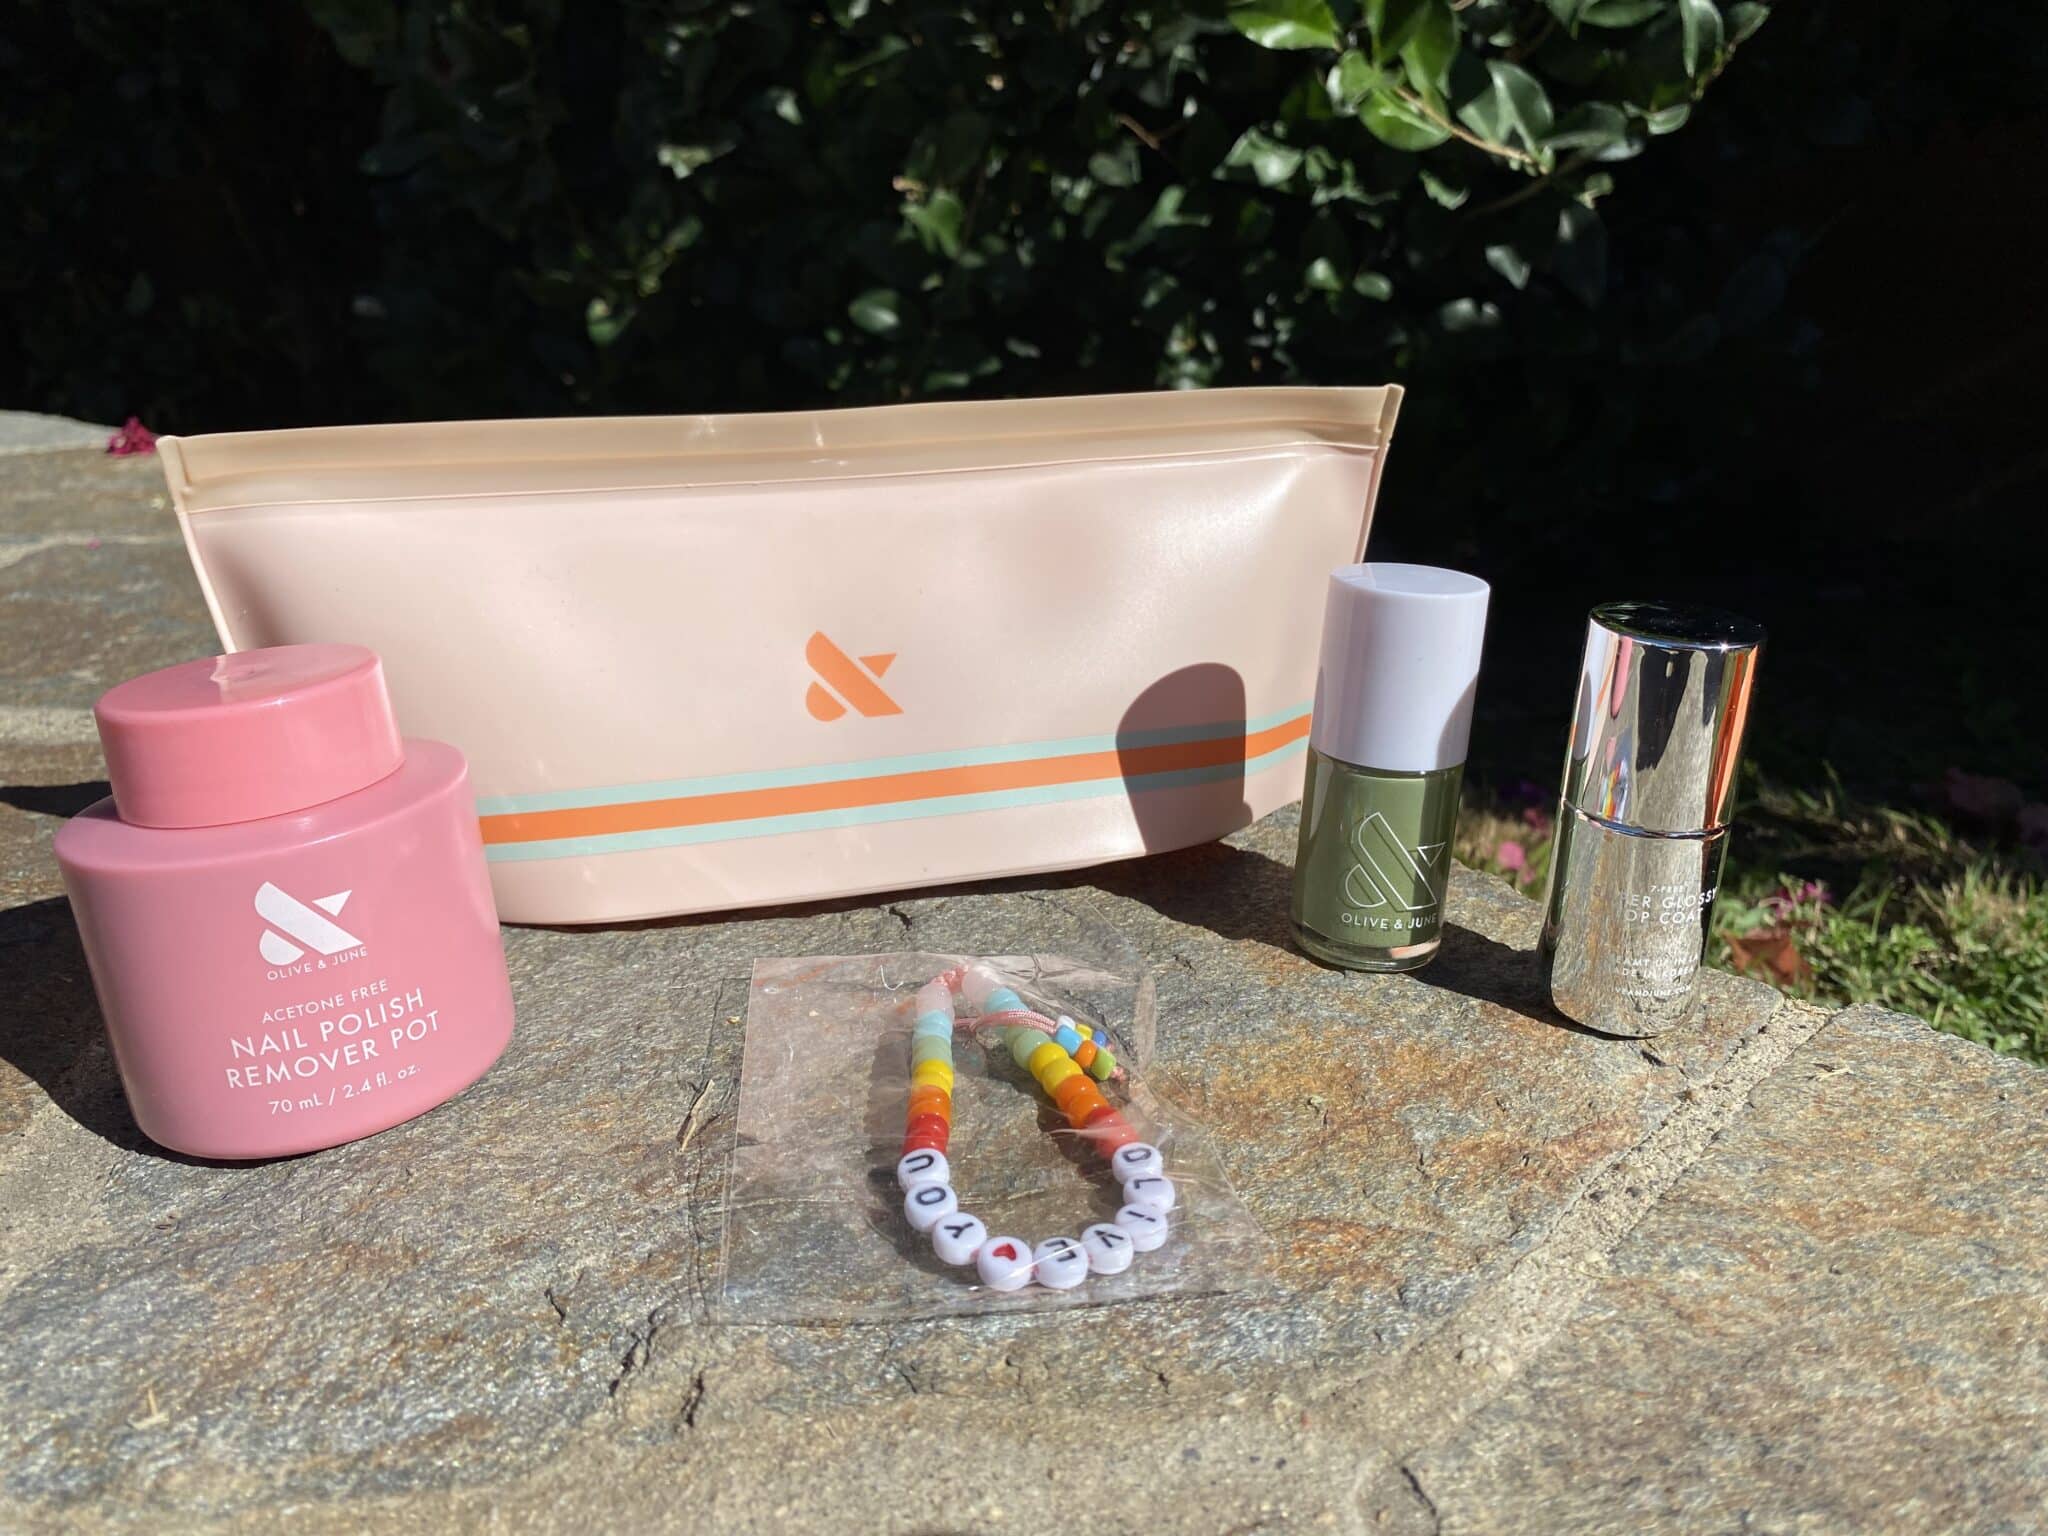
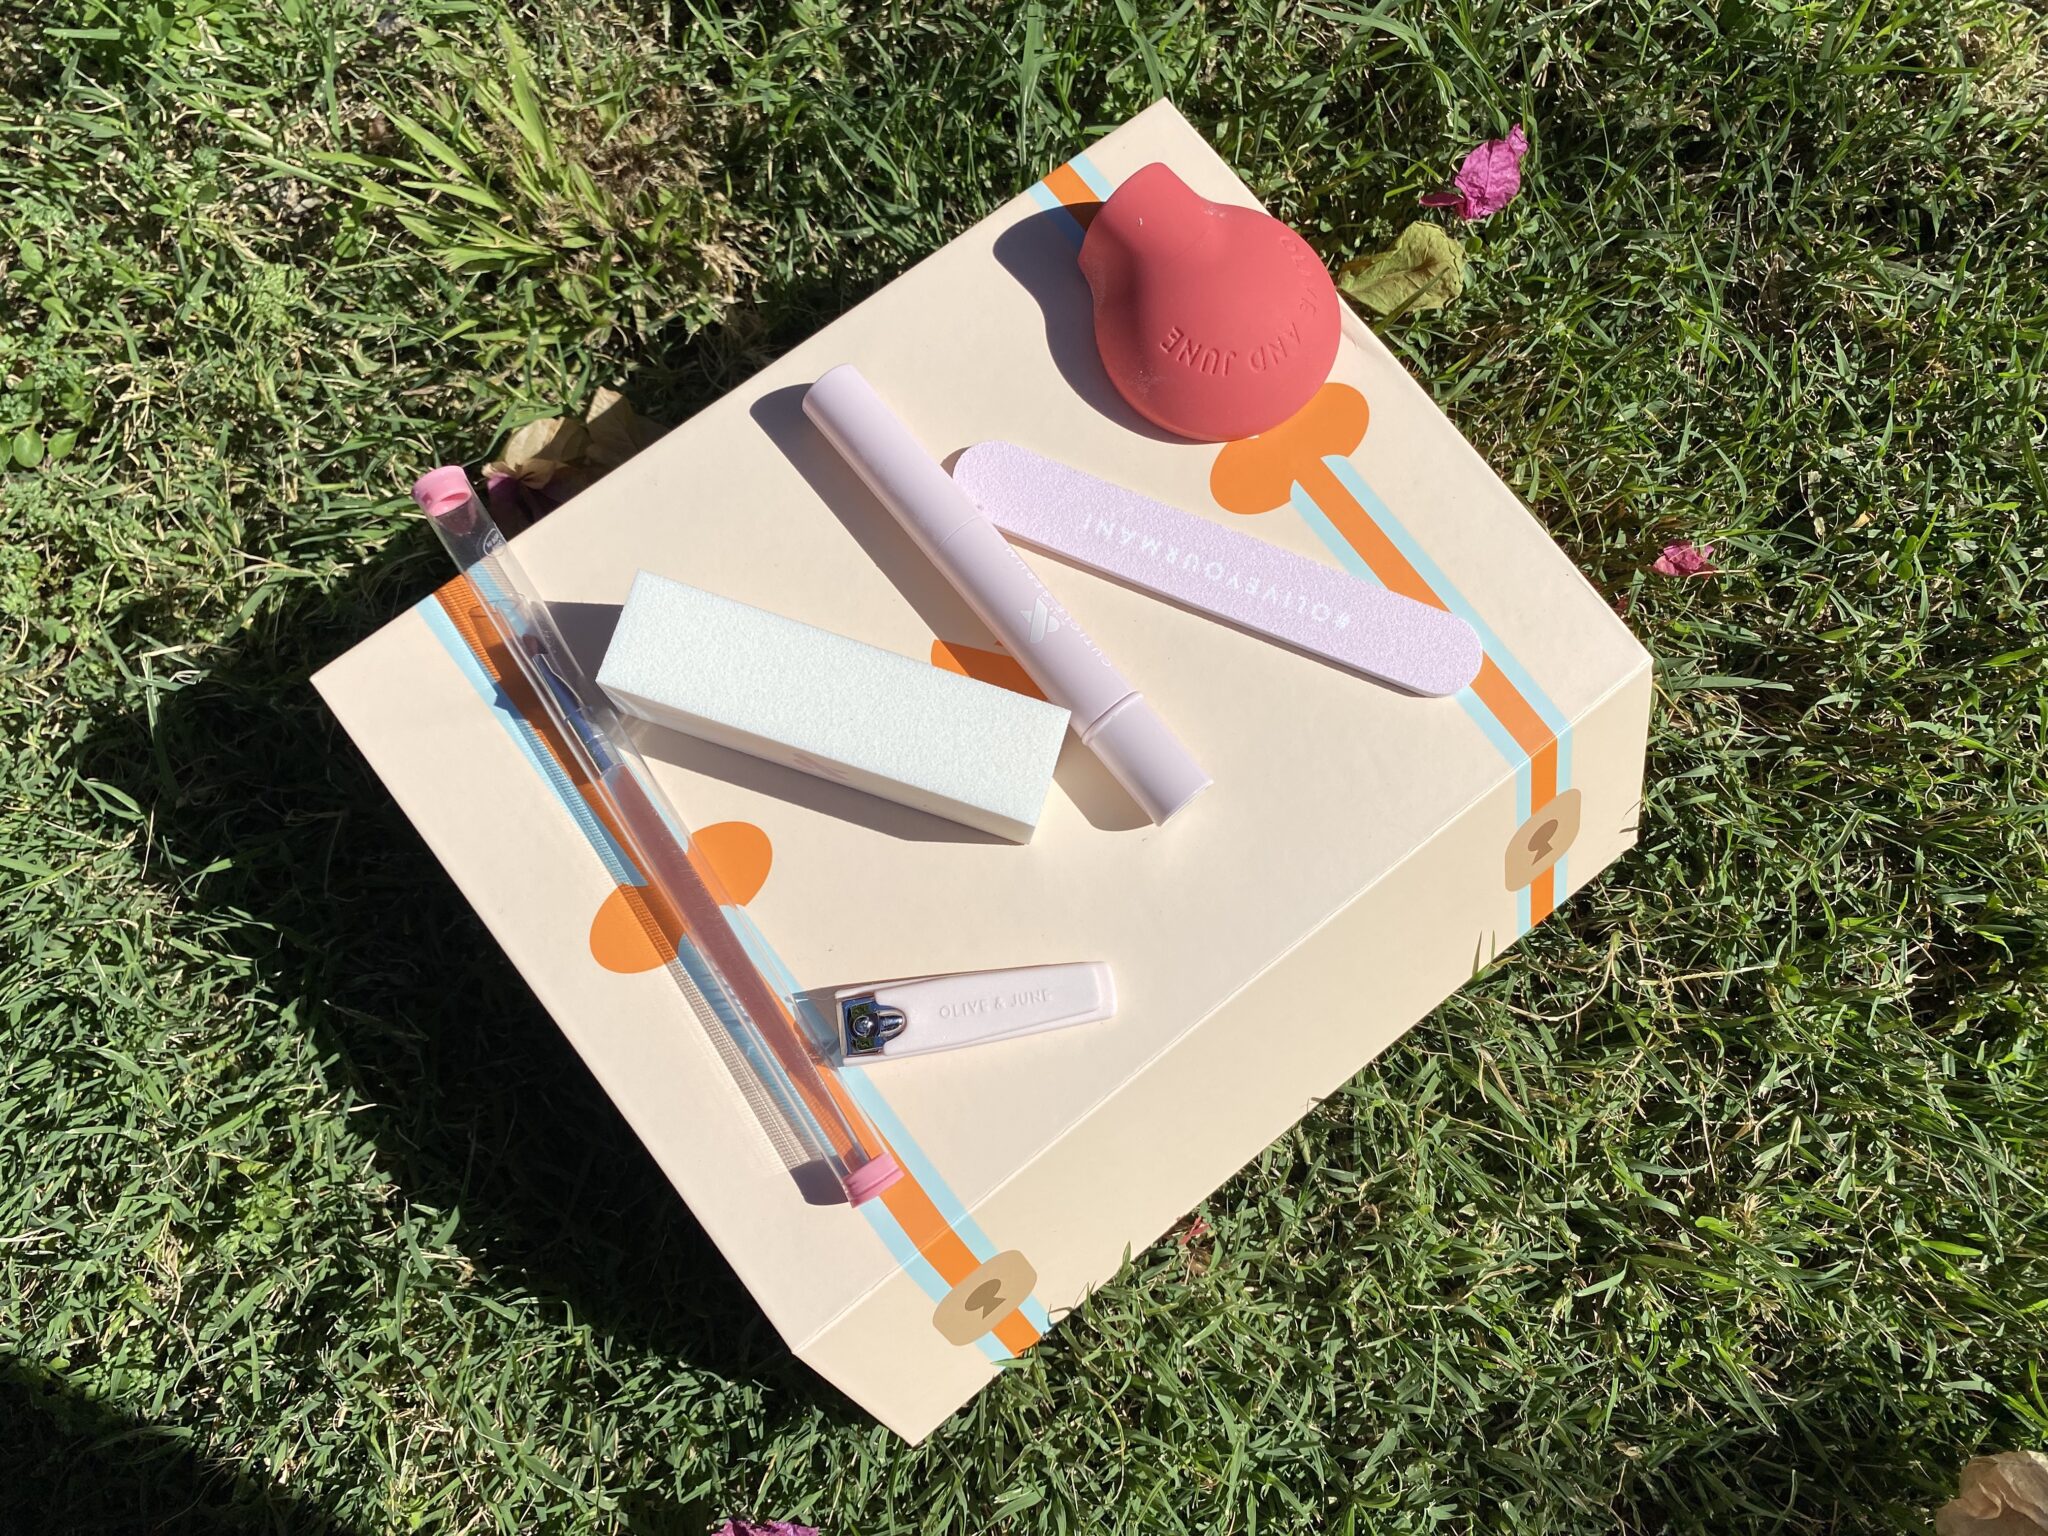
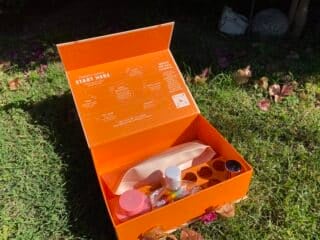
My Olive and June mani kit included:
- Nail Polish
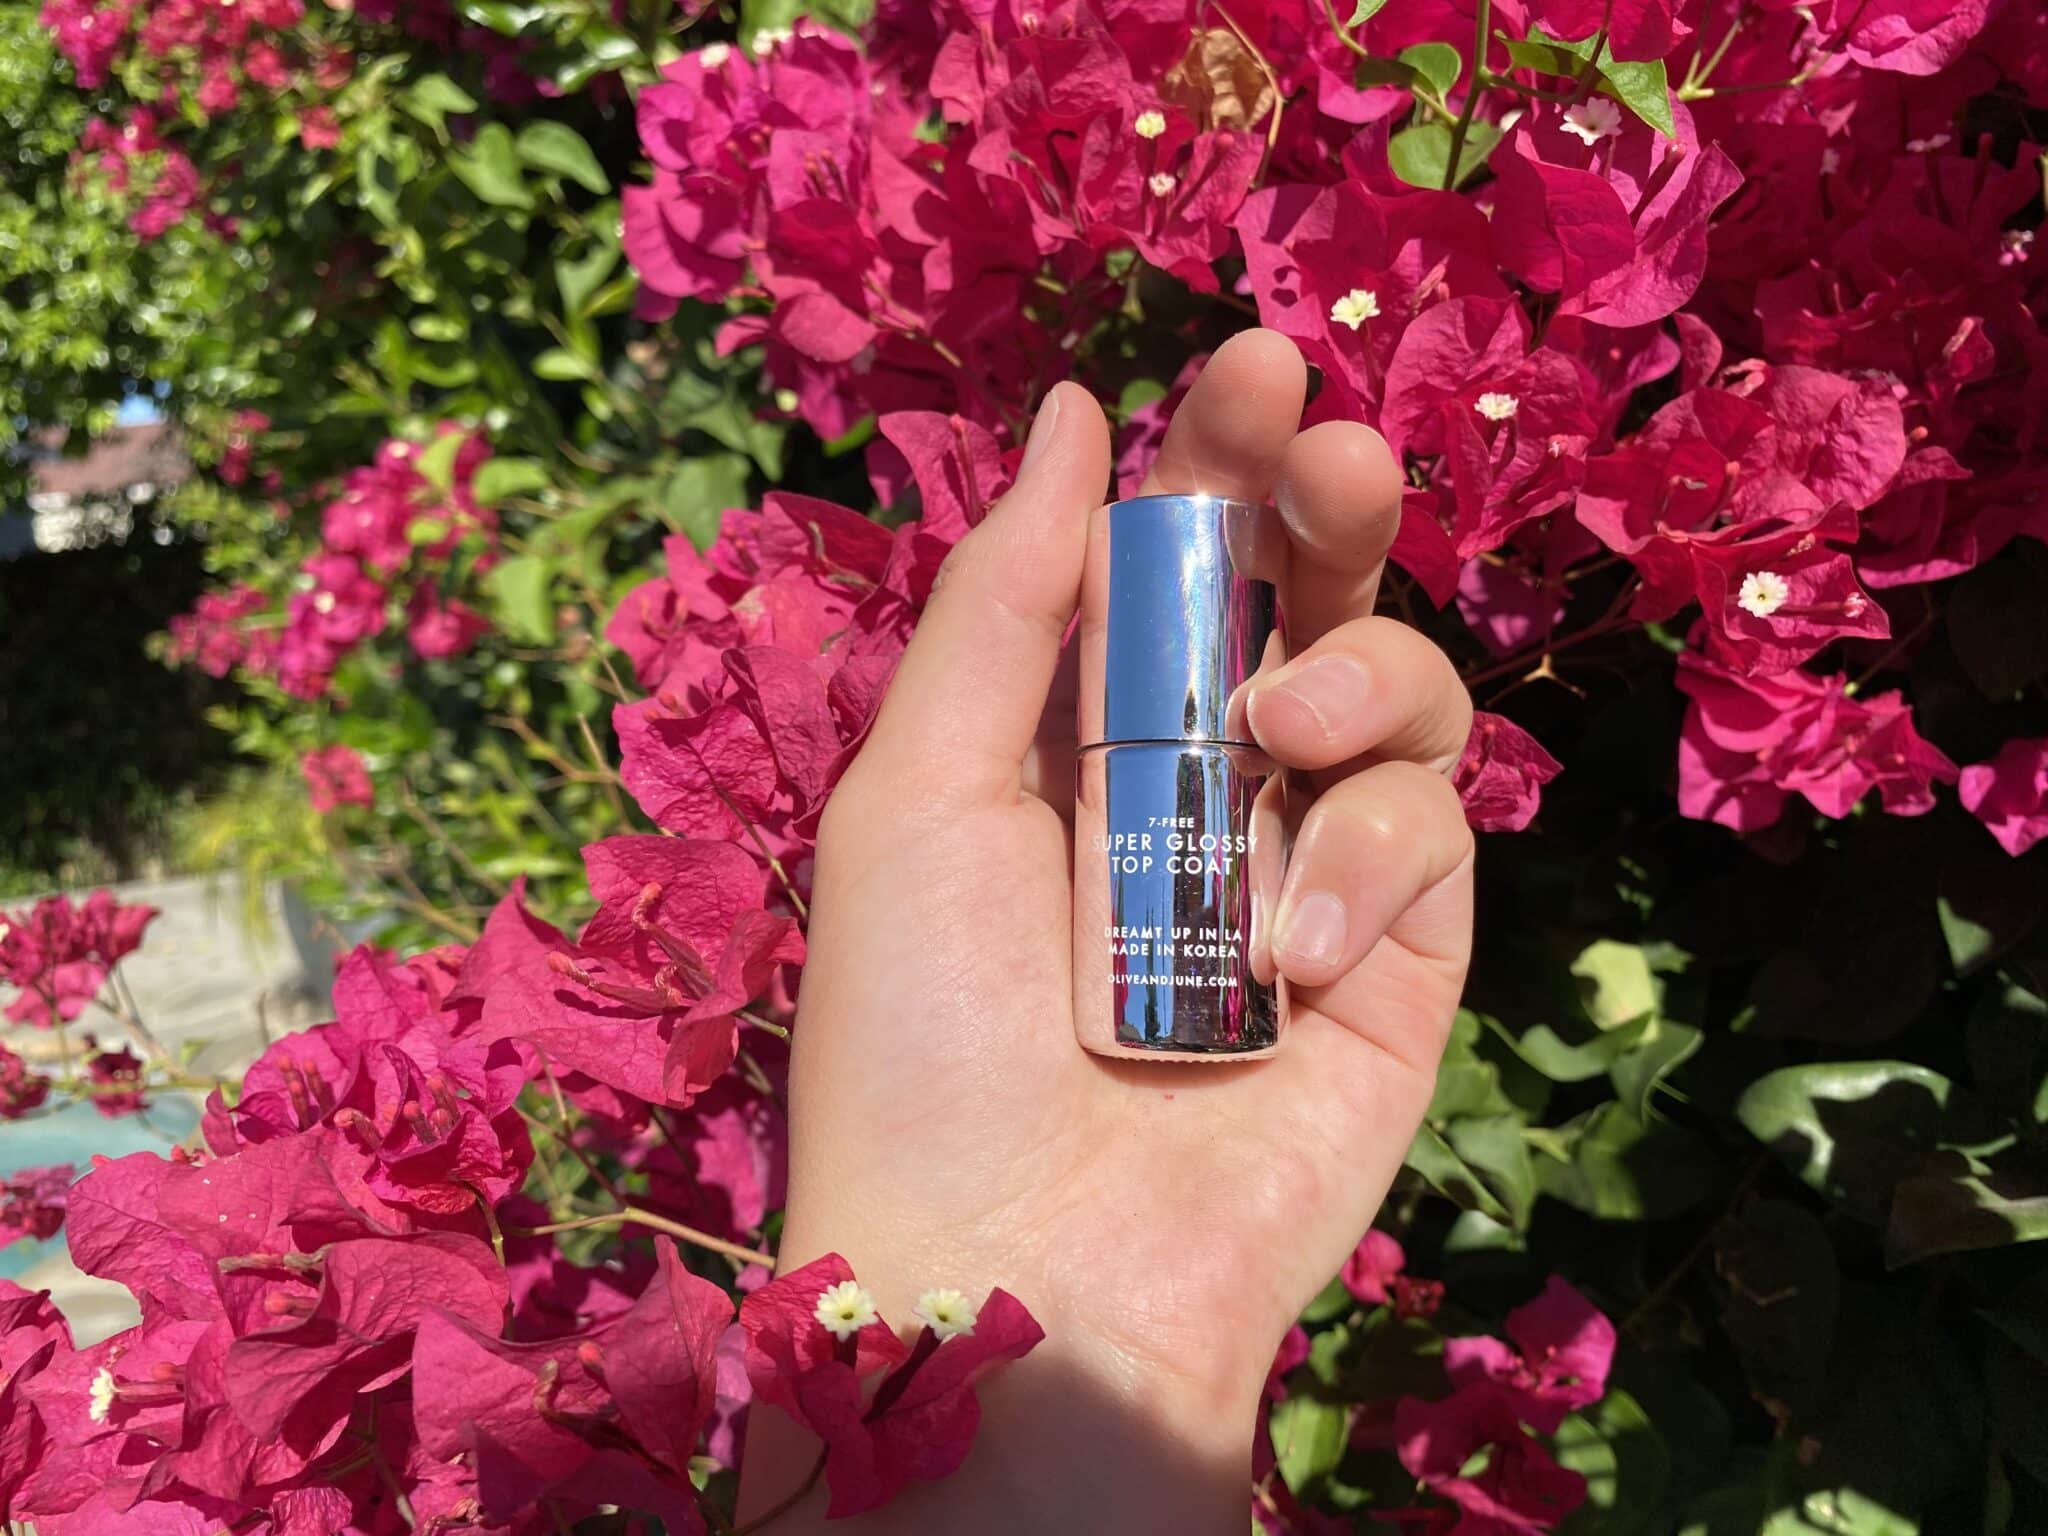
- Top coat
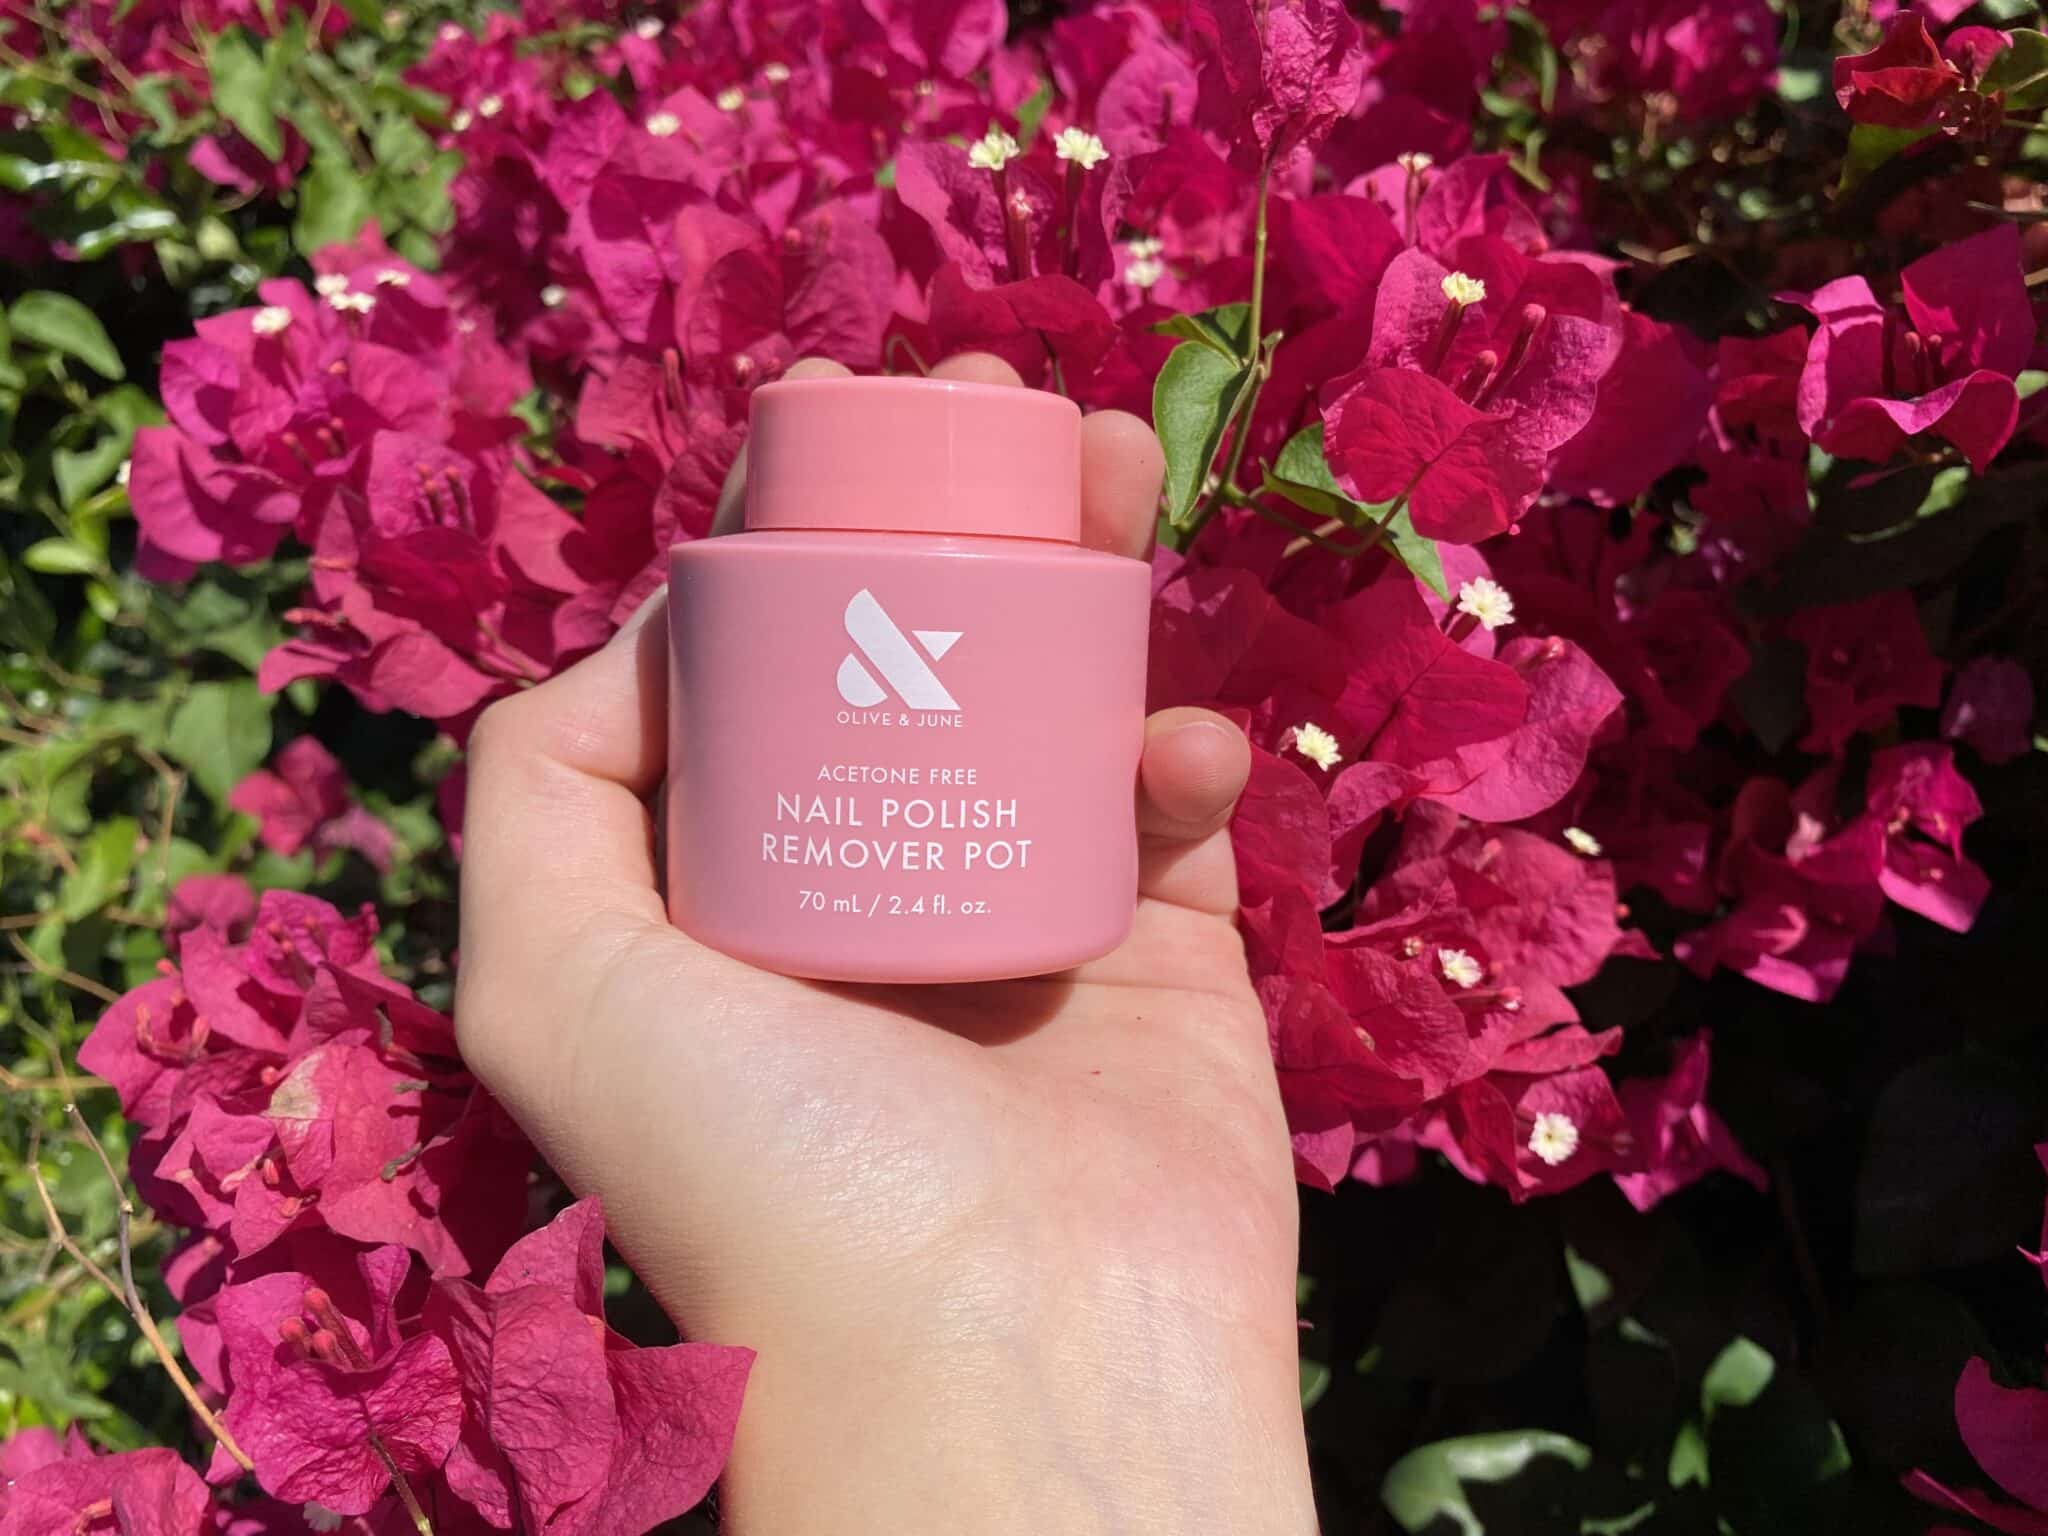
- Nail polish remover pot
- Nail file
- Cuticle serum
- The Poppy Polish handle
- Clean-up brush
- Nail clippers
- Buffer
- Extra: Dry Drops
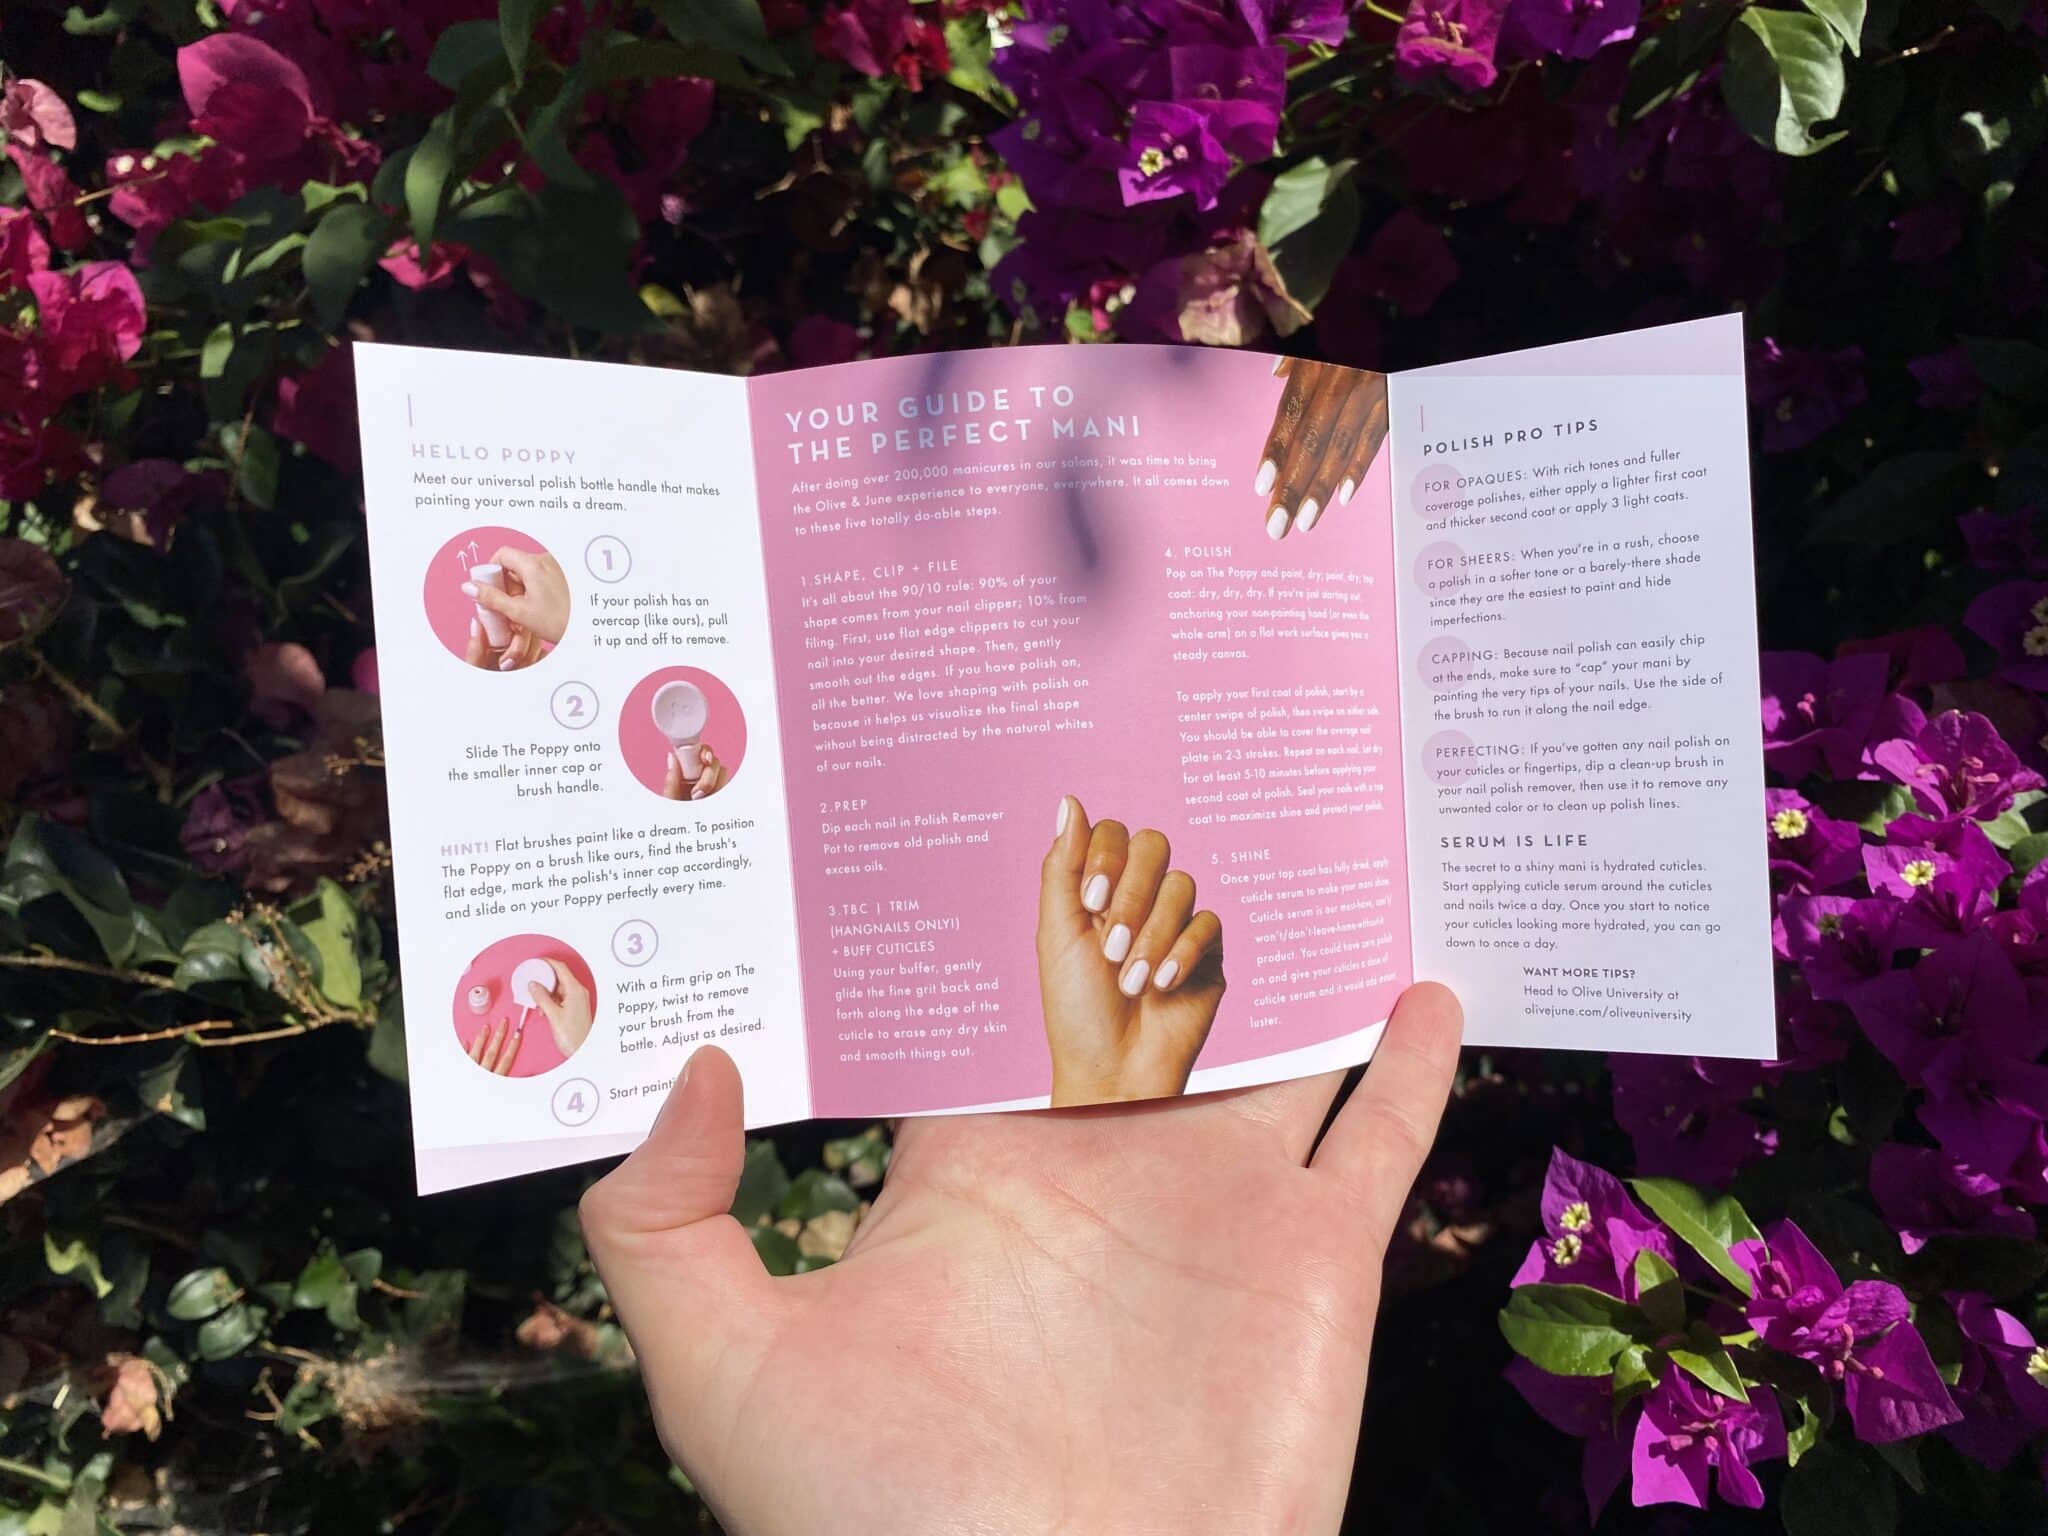
As you can see, it has pretty much everything you need for a home mani, and the nail tools are super cool. They also have steps to make sure you get the longest wear on your nails!
Using the Olive and June System
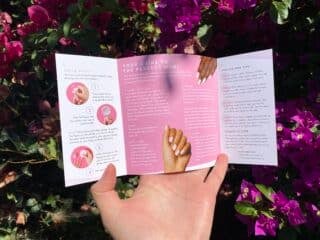
On the box, they include this cute map that swirls around the lid to help guide you on doing your own nails.
To start, you shape with the nail clippers and nail file. The nail straightener tools help to shape your nail ends into whatever shape your heart desires, such as oval, square or almond.
I like the Olive and June clippers because it has a silicone cover over the top that catches all little pieces while you go. Nothing is more convenient than clipping your nails wherever you want instead of hunched over a trashcan.
Their dual grit nail file comes in a cute pink color and gets the job done, but isn’t anything to ring home about.
After you’ve shaped, it’s time to prep. Push back each cuticle with your other nails or a tool you have at home.
Next, take the nail buffer and buff out the tops of your nail lightly. It’s important that you use the buff block and not the nail file, as it will damage your nails and thin them out.
Following this, Olive and June instructs you to use the remover pot, regardless of if your nails have any previous polish on them. The pot has sponges inside with Olive and June nail polish remover that you swirl your finger around in. It gets any residue polish and dirt off quickly and it’s super easy to store.
Additionally, you should keep your nails away from water as it will reduce chipping (aka my worst enemy).
Now comes the pièce de résistance: getting that Olive and June polish on your fingers! The nail polishes come in a cute cylinder bottle with an easy-to-open lid. My favorite part about the polish is that the top pops off so you can put on the polish handle.
I’ve never heard of a polish handle before, but it’s pretty next level. The Poppy Polish Bottle Handle is a pink, circular piece that pops right onto the nail polish cap and makes application easier.
I think you could get by without using it, but it’s great for kids and people that need a little bit more steadiness, plus it helps when you’re painting your dominant hand.
Finally, apply the top coat. The kit includes a clean-up brush for any mistakes you make so the final result is a clean, perfect mani!
They also include Olive and June cuticle serum with a spongy tip that’s super fun to apply and rubs in nicely to your hands. The Olive and June winning cuticle serum reviews I read were all boasting about the hydration it provides, but the applicator has a learning curve.
My advice: don’t over pump the hand serum; it takes a minute to get to absorb into the sponge.
The Pros of Olive and June
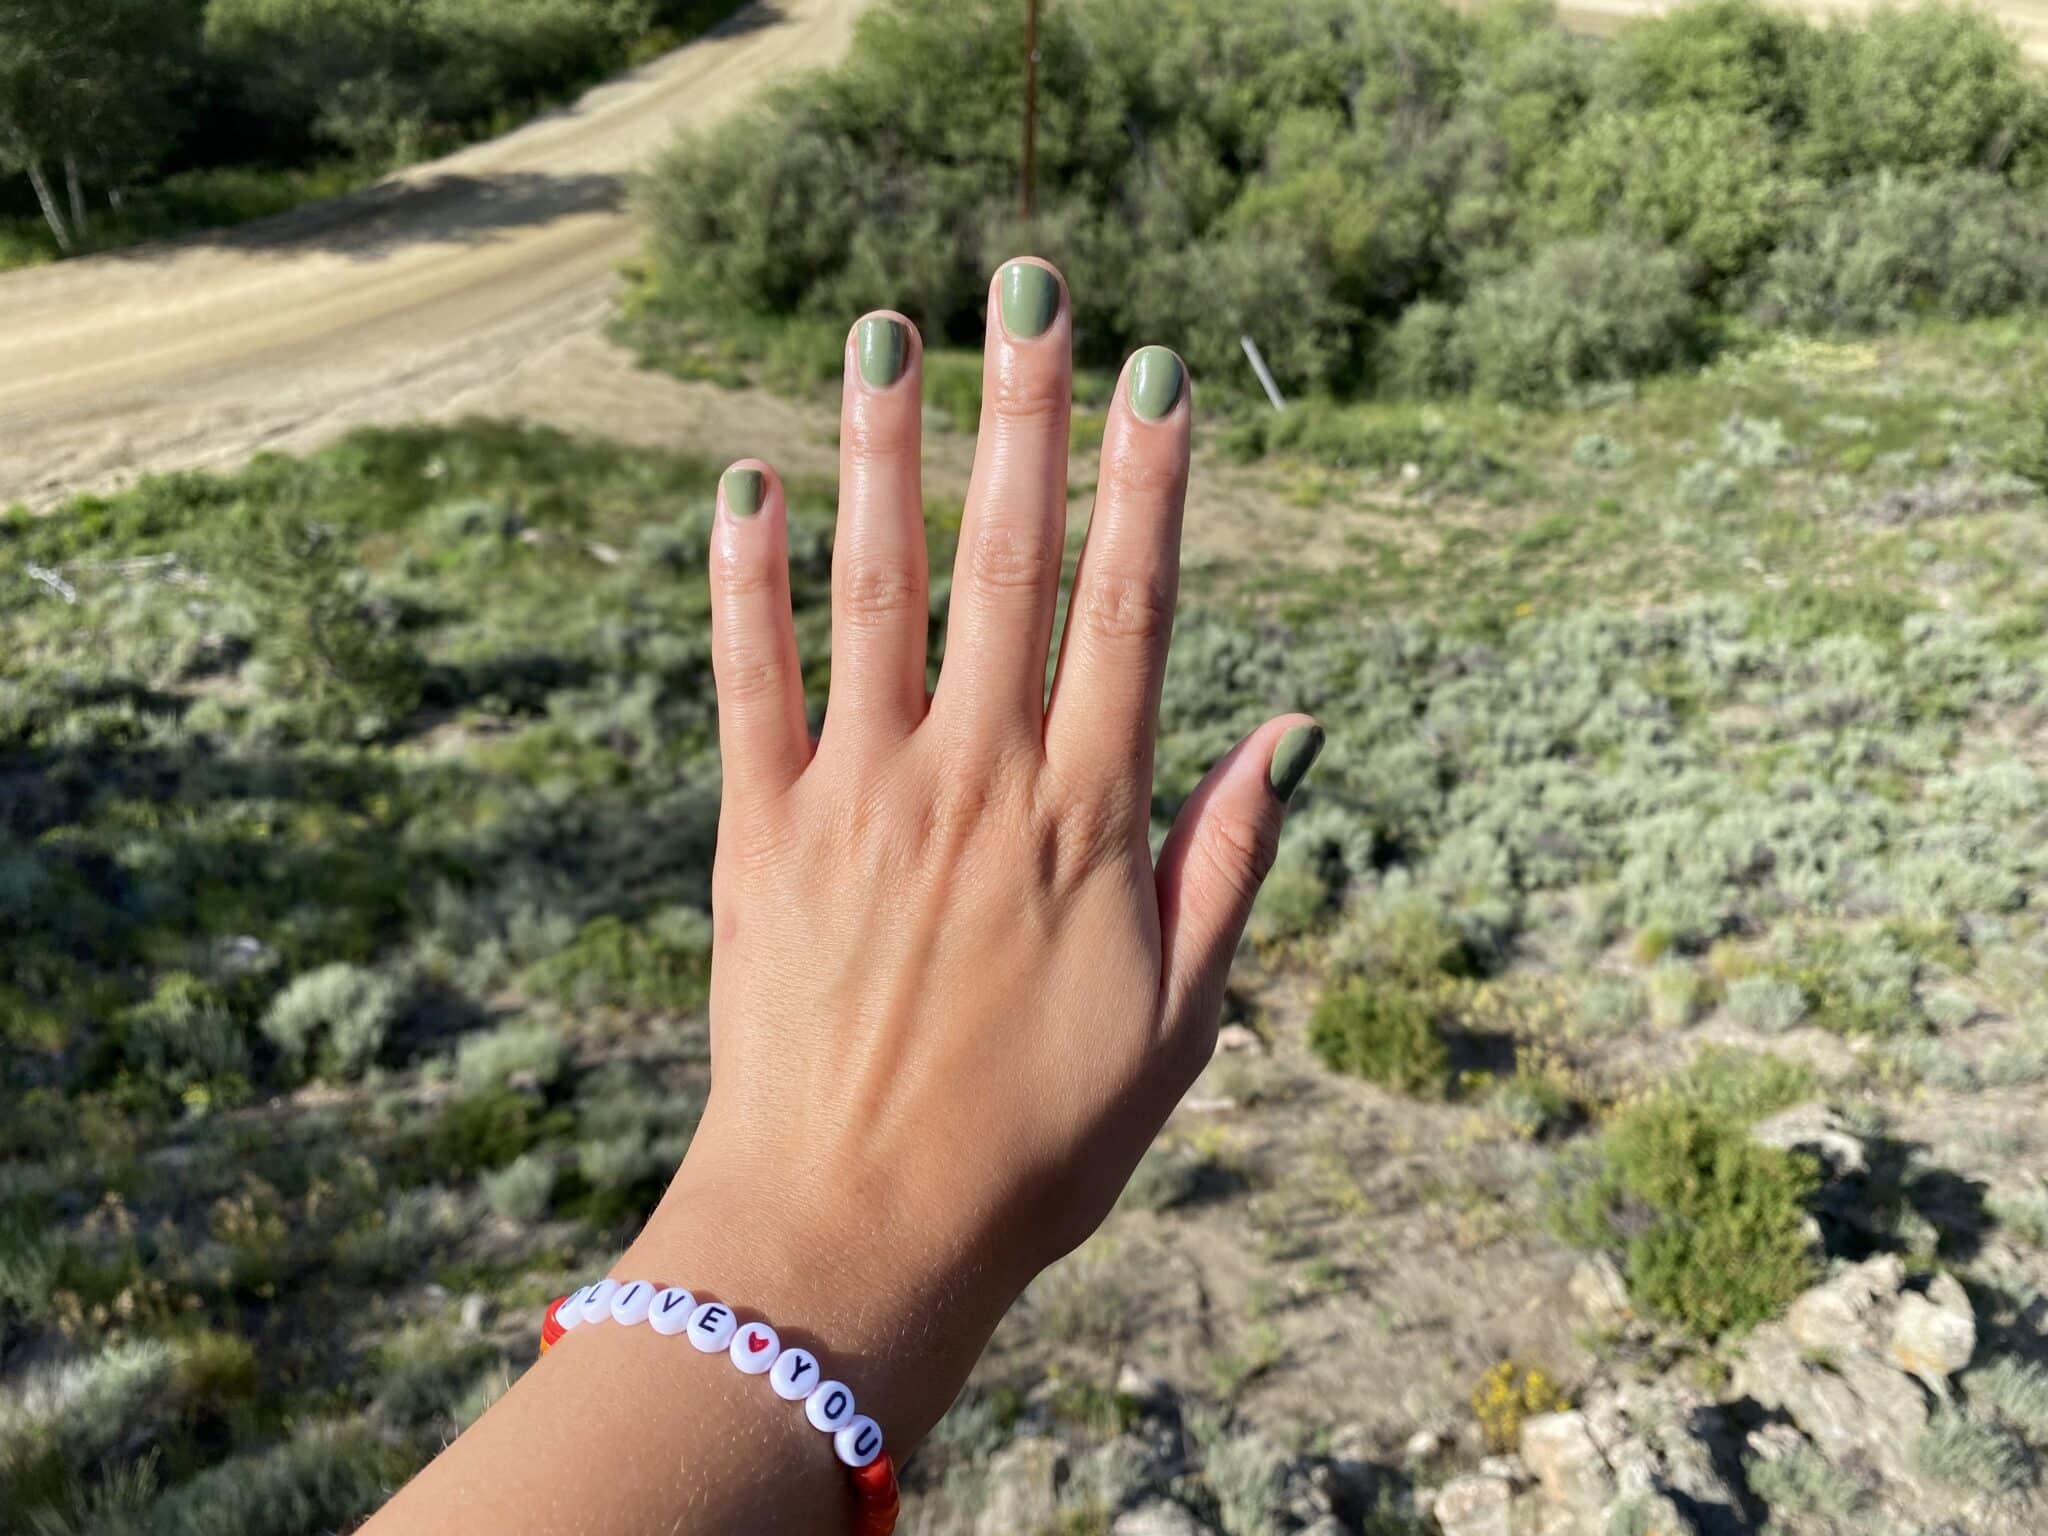
- Great colors! I got the shade WKF which is a “cool mossy green,” and it works wonderfully against my olive-toned skin.
- Application is easy, dry time is manageable, and the color is great against my skin.
- So far, I haven’t seen much chipping. The polish lasts longer than other brands I’ve used, but it takes a little more time to paint your nails with their system.
- “7-free” formulas
A common issue found when companies don’t use these ingredients is a lack of durability from their polishes. Still, Olive and June have managed to create a durable product without it!
The Cons of Olive and June
- I wish Olive and June had included edge nail clippers and something to push back your cuticles for better cuticle care, but you can still get a nice mani without them.
- The color is a pretty sheer polish for the first coat. You’re going to need to apply at least two coats of colored polish and a final top coat layer to get this polish to pop. The dry time is decent, somewhere in the ballpark of Sally-Hansens Insta-dry polish.
- Dry drops aren’t needed.
Olive And June Dry Drops Fail
As I mentioned, I also added the Dry Drops to my order! What are the Dry Drops? Drops to dry your nail polish (that I’d never heard of before!), so I was super interested to see if these guys worked.
Olive and June’s easy-to-use serum supposedly dries your nails in 80 seconds. They use jojoba oil in the mani serum to give your nails that glossy top finish, but it’s not worth the money.
I quickly realized how oily the serum was and it was all over my hands within minutes. On top of that, the nail polish was drying on its own within 80 seconds without the help of the dry drops polish. Although I liked the Olive and June manicure kit, you don’t need these drops in your basket. It’s not a keeper for your nail essentials.
What Should You Get From Olive and June?
Before we get into my final verdict… Let’s dive into the keepers!
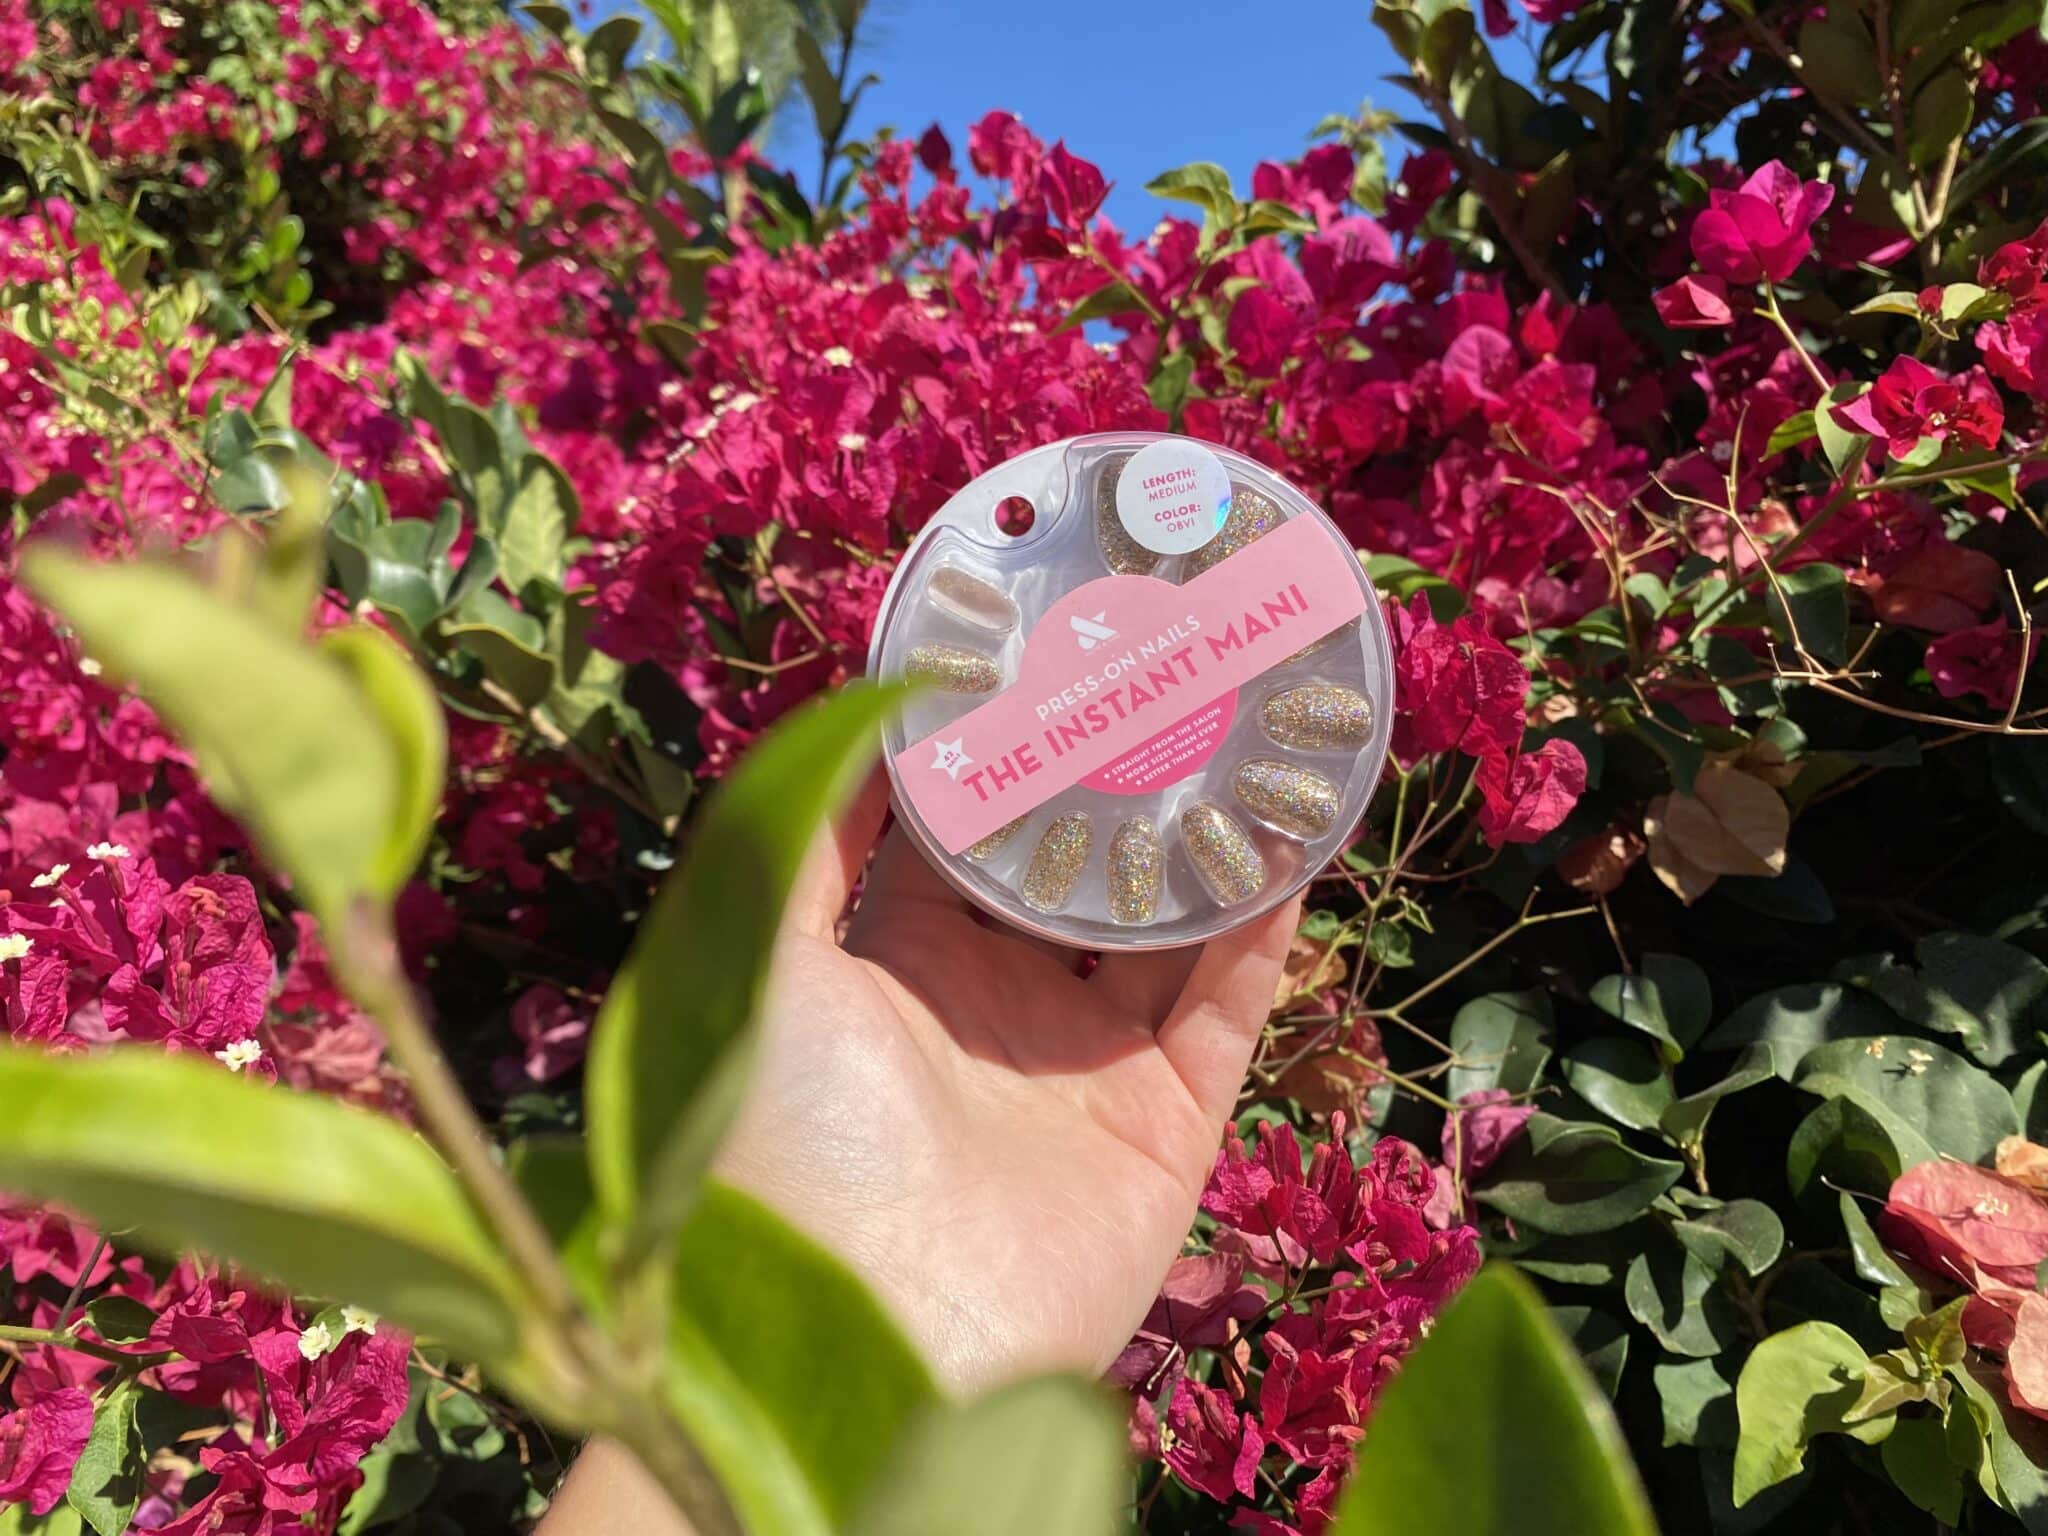
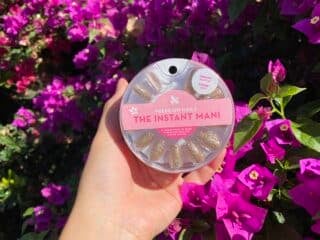
Olive and June Press on Nails
I picked up two of these bad boys at my local target and, bonus, they were on discount!
I’m a long-time lover of press-on nails and Olive and June have created great press-ons that I’ve been using for the past month. I’ve noticed that many companies create very thin, plastic press-ons and charge a hefty fee for them.
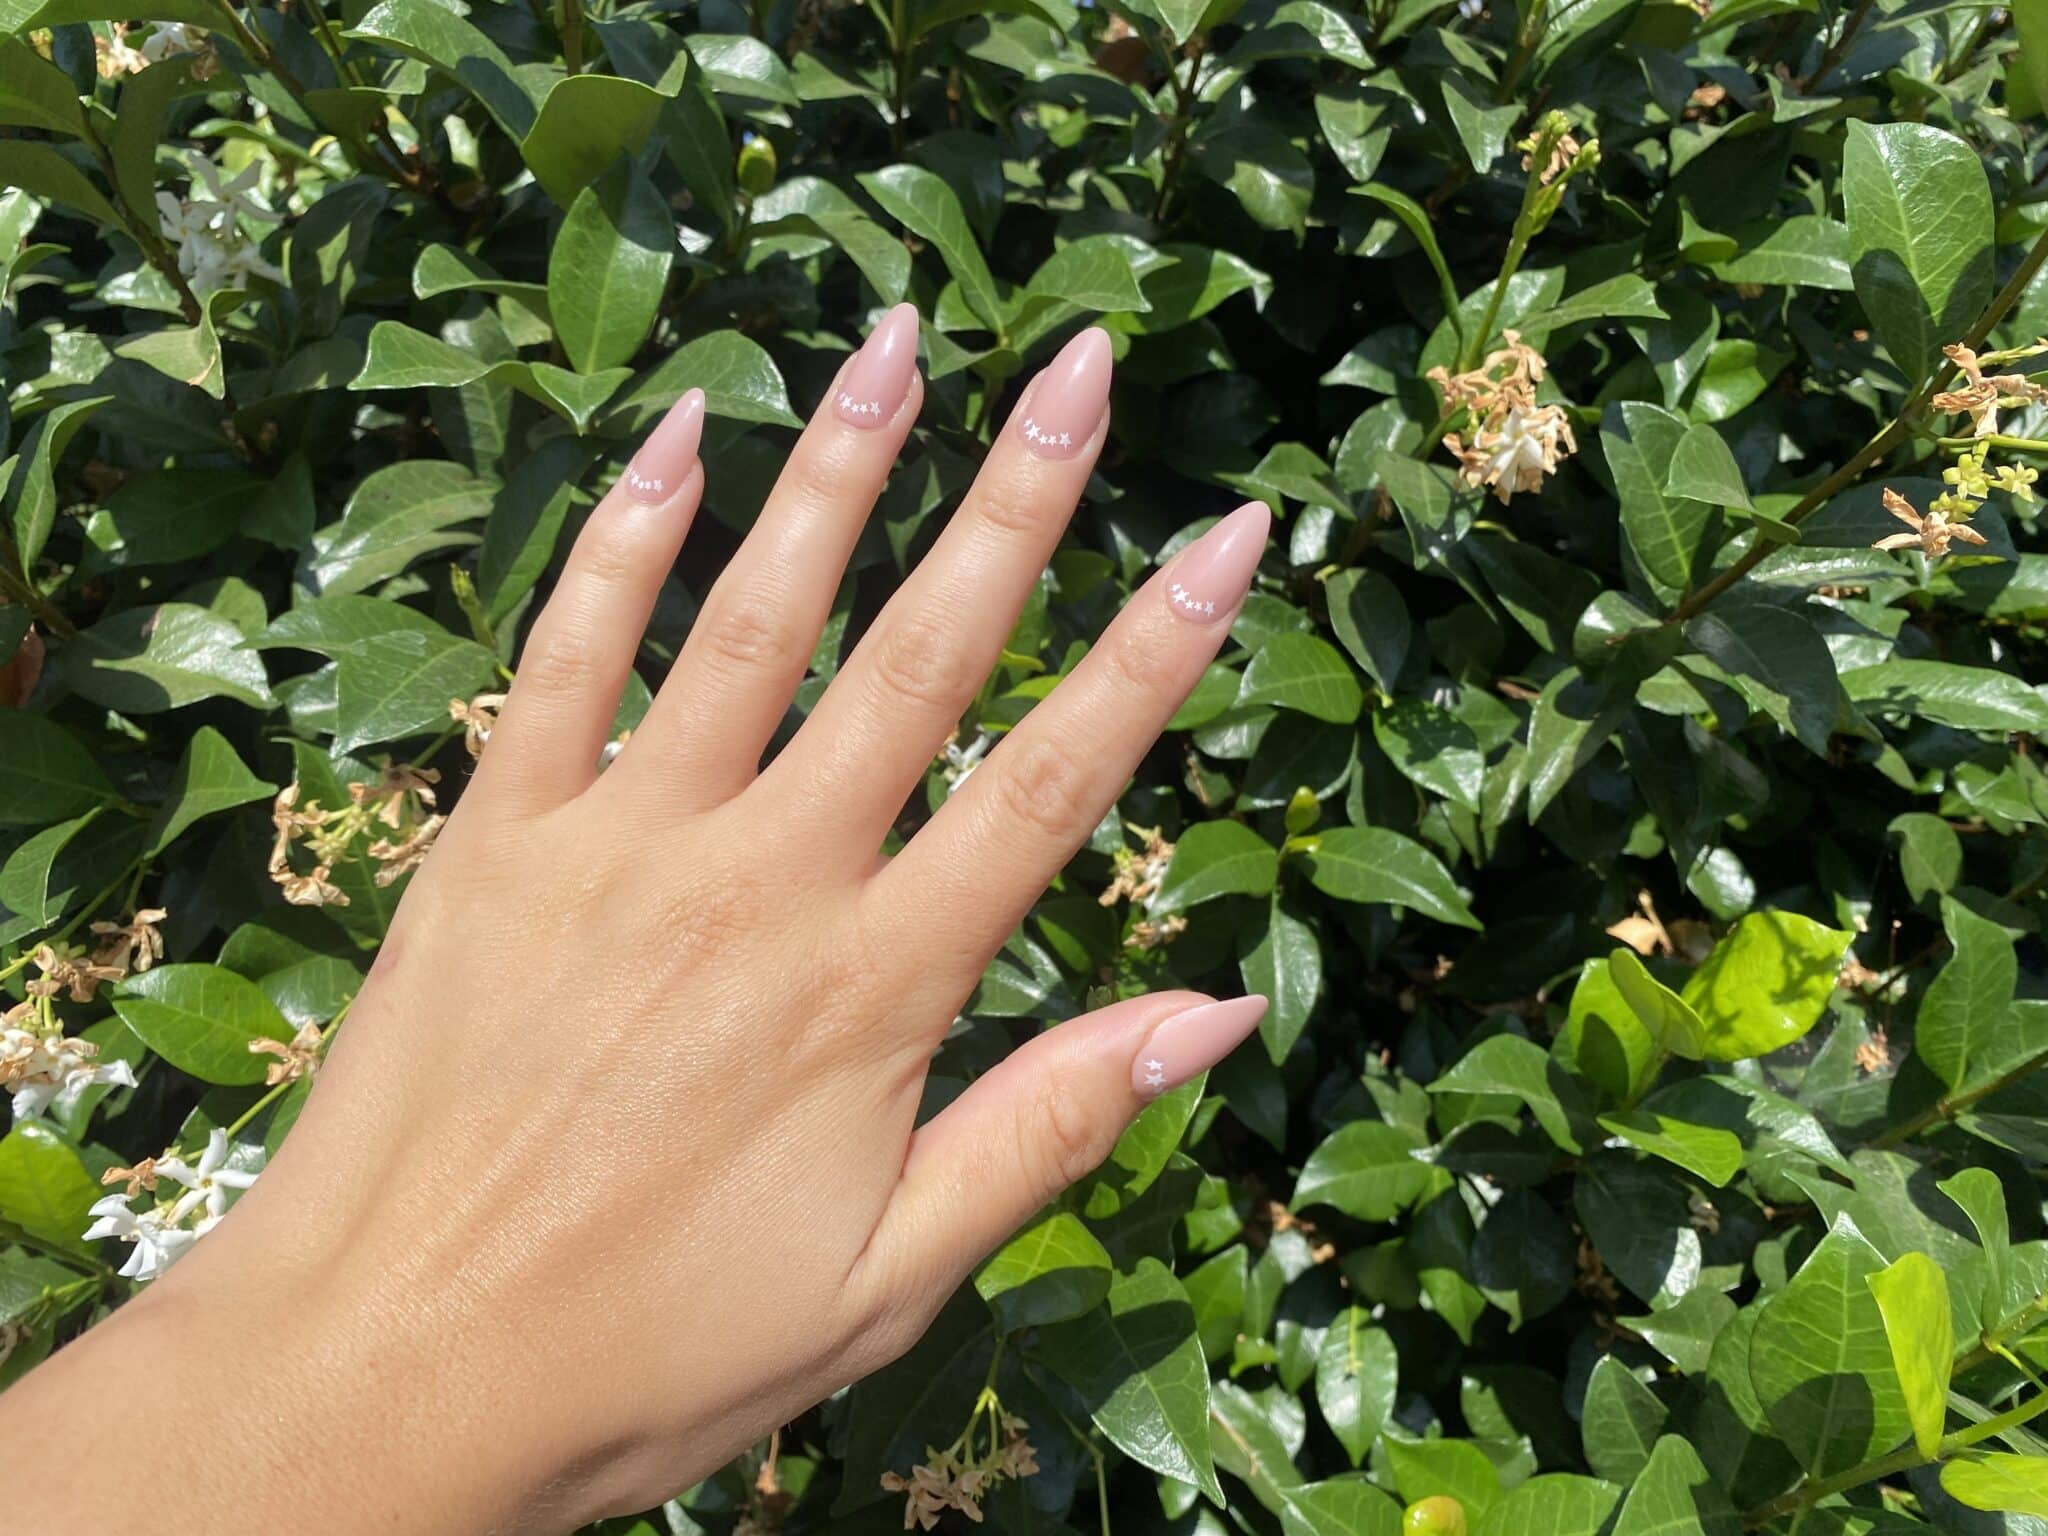
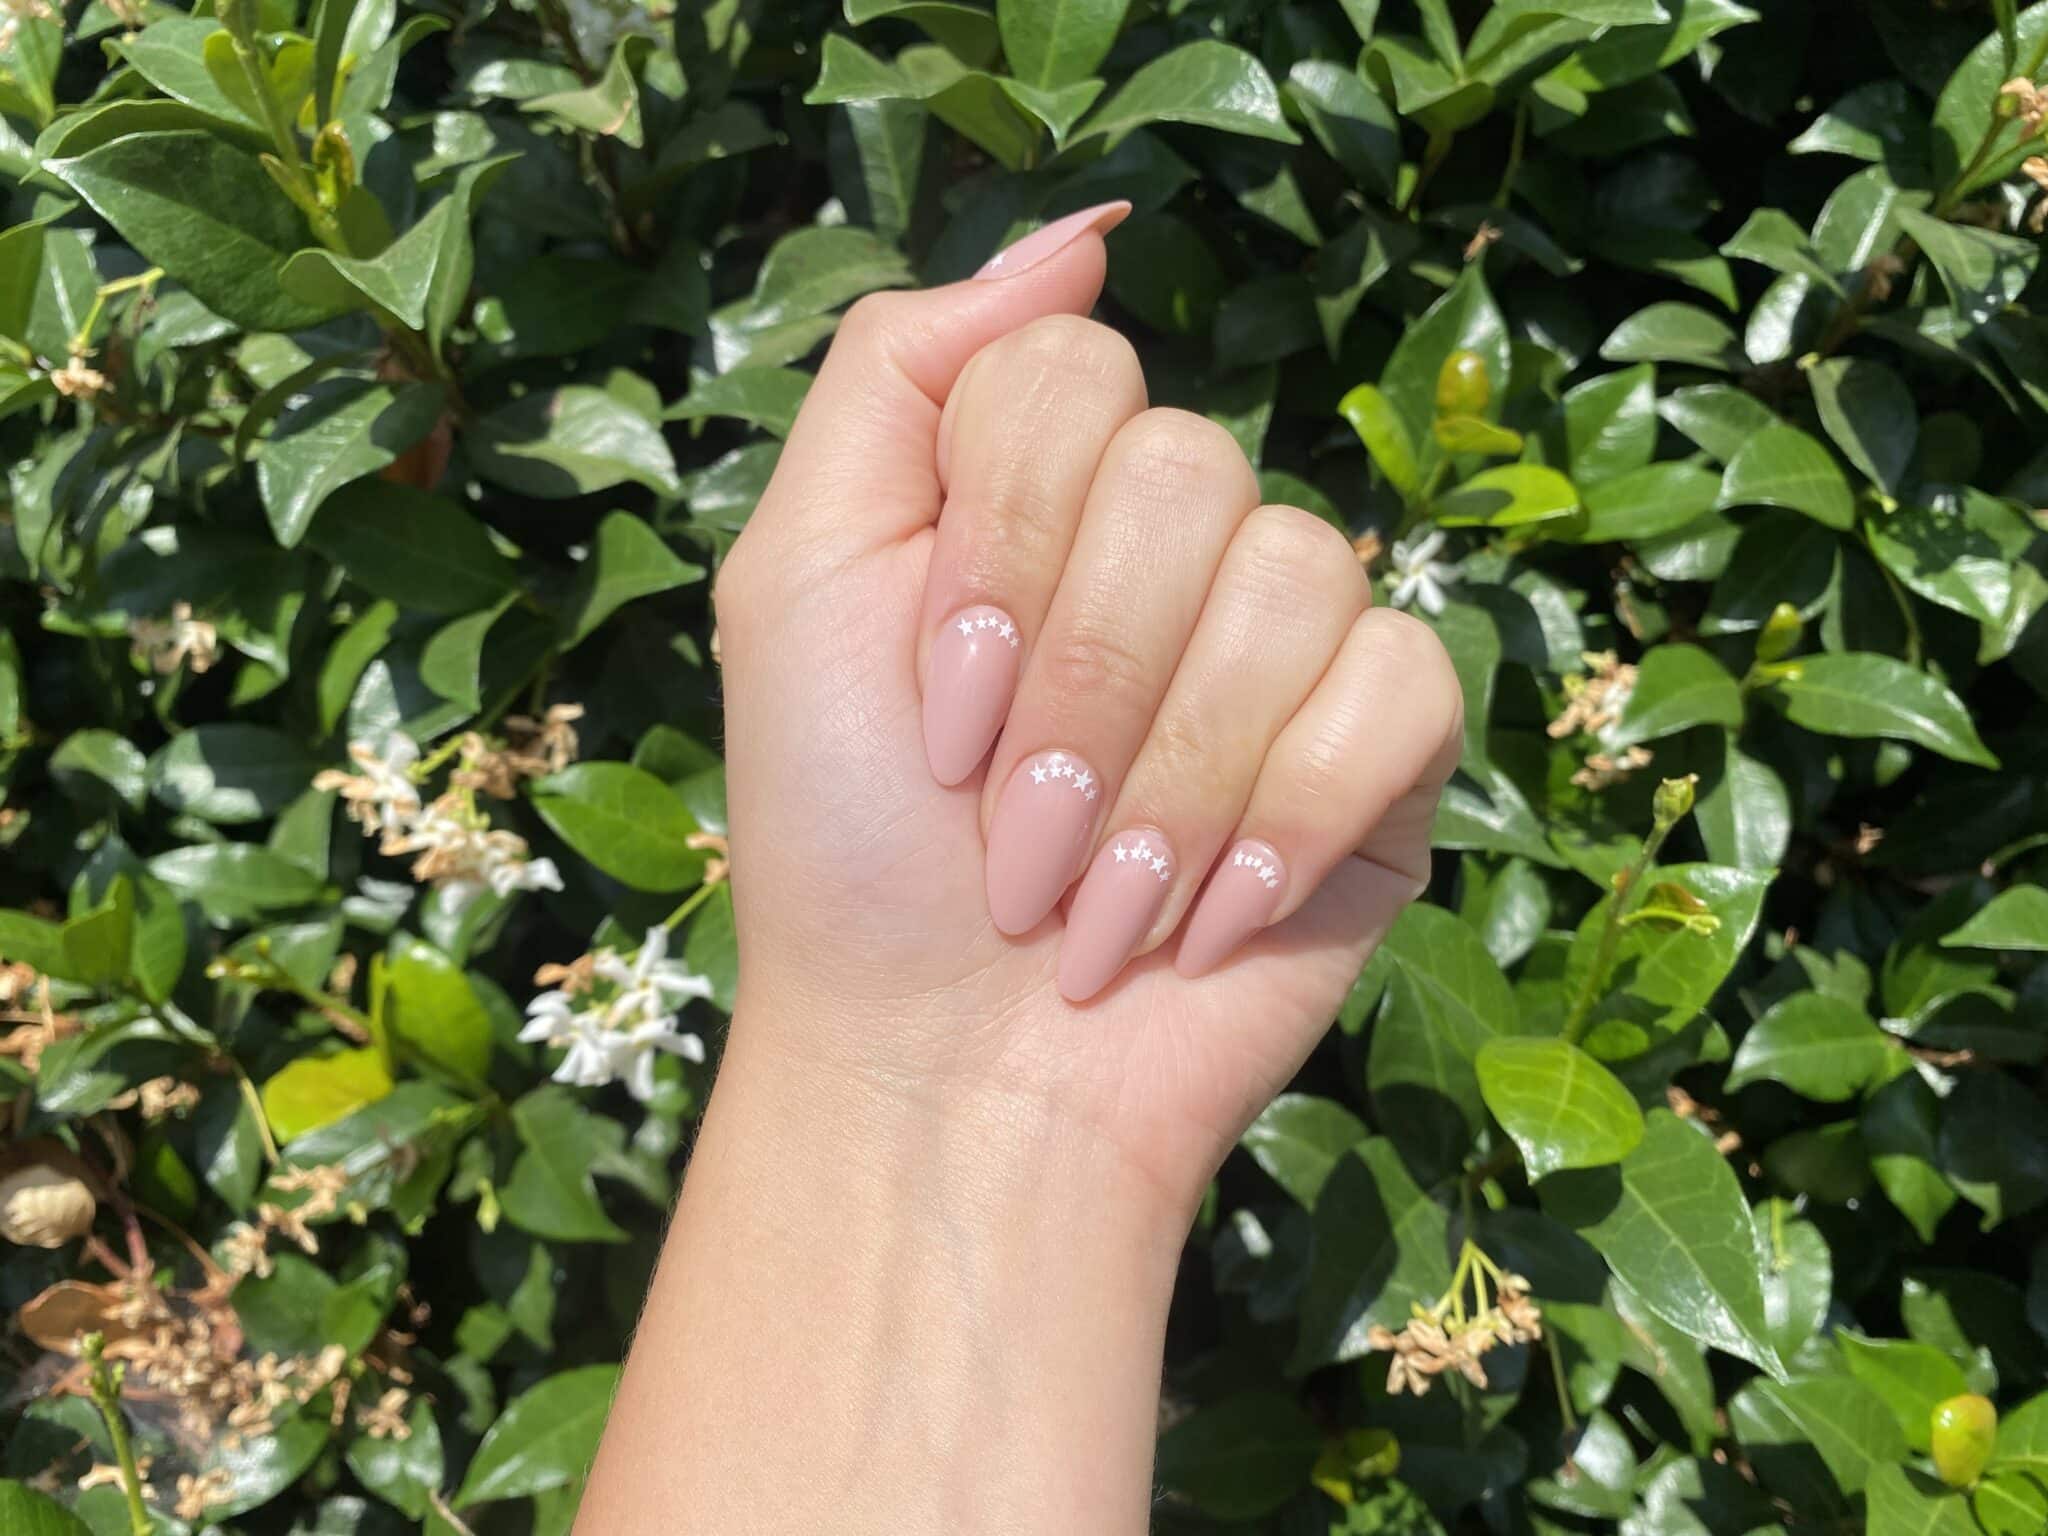
Olive and June’s press-ons are sturdy, last for days (if not weeks,) and you can shop them in-store or online! They’re also decently priced and come in really fresh designs.
You can pick up The Press on Mani System to give yourself a professional hand treatment or stick with the individual packs that come with nail glue and a file to help the nails stick better.
If you want to make your press ons last longer, check out Kara’s Impress Nails Review. She has some great tips. One of my favorites is to make sure you don’t soak your nails in water! Wear gloves for dishes, keep them out of the hot tub, and you’ll have a much easier time keeping your nails on!
I can’t even count how many Olive and June best sellers there are… but the top of the list is the limited edition Summer Neons Set press-ons which look pretty epic. This is a must-have for people that like color and the Y2K aesthetic. It’s $100, though… so maybe you only need one or two kits from this collection.
Olive and June Nail Systems
For the beginners, you want to pick up the Bootcamp Box that shows you all the things you need to know to get started.
Intermediates can head straight for The Polish Mani System I picked up. It’s easy and the Olive and June reviews boast how it’s helped transform nails! This is a kit for people who don’t know how to get a great finish on their nails and need some guidance.
Plus, it’s great for sharing. I did my 8-year-old niece’s nails and it’s the longest her polish has ever stayed on. She loved the colors, and the tools made her feel like she was at a professional salon.
Her manicure review: “I like the colors! I have the best aunt in the world she’s so pretty and nice and smart!” (I might have paraphrased that last bit.)
For the pros, you’ll like The Complete System. This kit includes the Pedi and Mani system, so you have every tool at your disposal! This kit would also be great for parties, weddings, and sleepovers.
Is Olive and June Non-Toxic?
They don’t explicitly say they’re entirely non-toxic, but the brand is “7-free,” which means it is free of seven common toxic ingredients found in nail polish.
Where to Buy Olive and June Nail Polish
You can find Olive and June polishes, press-ons, and tools in store at Target. They have a great selection to chose from, but they might be missing a few kits and pieces.
Head to the Olive and June website for a complete list of their products and colors!
Final Verdict: Is Olive and June Worth The Hype?
Almost every Olive and June nail polish review I read had something good to say about their colors. The only Olive and June complaints I read were about misplaced items, products not working correctly, and the dry drops.
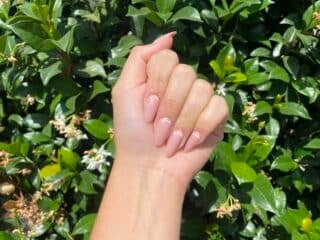
My personal experience with the brand was great. Everything worked, the packaging was fun, and I used everything they provided. My verdict: Olive and June is worth it!
While it’s not the cheapest option available, it’s great quality for something you can use for years to come. Plus, it’s a fun experience to share with friends and family!
Have you tried Olive and June before? What was your favorite color and kit? Do you have another nail brand I should check out? Leave your thoughts in the comments below!









8 comments
Great review! I’ve heard so much about Olive and June, but I was unsure if it lived up to the hype. Your insights on the application process and longevity are really helpful. I think I might give it a try now!
I loved your review of Olive and June! I’ve been curious about their products for a while, and it was great to hear about your personal experience. The wear time sounds impressive, and I appreciate the tips you shared for getting the best results. I think I’ll definitely give it a try now—thanks for the insights!
112737 708977Hello there! Great post! Please inform us when I will see a follow up! 816605
766206 841110The next time I just read a weblog, I genuinely hope which it doesnt disappoint me up to this 1. Get real, Yes, it was my choice to read, but I personally thought youd have something fascinating to convey. All I hear can be a handful of whining about something you can fix in the event you werent too busy trying to locate attention. 749918
I really enjoyed reading your review on Olive and June! I’ve been curious if it lives up to the hype, especially regarding its longevity. Your insights on the application process and results were super helpful. I think I’ll give it a try based on your experience! Thanks for sharing!
I really enjoyed your review on Olive and June! I’ve been curious about their products but wasn’t sure if they could live up to the hype. Your insights on the longevity and application process really helped clarify things for me. I think I might give them a try now!
Hello! Would you mind if I share your blog with my myspace group?
There’s a lot of people that I think would really enjoy your content.
Please let me know. Many thanks
504153 385979Would love to constantly get updated excellent internet weblog ! . 525992