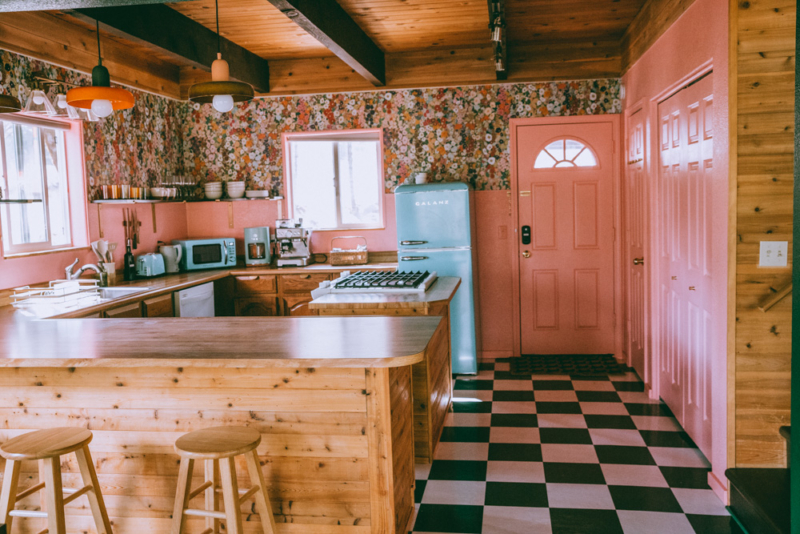
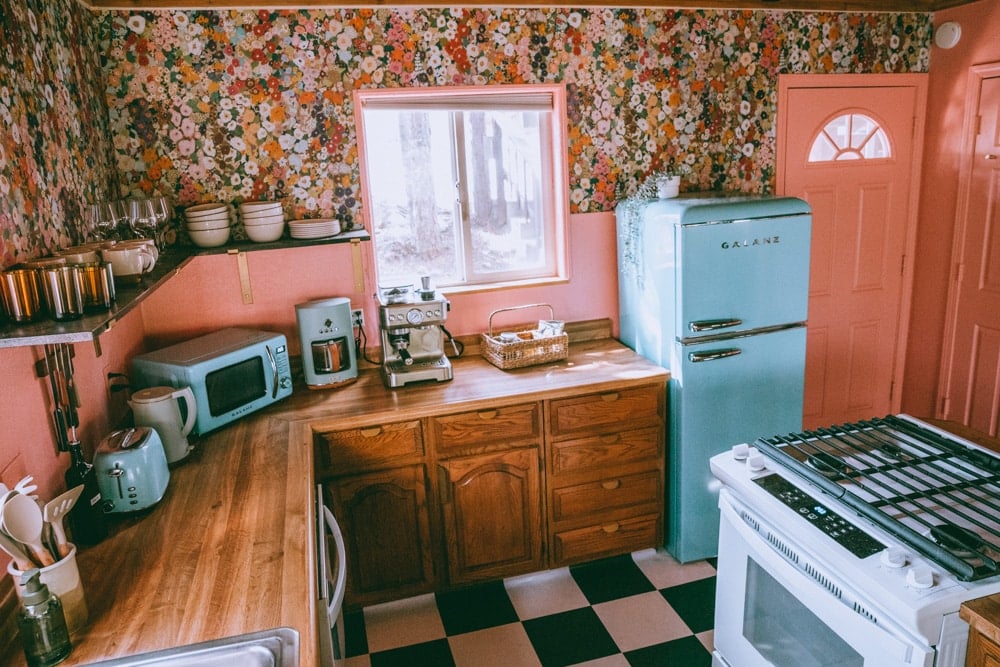
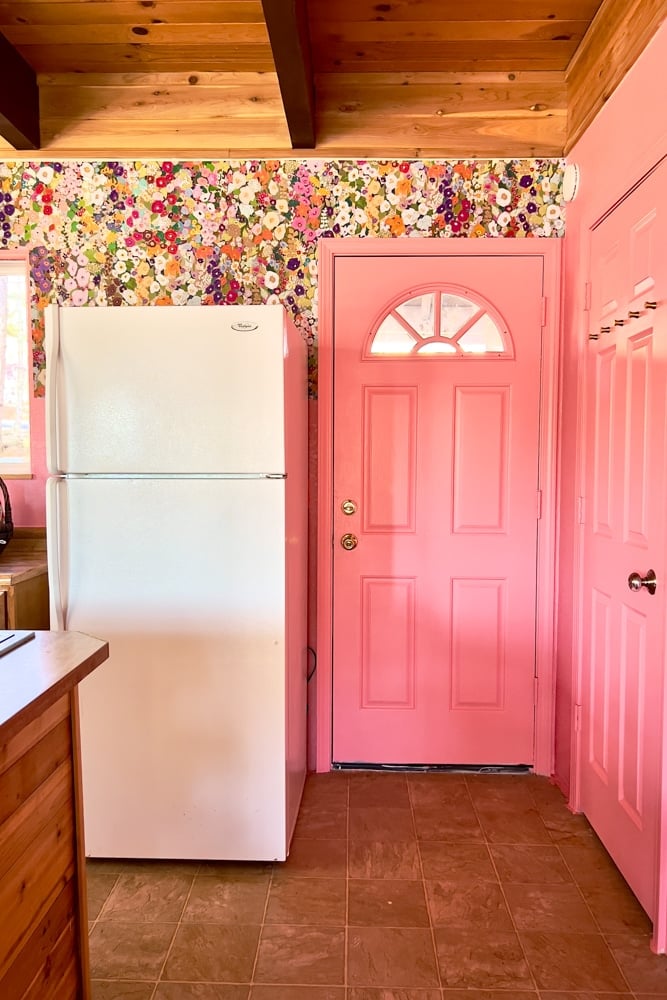
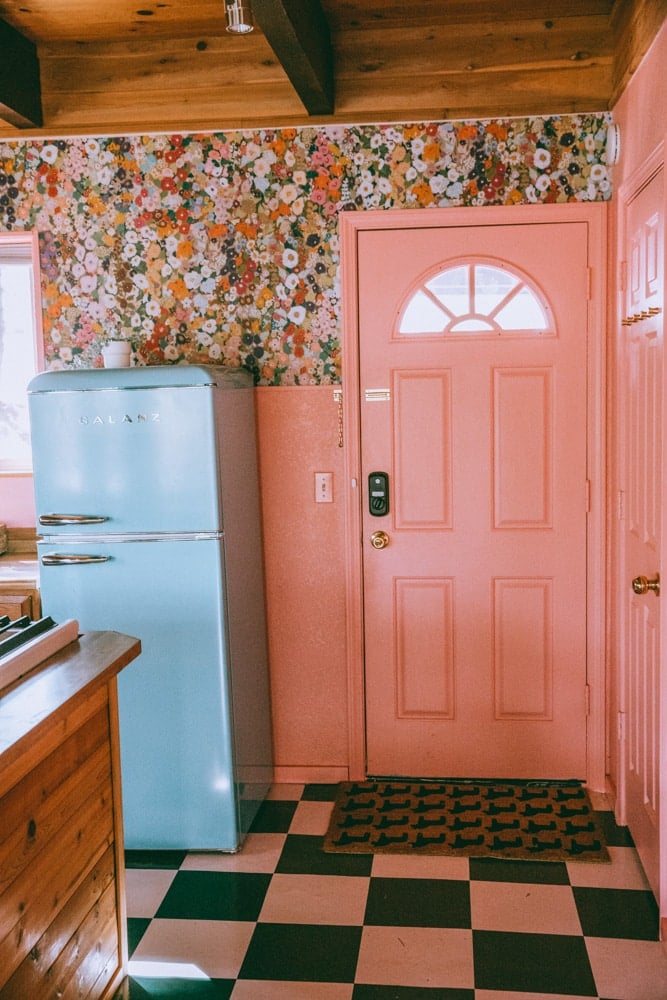
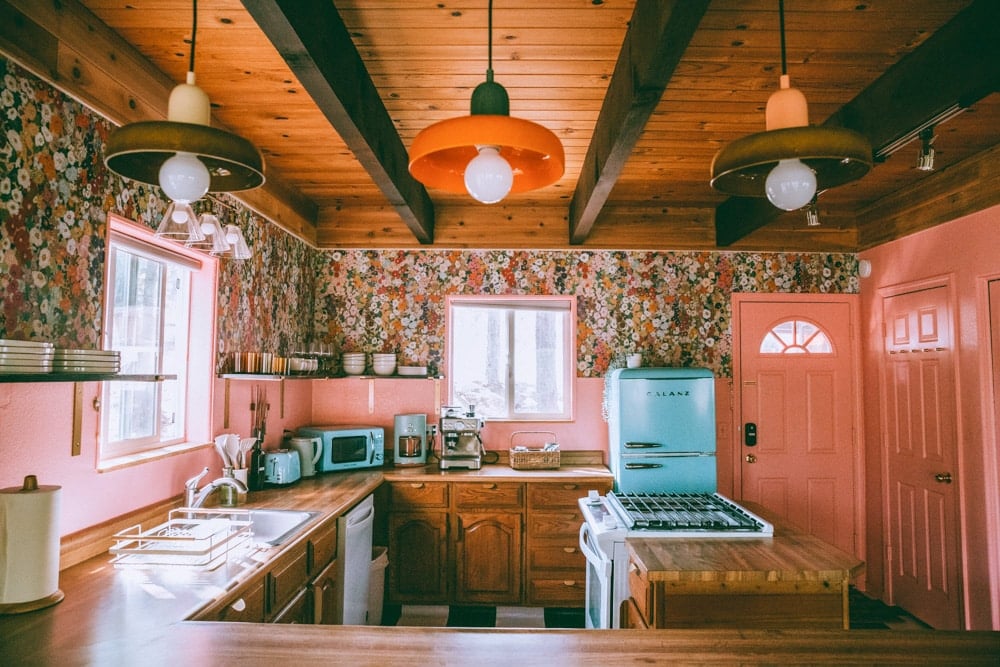
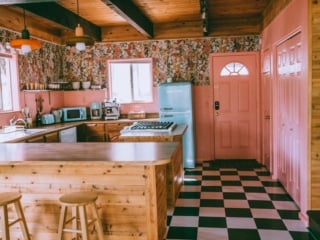
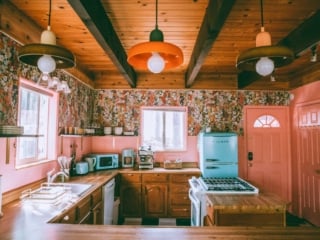
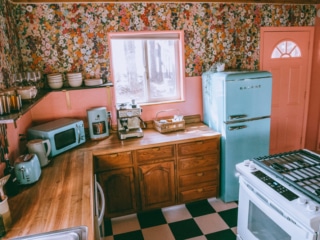
Yes, I really painted my cabin’s kitchen pink. And not just a statement wall – even the doors got painted!
When Robin and I bought our Whimsy Homes cabin (it’s in California, you can book it here, btw!) we both saw tons of potential behind all the dated furniture, appliances and cabinets.
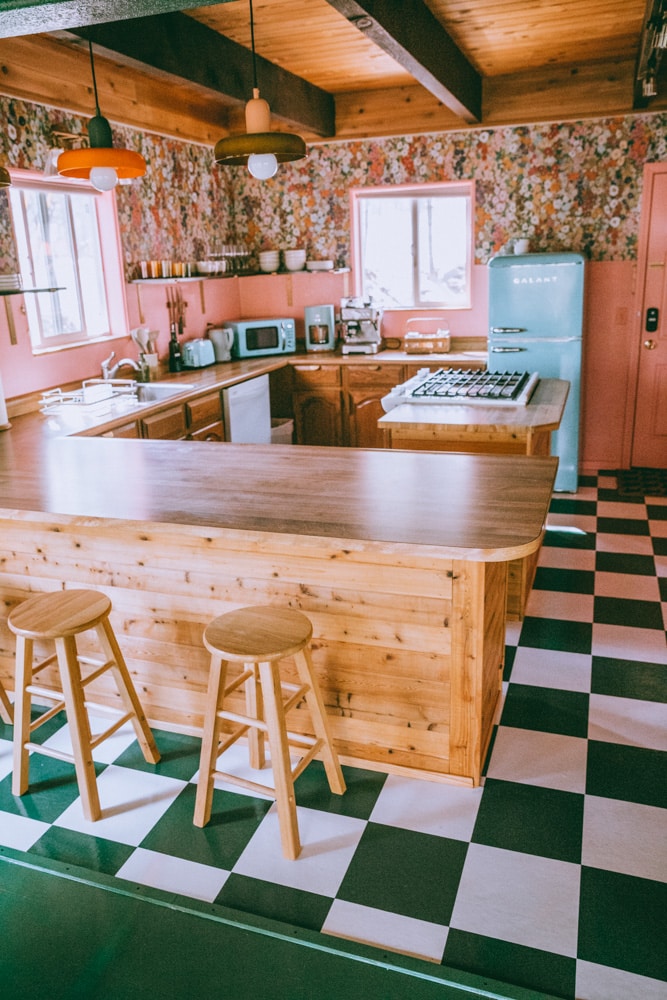
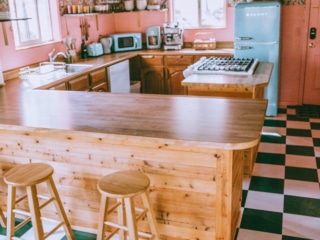
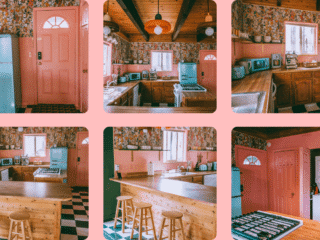
We didn’t have it in our budget to do a total overhaul with brand new everything, but with the help of paint, wallpaper and clever DIYs, I turned my drape space into a beautiful pink kitchen that’s one of my favorite rooms in the cabin.
Here’s how I did it.
Pink Kitchen Ideas
Unlike our living room, which I painted green and had inspiration for right away, it took me a while to decide on a pretty pink theme for the kitchen. I did a lot of collecting of ideas on Pinterest and TikTok, and realized that a pink kitchen design looks best when you lean into the color.
A statement wall didn’t look as impactful as pink cabinets, and walls or subway tiles. And I wasn’t keen on a blush pink, I wanted something bold and in your face.
Hey – we turned this cabin into a vacation rental and our target market is fellow girlies like me, so a pink kitchen was right on brief. Plus, it stands out better in Airbnb listings (and pink just makes me smile!)
First We Removed The Old Cabinets
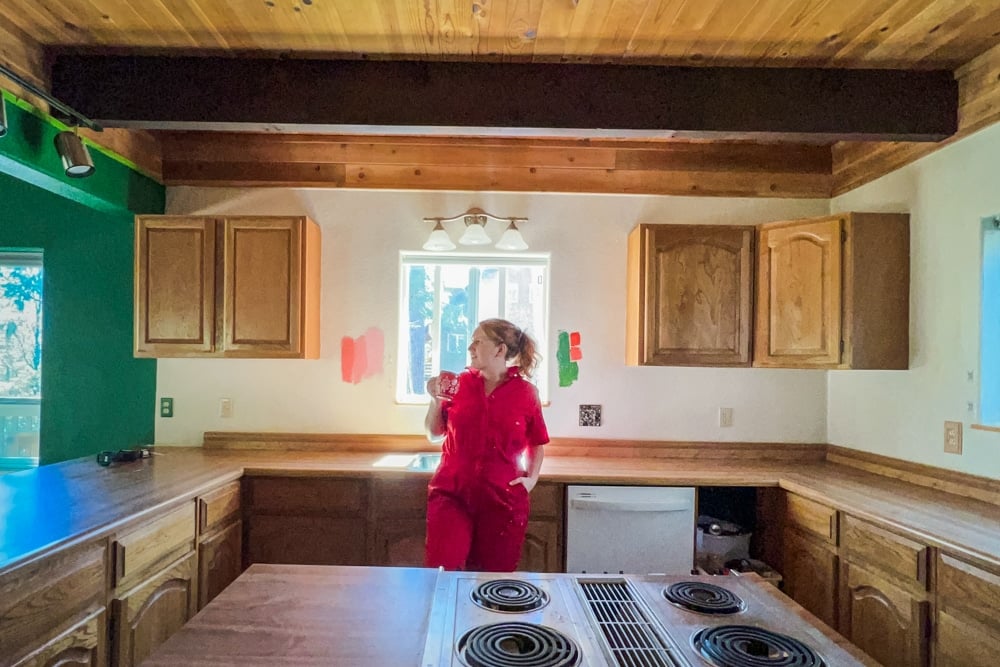
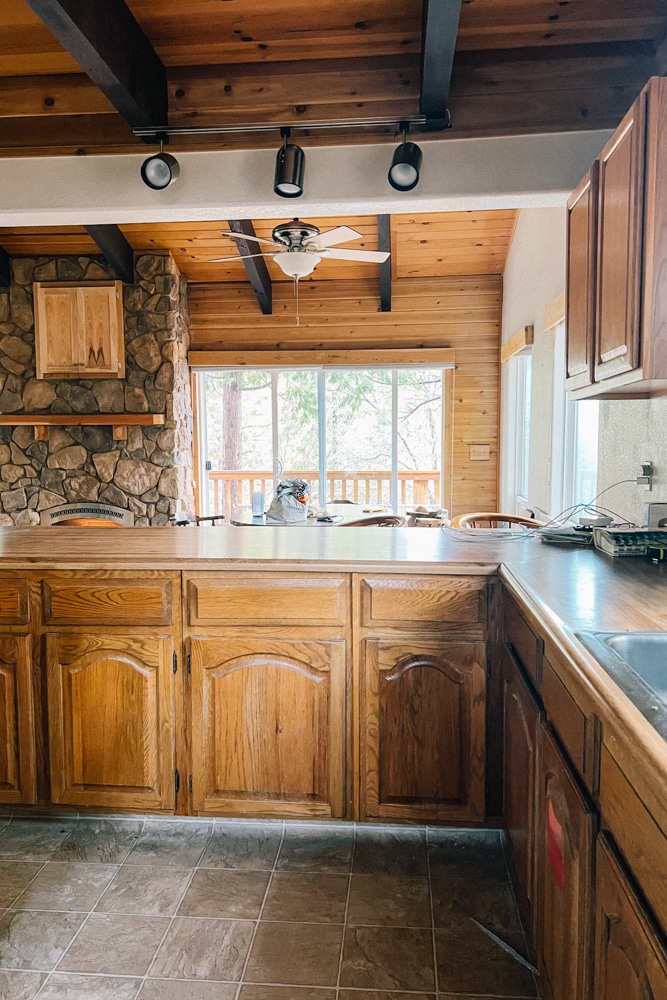
The very first thing we did was remove the old cabinets, which were mismatched and just made the room feel clunky. They also were hard to reach on most of the back shelves and just not practical, especially for a vacation rental when we didn’t need all that storage space.
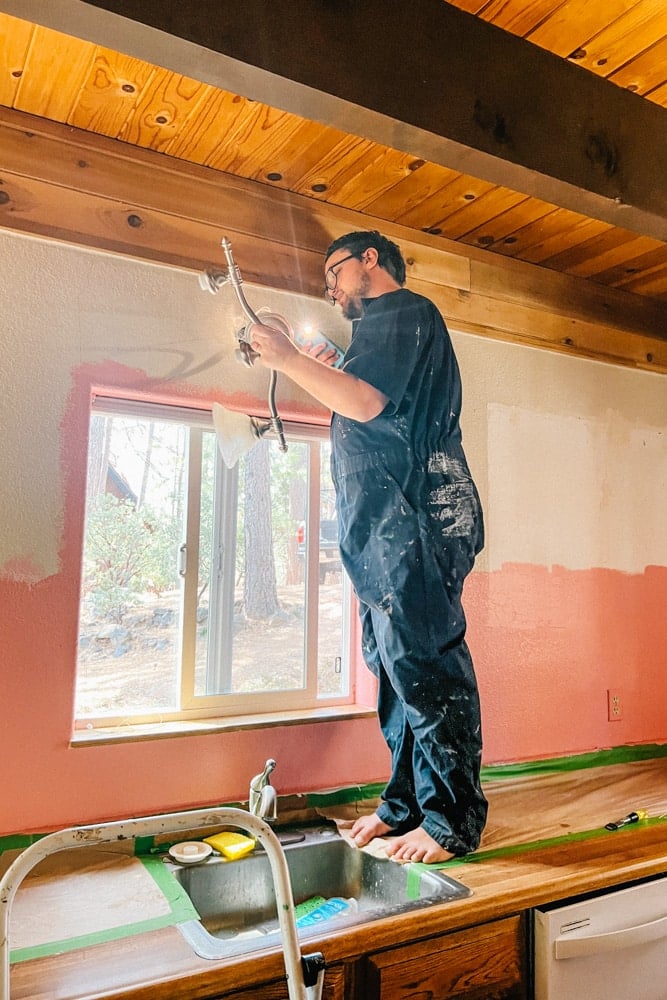
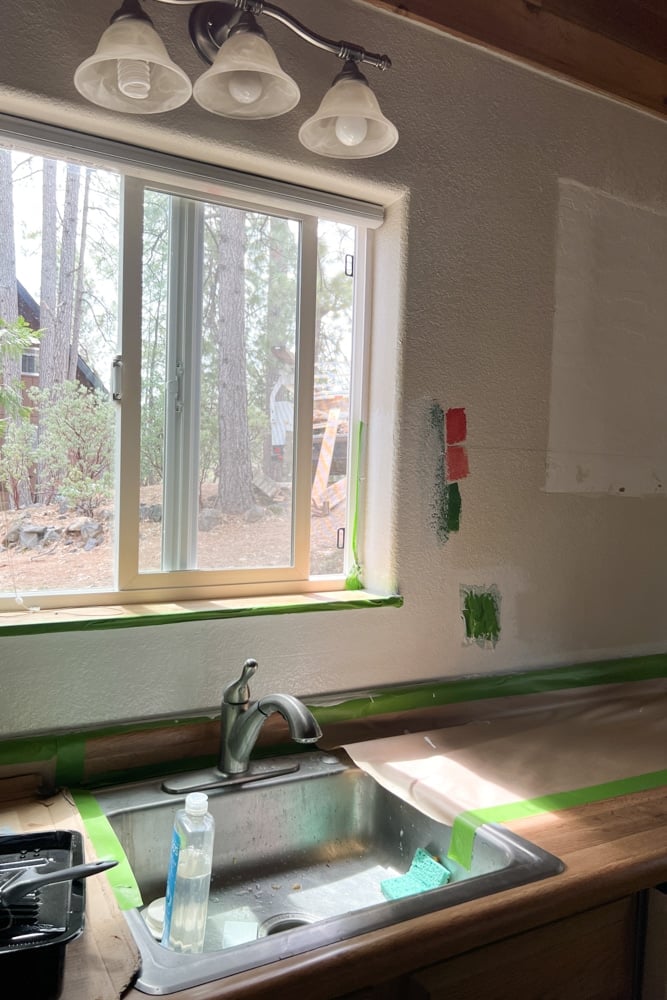
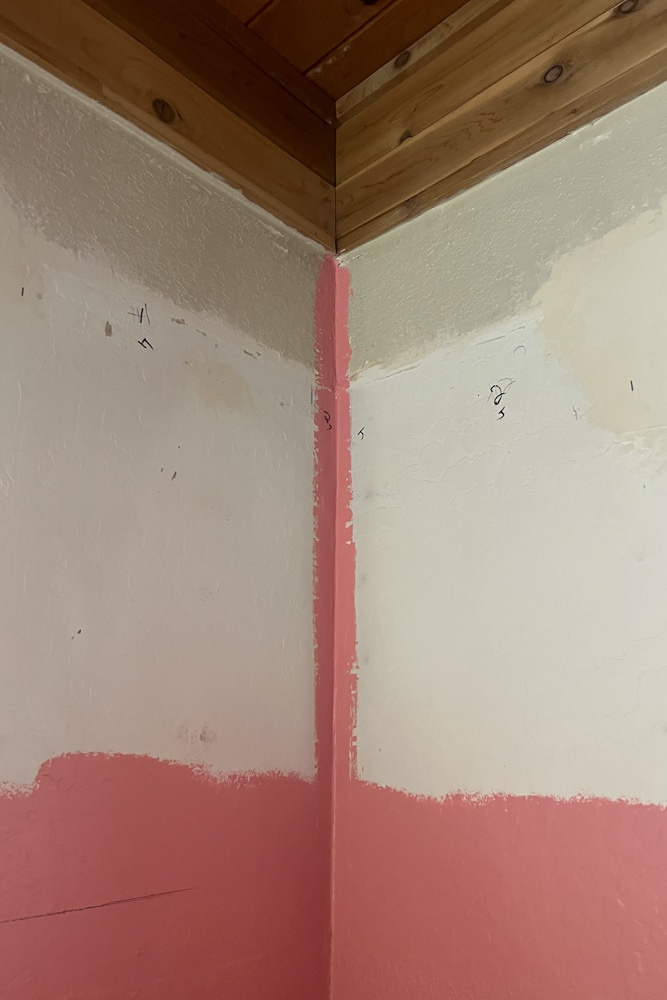
Getting those kitchen cabinets down was a hole production and yes, I mean a HOLE production because those babies clearly have been living on the walls since 1978 when the place was built and absolutely took portions of the drywall with them when they were removed.
This was the day I learned how to repair drywall (it’s actually very easy).
I knew that I wanted to add open shelves, that I wanted lots of pink and also some fun wallpaper in the kitchen. I went back on forth a lot on how modern kitchen vibes we could go here (can we replace the counters? Should we paint the cabinets?) and that honestly was a very hard decision for me.
Paint Instead of Pink Backsplash
For a while I thought about wallpapering the upper walls and painting the cabinets and kitchen island pink. But, when I realized our cabinet doors are solid, real wood (not cheap plyboard) I wanted to honor the wood and keep it.
So, with that in mind I started thinking about adding subway tiles to the backsplash of the kitchen walls, and then wallpaper on top. But once I looked up how much it would cost to add tile to all the areas we wanted it…
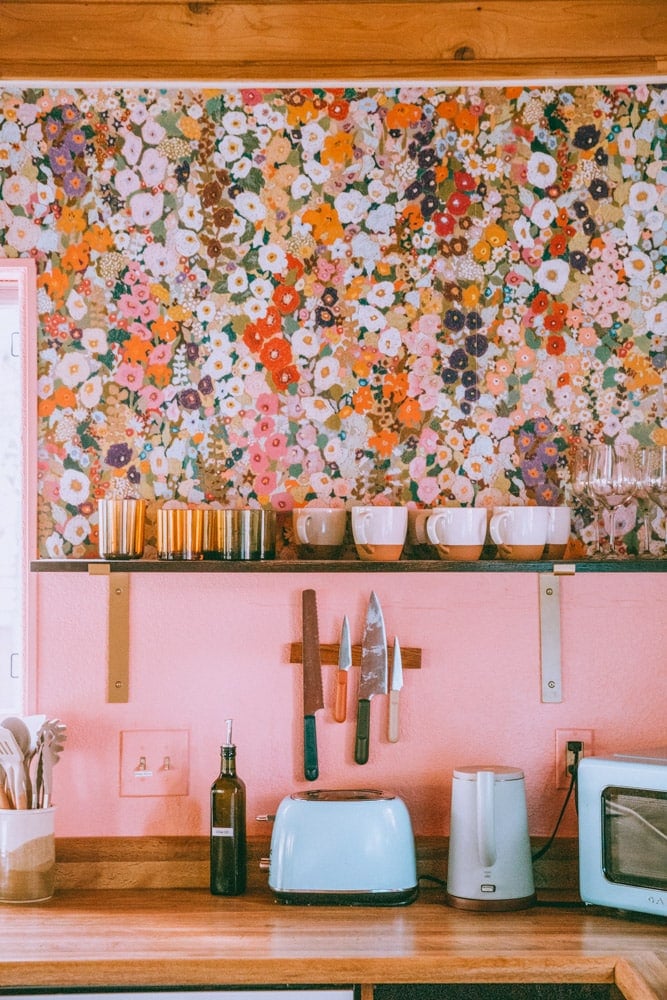
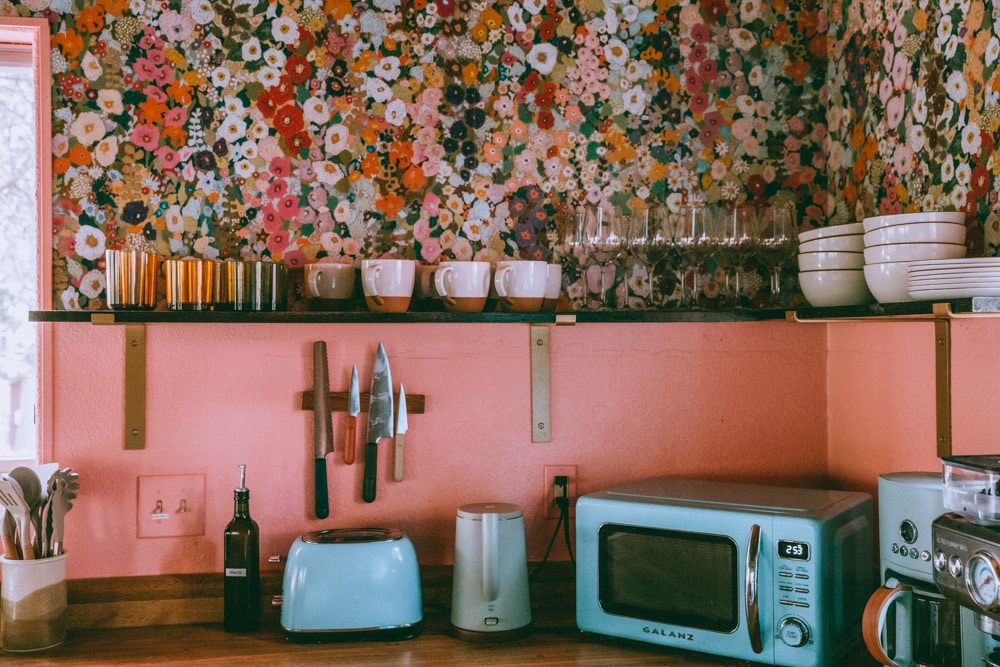
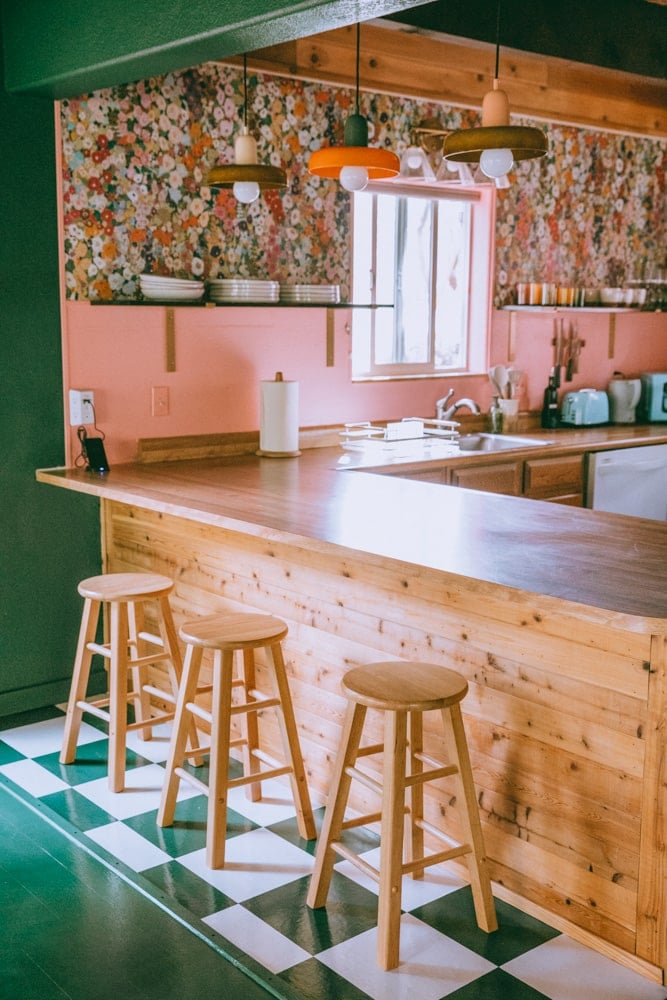
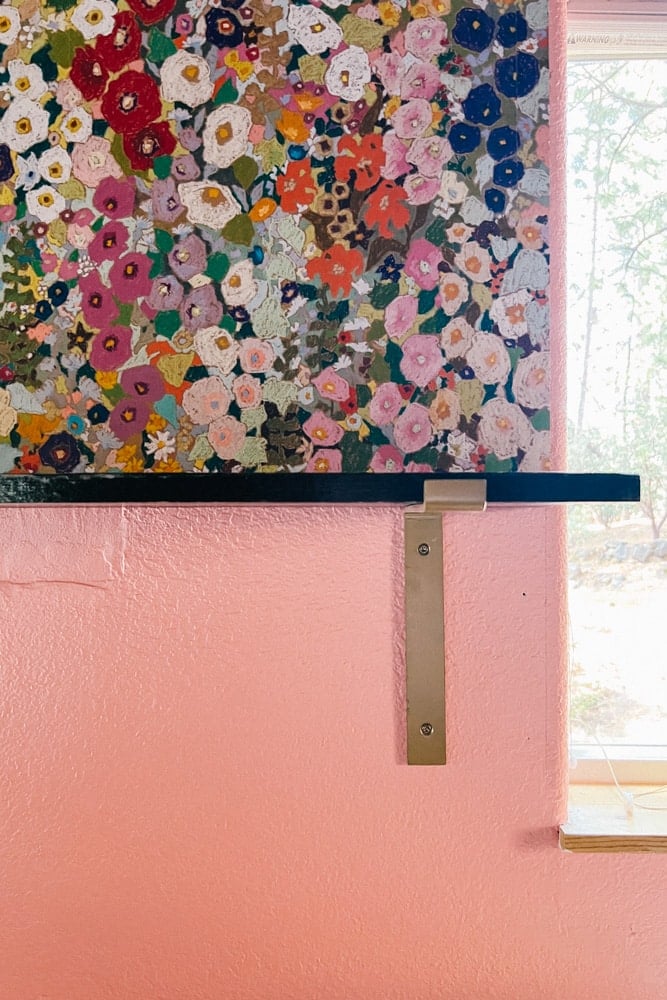
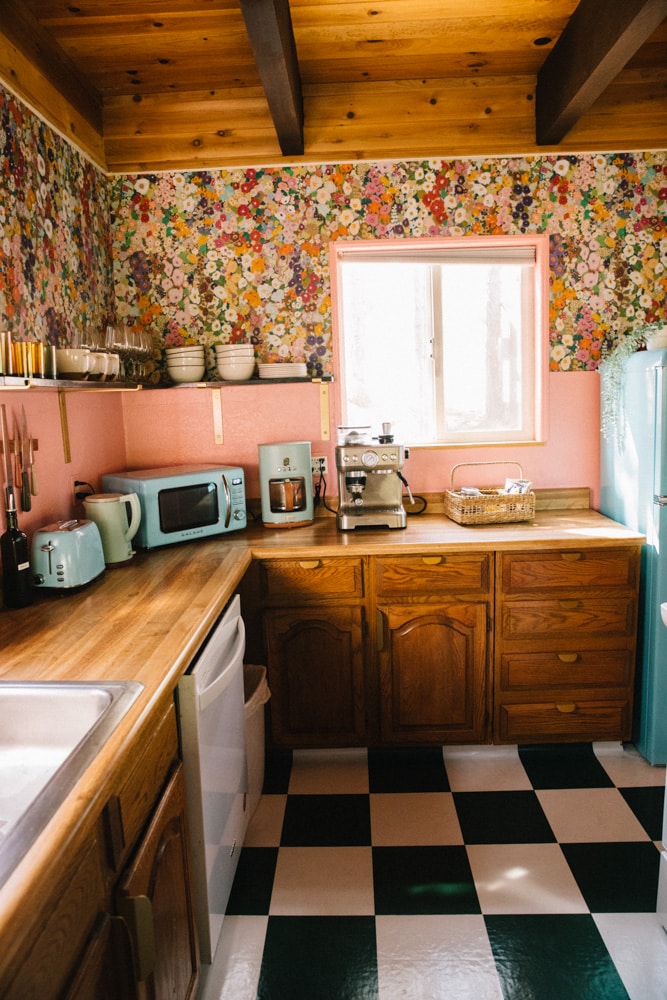
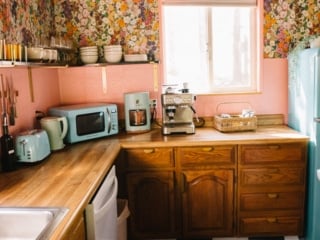
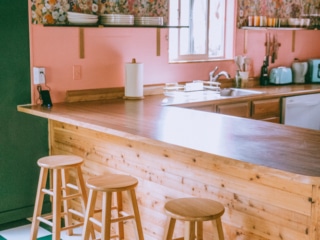
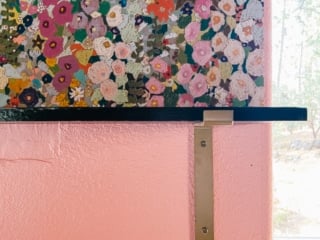
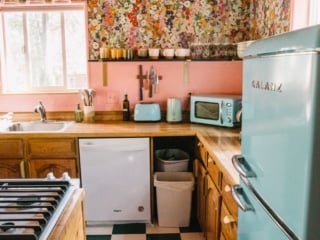
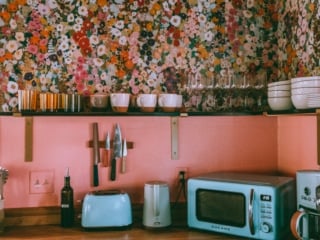
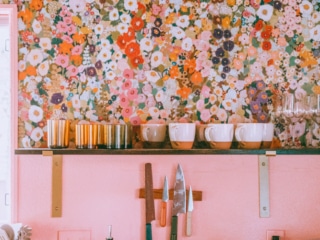
Then back to looking up more room ideas. Finally, I realized the best, easiest and prettiest solution on our budget was to use the open shelving as a “line” break on the walls, and paint the lower side and put wallpaper on the upper side. It’s a clever way to mock having a backsplash without actually putting in tiles.
So, we got to work!
I tested out a few paint options. The pale pinks just weren’t hitting it for me (thye looked to tan in the light) so I went with a bold bright pink paint from Ace Hardware.
We Painted Everything
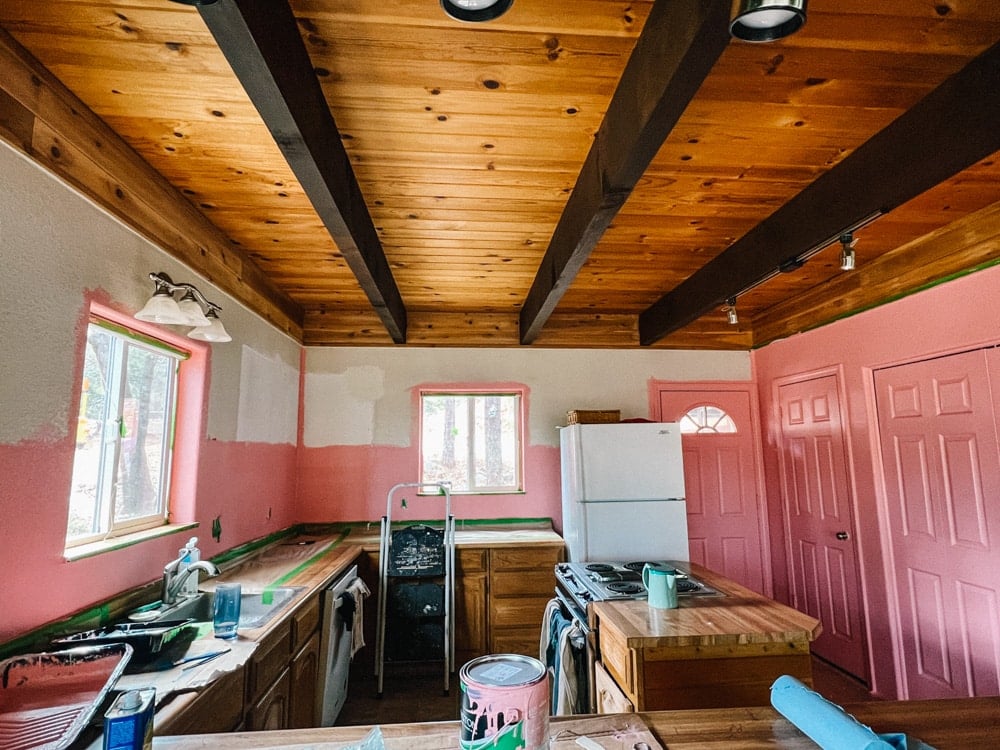
Since I wasn’t doing pink kitchen cabinets, I knew I had to bring the pink to all the walls and doors in the room to keep the eye moving visually and avoid odd breaks in the design.
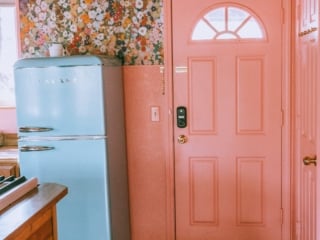
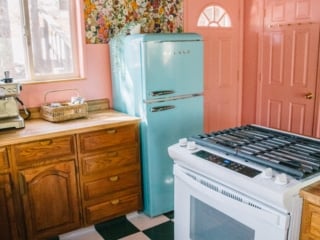
People on TikTok had BIG feelings about me painting our doors pink, too, but painting doors helps to elevate a space and make it feel more seamless. And WOW, the second we got the first coat on our pink kitchen walls and doors, the room instantly transformed.
The aged white walls of before looked drab and despite being white, didn’t brighten up the dark corners of the kitchen. But painting the walls pink brought in all this amazing warmth and energy to the room. It made it feel brighter, despite being bold and semi-dark instead of a light soft pink.
Next Came The Floral Wallpaper
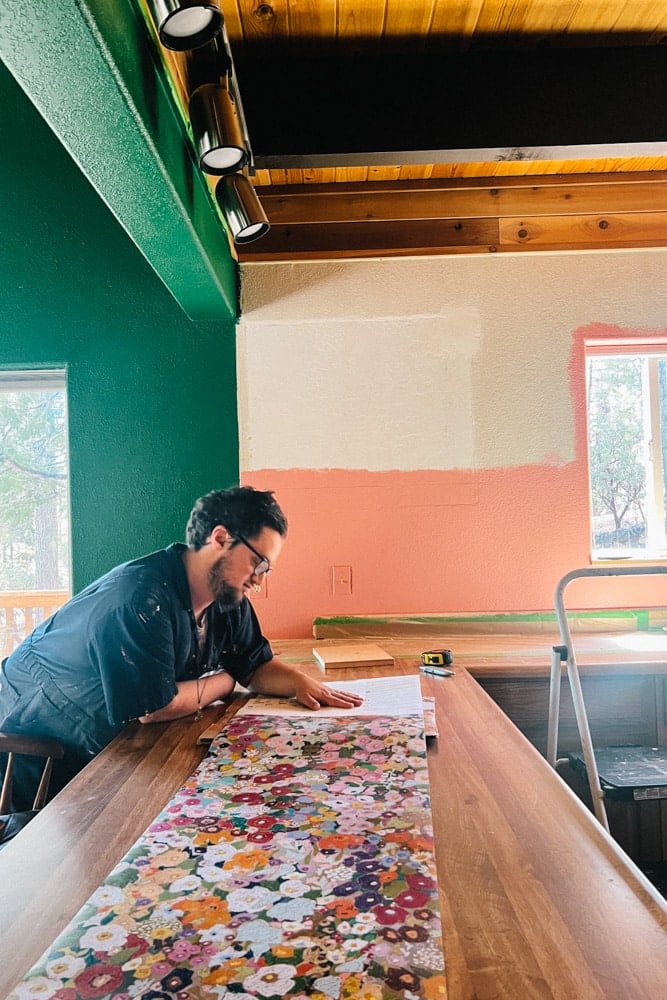
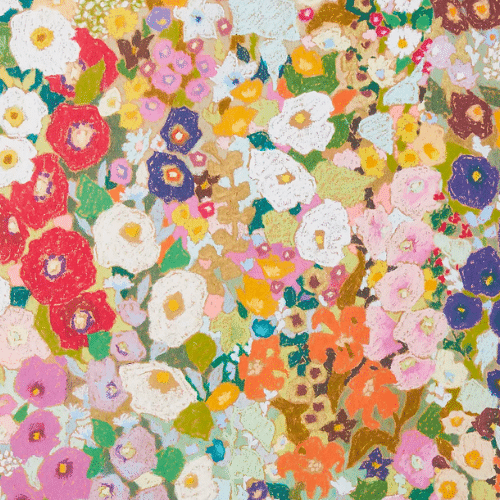
While traveling in Quebec the previous Christmas, we stumbled into a random cafe that had the most beautiful floral wallpaper I have ever seen in my life. This design had planted itself firmly in my head so I did some digging online and eventually found the wallpaper!!
This floral wallpaper is such a beautiful statement. I first saw it used in a random cafe in Quebec and had to use it in the cabin somewhere!
It’s by Hollyhocks and sold at Anthropologie!! I absolutely spit out the water I was sipping on when I saw the price of this wallpaper, but I just knew deep down this was THE wallpaper that was meant for this room.
Pro-tip: I signed up for Anthro’s newsletter and got 20% off my first order, so I was able to save a couple hundred bucks to make this a little more affordable, but it still cost us about $600 since we needed 2.5 rolls of wallpaper.
When all the rolls arrived, it took us about 3 days to put the wallpaper up, with mostly the first entire day just mathing and plotting where all the panels were supposed to go. This is a pasted wallpaper, which is my favorite type of wallpaper since it’s forgiving and easy to install. But it was still a lot of math and careful cutting to get just right.
But the end result looked amazing. I think it was around here that our contractor who was working on our bathroom, finally started to see my vision and realized this was going to be a cool room (I think he was VERY concerned when we took down the upper cabinets and started painting everything pink haha.)
Open Shelf DIY
After an hour of searching online for affordable shelves at the size I needed them, I said F that, I can make better shelves for a fraction of the cost.
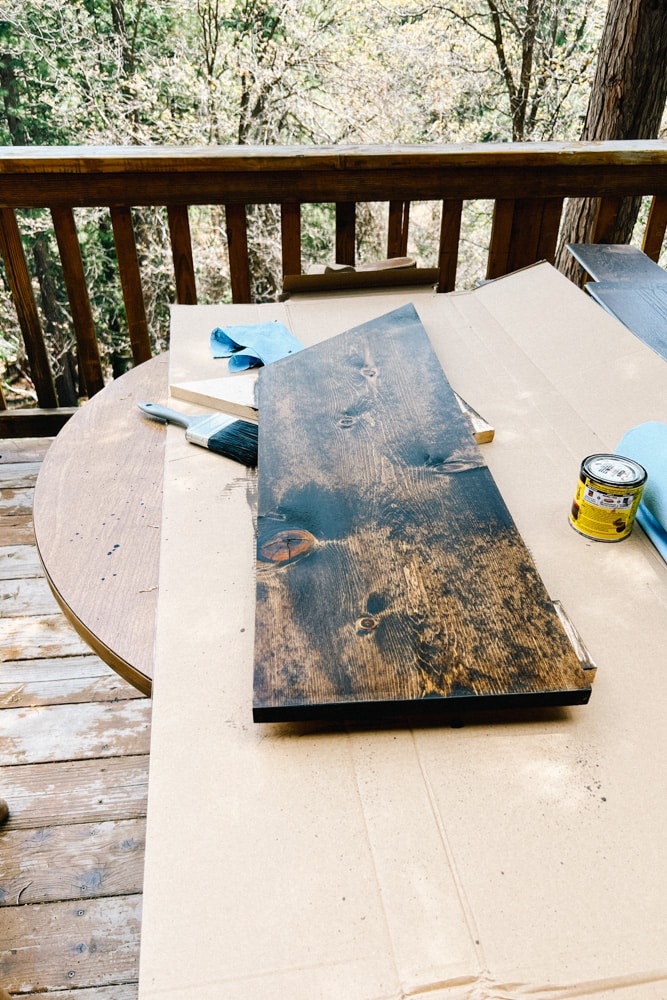
We went to our local lumber yard here in Arnold, California and picked up a long 12×1.5 board. Measured and cut the pieces and started staining them a dark walnut color. I went through a couple cans of Minwax Wood Finish Semi-Transparent Dark Walnut Oil-Based Penetrating Wood Stain to get the shade matching our dark wood beams but it was very easy and not to messy to complete.
Then, sealed with some poly and BOOM, we had shelves. Our contractor was nice enough to install them for us for free, so it was just the cost of the lumbar, stain and gold mounting brackets which came in around $100 in total.
We Refinished The Cabinet Doors
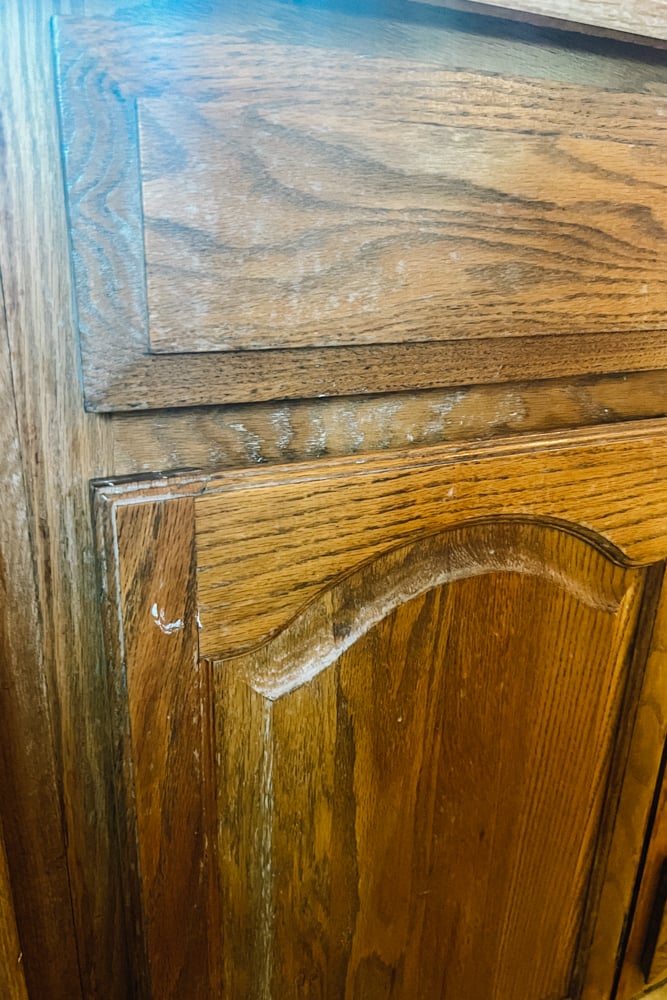
Even though we weren’t doing pink cabinetry, that doesn’t mean I wanted to leave the cabinet doors the way they where. They were all beat up and faded, so we removed all the doors and sanded them down.
Sanding them down was the most annoying – we started with sandpaper by hand but later found an automatic sander in our storage area left over by a previous owner, and that helped speed the job up.
I color-matched a Minxwas Cherry Stain and did a couple coats on all the doors, then sealed them with poly. They looked SO amazing all refinished, I truly didn’t realize how much having faded cabinet doors and drawers was making the entire room look cheap.
Best part, this took just a few days, a packet of sandpaper and a couple cans of stain to complete. But, I didn’t want to call the job complete just yet.
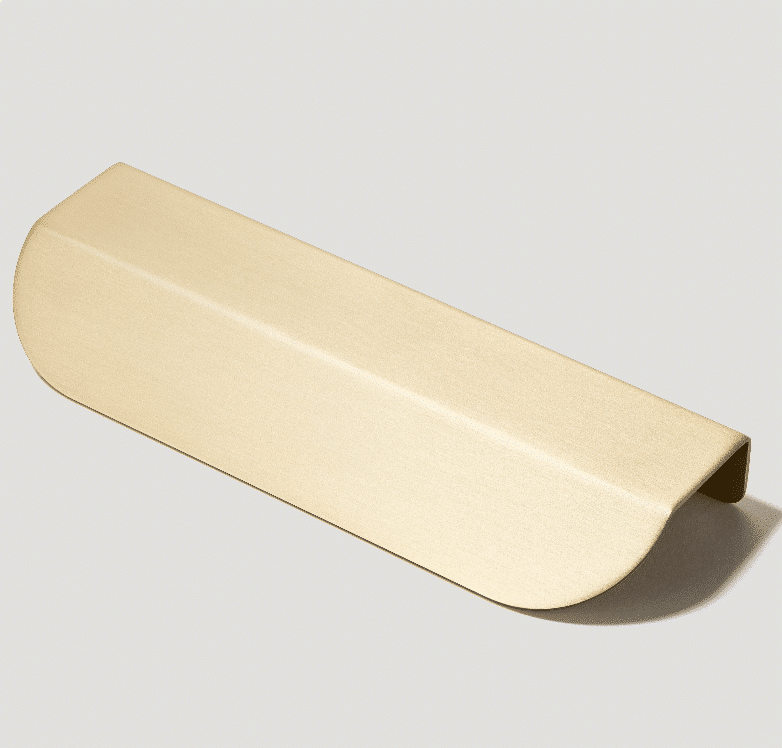
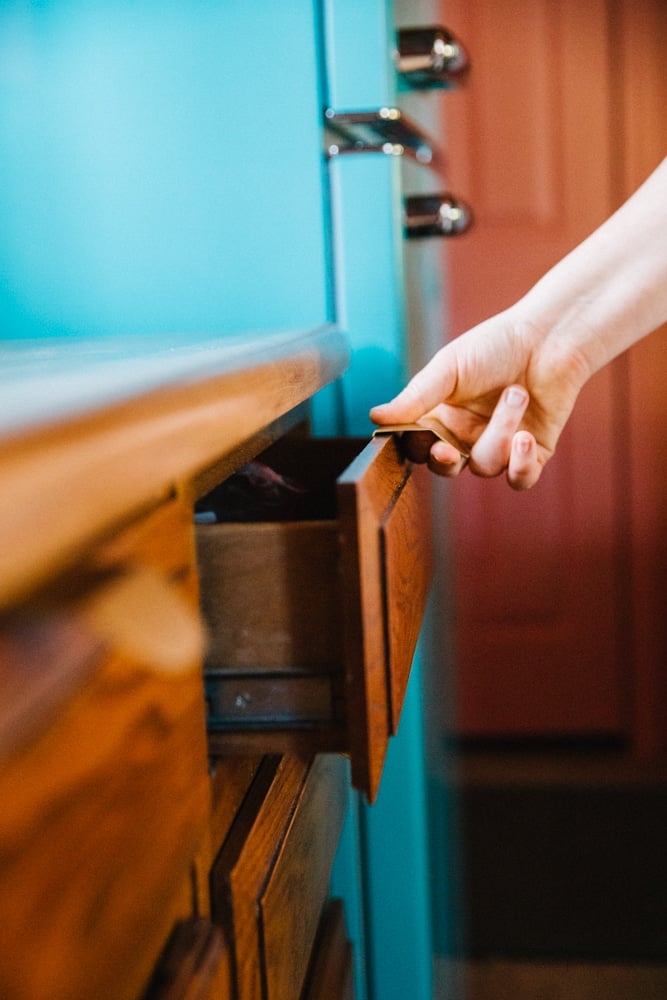
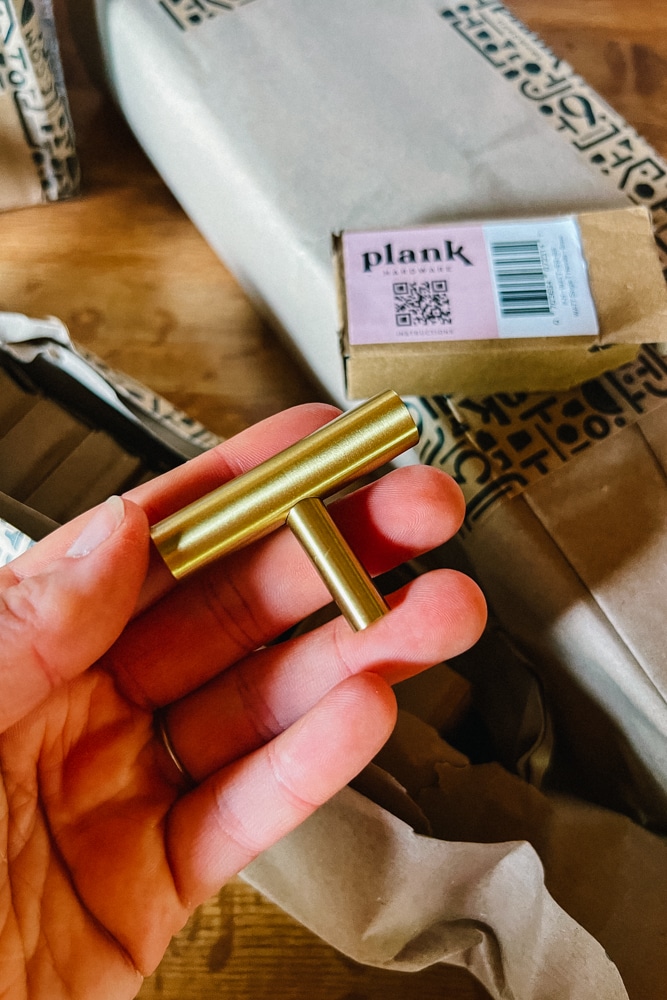
To add more visual elements to the kitchen, I added gold Plank Hardware cabinet pulls to the drawers, doors and even as hooks.
We did the Fold pulls on the drawers and doors, and then hourglass coat hooks on the back of the water closet door so guests could easily hang up their coats or wet swimsuits with ease. These were so easy to install and helped to elevate the space, plus make drawers easier to access for folks.
Slim, chic cabinet pulls that we have in our kitchen to elevate the room instantly!
I Opted For Blue Accessories For Contrast
We’re getting near the end of our renovation! Next up was swapping out all the appliances.
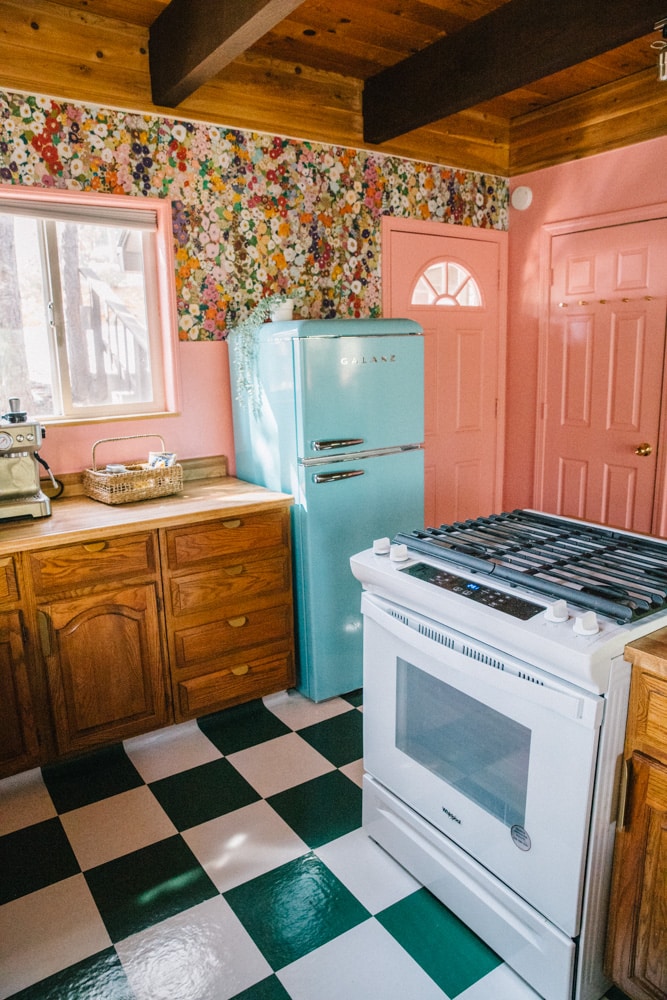
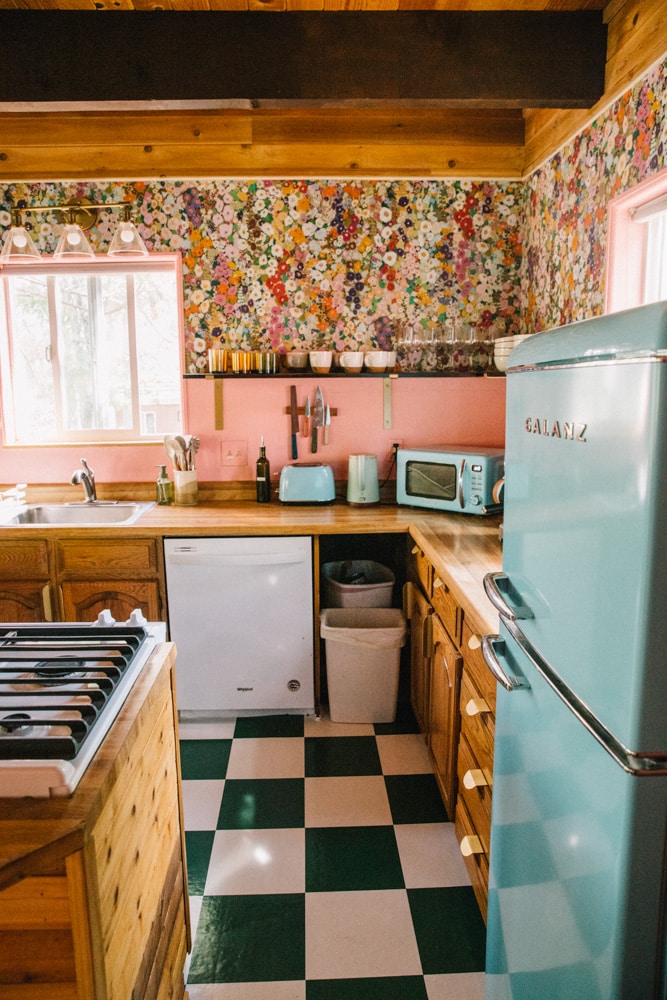
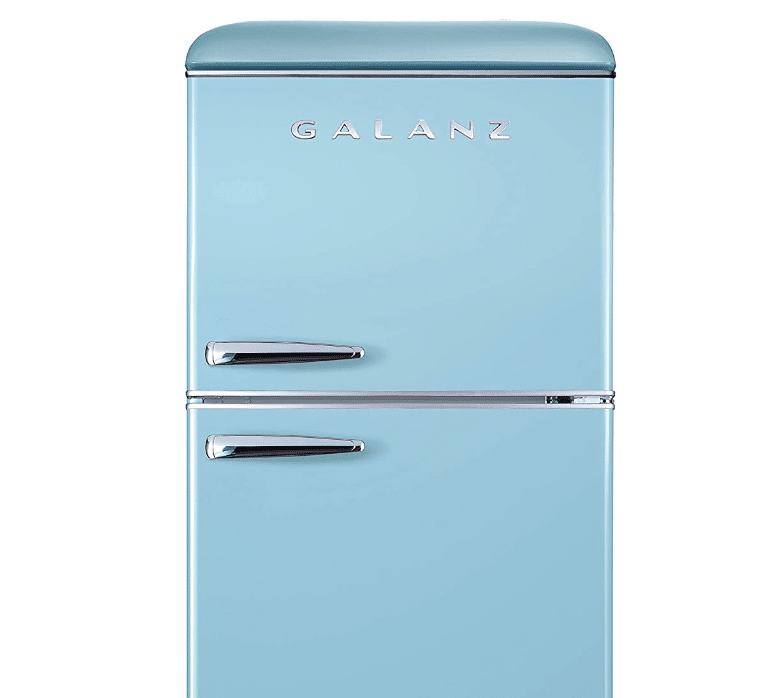
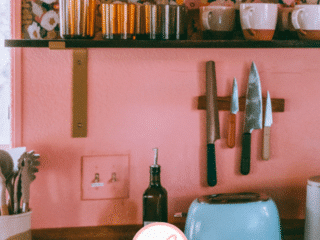
Instead of choosing pink kitchen accessories, I opted for baby blue. I think some people would have felt like neutral was a safe option, but blue is one of the color themes in our cabin and it really steps the room up to be bold, but in a good way.
When playing with color, it’s often a good idea to use more color than less.
The black microwave and coffee maker wasn’t the vibe and I didn’t want matching pink appliances so instead I found this Galanz retro fridge ( it’s a great alternative to a Smeg fridge look for a fraction of the price!) When random service workers coming to the cabin to do things complimented the blue fridge and wallpaper, I knew I really hit gold on the design.
I did get a matching blue microwave and toaster, though, to keep the retro feeling throughout the whole room. We’re big coffee lovers, so we put in a fancy Casabrews espresso machine for guests, but also a Hayden drip coffee pot and a Hay Design pour over pot.
Then, out with the old plates and cups and in with a matching set. Here, I did go with simple white plates and mugs so they didn’t distract from the wallpaper and cool retro appliances.
Oh, somewhere in there we replaced our oven which was absolutely older than I was. We went with a white Whirlpool gas stove to match the white dishwasher and give people a way to still cook even if the power goes out. I wish I had the budget to swap both out for retro pieces, but alas…
The Lights Had To Go
Why did everyone love weird track lighting so much in the 80’s? We replaced the light above the kitchen sink with a gold fixture to match the gold handles and pulls during the wallpaper stage, but the track lighting over the kitchen counter still didn’t feel just right.
It took a LOT of searching online but I finally found inspiration in these colorful pendant lights. Now, figuring out how to get these lights to play nice with the track system we had took a couple expensive calls to our local electrician, but we finally figured it out and go those hung.
These Nordic retro pendant lights add a punch of personality to our kitchen.
Our dining room has orange chairs, and there’s an orange mushroom lamp in the living room, so I felt like these colorful mushroom shaped lights did a good job at tying all the visual elements together.
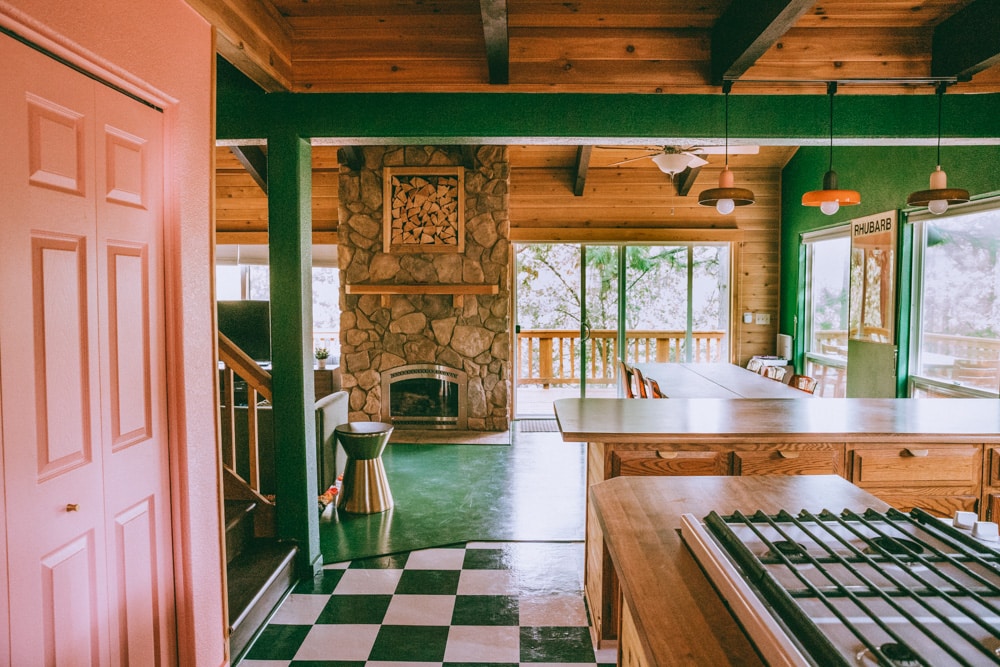
Out With Tan Floors, In With Green Checkered Floors
All of our paint and wallpaper and new appliances were really fun and already made the room feel new, but the floors were still sticking out like an old thumb.
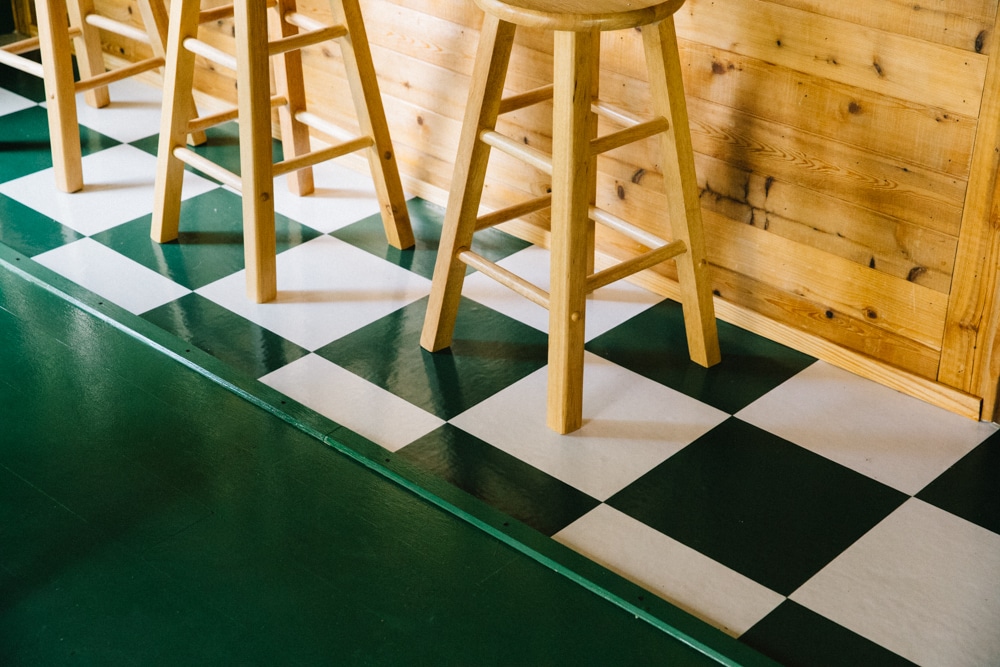
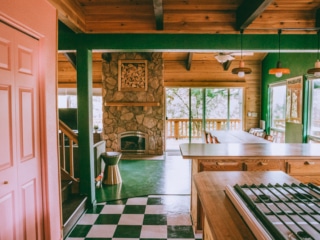
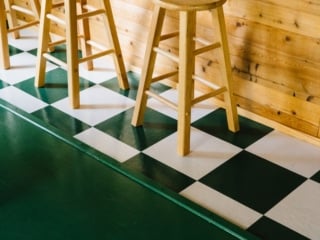
This cabin came with faux tiles via vinyl flooring that was all in one big sheet glued to the floor. I knew I wanted green and white checkered floors in order to bring in the green colors of the living room, but it was pretty much impossible to find green tile in the right shade that was within our limited budget.
It was even harder finding luxury vinyl tiles in the right green shade. I eventually found a seller on Etsy that made heavy-duty stick-on tiles and I did a custom order to color match the green to get it just right. These didn’t take too long to apply, thankfully.
Custom green floor tiles to match our living room floors and add the perfect touch of retro to the kitchen.
I chose to apply them right over the old vinyl floors since those already had a water barrier and everything installed. I cleaned the floor very well and got to lay them down. I sealed them a few times with Rustoleum’s floor coat to make sure they wouldn’t go anywhere and get damaged.
I usually opt for Poly to seal but that has a slight yellow tint and I didn’t want the white tiles to turn pale yellow in a few years.
For full transparency, I have no idea how long these will hold up, but the goal is at least 3-5 years. I plan on doing a new coat of sealer at least once a year, but for about $700 I was able to transform these floors into something incredibly custom. Maybe in the future, we will have more budget to use tile to redo the floors. I’ll keep this updated with how long they last!
The Old Counters Are Staying… For Now
The only thing I really wish we had budget for was stone countertops. I would have loved to have to budget to put in marble counters and a new sink. If I were living here, I would totally be swapping out the old laminate counters with something nicer, but I just couldn’t justify $10k on new counters for a rental we weren’t living in.
So, that’s my pink kitchen makeover!!
I think pink kitchens are so fun! Whether you do a light pink, pink countertops or just floors, this is such a fun shade to have in a room like this.
I love our pastel pink kitchen, especially in the summer evenings when the light pours in. It’s just so much fun!! If you’re thinking of shaking up your home decor, go with pink. Not all pink interior design needs to be mega barbie (though we stan that, too).




4 comments
tn93sl
you are really a excellent webmaster. The website loading velocity is amazing.
It seems that you’re doing any unique trick. In addition,
The contents are masterpiece. you’ve performed a magnificent activity on this matter!
of course like your website but you have to take a look at the spelling on quite a few of your posts. Many of them are rife with spelling issues and I find it very bothersome to inform the reality nevertheless I¦ll surely come again again.
I really enjoy your website, however, I think you need to proofread several of your entries for spelling and grammar errors. Even though I find it quite annoying to have to point out that many of them have spelling problems, I will definitely return.