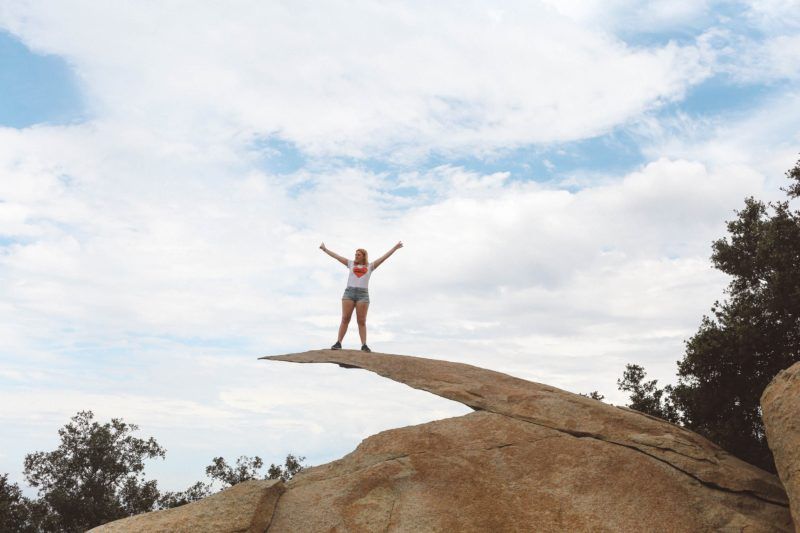
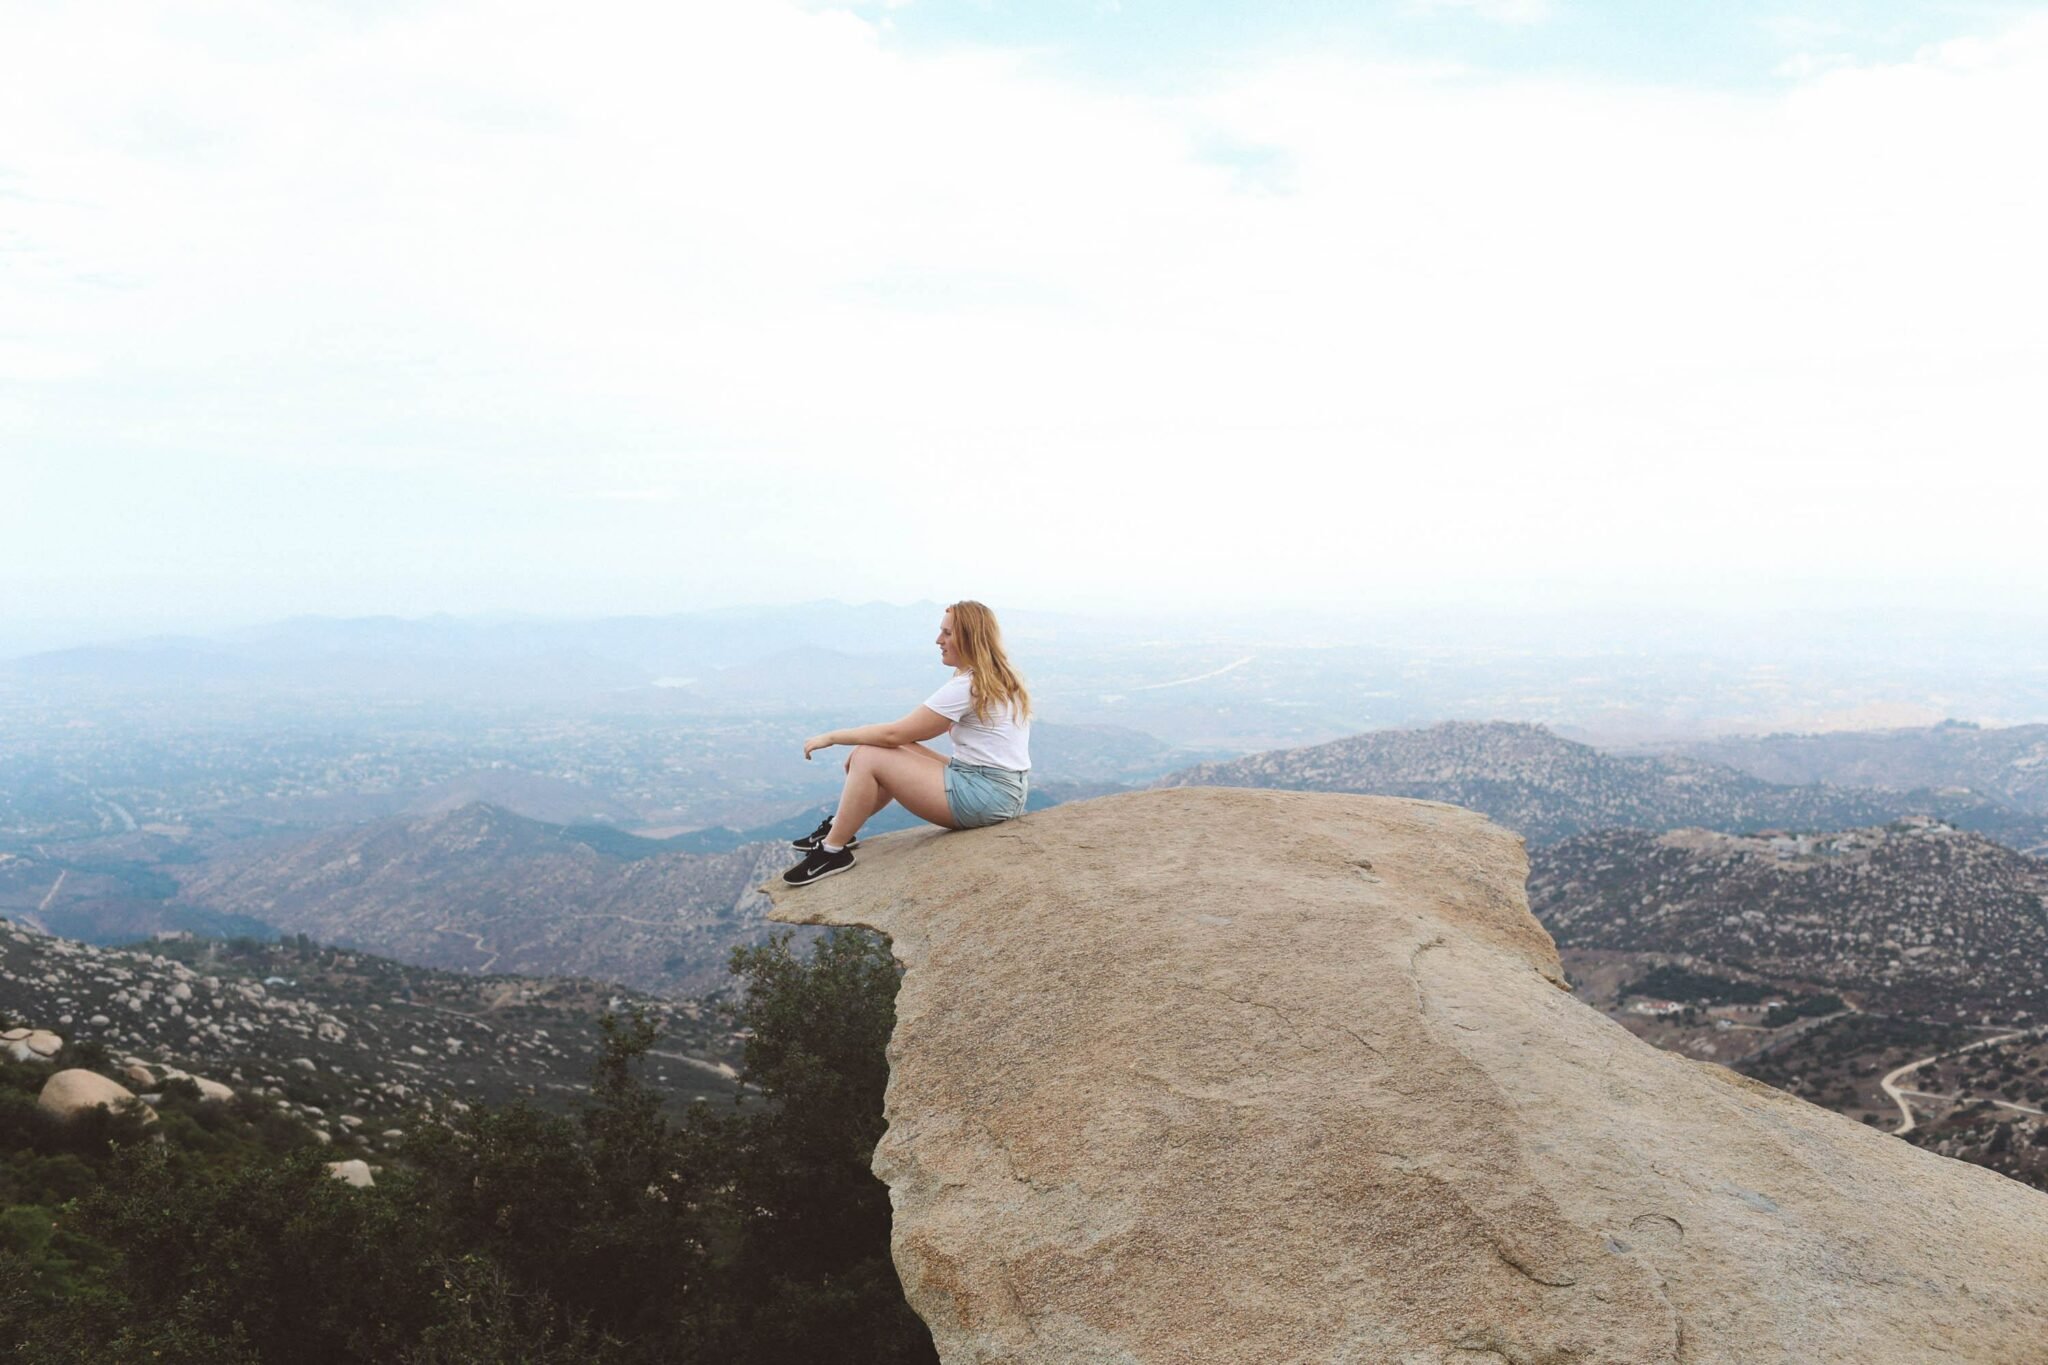
You may have seen a photo of Potato Chip Rock on your Instagram feed. Flat, thin and, well… chippy, hence the name. Potato Chip Rock is a famous hiking destination in the San Diego, California area because it’s unique – you don’t get a great photo opp at the end of every hike in the world! In the age of Instagram, it’s become really a popular trail to trek up.
During my girls trip to San Diego this summer, we spent a day hiking to the rock and boy did I learn some serious lessons about hiking up Mt. Woodson. What people won’t tell you on their pretty photo is that it’s not an easy hike, and getting that perfect picture of Potato Chip Rock isn’t easy, either. (But, boy the reward is a totally unique snapshot! Follow me on Instagram to see.)
In this review post, I’ll be telling you all about the hike up Woodson Trial & help you decide if you should actually do the Potato Chip Rock hike or if you should skip it.
Potato Chip Rock At A Glance
Ok, so the hike up to Potato Chip Rock is one of the most famous ones you can do in San Diego. In case you haven’t figured it out yet, the rock on top at the right angle looks like thin chip against the blue sky. If you make it up the 7.5 mile trail on Mount Woodson to the top, you deserve to stand on top and take that photo to prove you conquered mother nature!
But here’s the thing – 50 other people will already be there waiting in line to take their photo.
Seriously, I’m not making these numbers up. My friend did this hike before taking me and spent almost 2 hours waiting in line to get a photo on the rock. As I mentioned, this hike isn’t easy (or, at least the trail we took isn’t easy, more on that later) and most people only do the Woodson Trail with the goal of an #IGworthy trophy shot. Turning back without a cool photo after a few hours of hiking? I understand the long lines!
I also don’t judge, it’s my job as a travel blogger to go to places just to take photos. (I recently woke up at 3am to drive to the top of a volcano.) The hike reviews online complain about the long lines at top and the downward spiral of millennials and the need to photograph their lives blah blah blah. Don’t hate, but know what you’re getting yourself into.
Anyways, back to the glance. Potato Chip Rock is over 2,000 feet in elevation and the popular trail is over 7.5 miles. It took us a few hours hike up and in total, it was a half day experience (and a really good workout!) Minus the pain from that uphill hike and almost stepping on a rattlesnake, this was a fun thing to do in San Diego.
Potato Chip Rock Short Trail
There are two ways up the mountain and I hear we went up the hard way. It’s the free trial (the other one requires a fee) and Gen, my friend, is a firm believer in doing the harder hike because it’s shorter and thus quicker. The other trail is 7.5 miles and ours was probably half that length, but what we lost in miles we gained in direct elevation hiking. I thought it was one of the hardest hikes I’ve ever done, and mind you I once spent 3 hours scaling a mountain on New Years Day while still hungover.
Potato Chip Rock Address
The uphill but short trail: 16310 Highway 67, Ramona
The slightly easier but longer trail: 14644 Lake Poway Rd, Lake Poway Park, Poway
I did really enjoy the boulders on the hard trail and I appreciate how it’s short, but this is your warning – it’s really hard. Like, all uphill the whole way. If you are trying to do this hike in the summer… well, don’t. I can attest from personal experience of hiking up that hill in the middle of August, it’s brutal combined with heat. (But hey, these photos on top of the rock look good don’t they?)
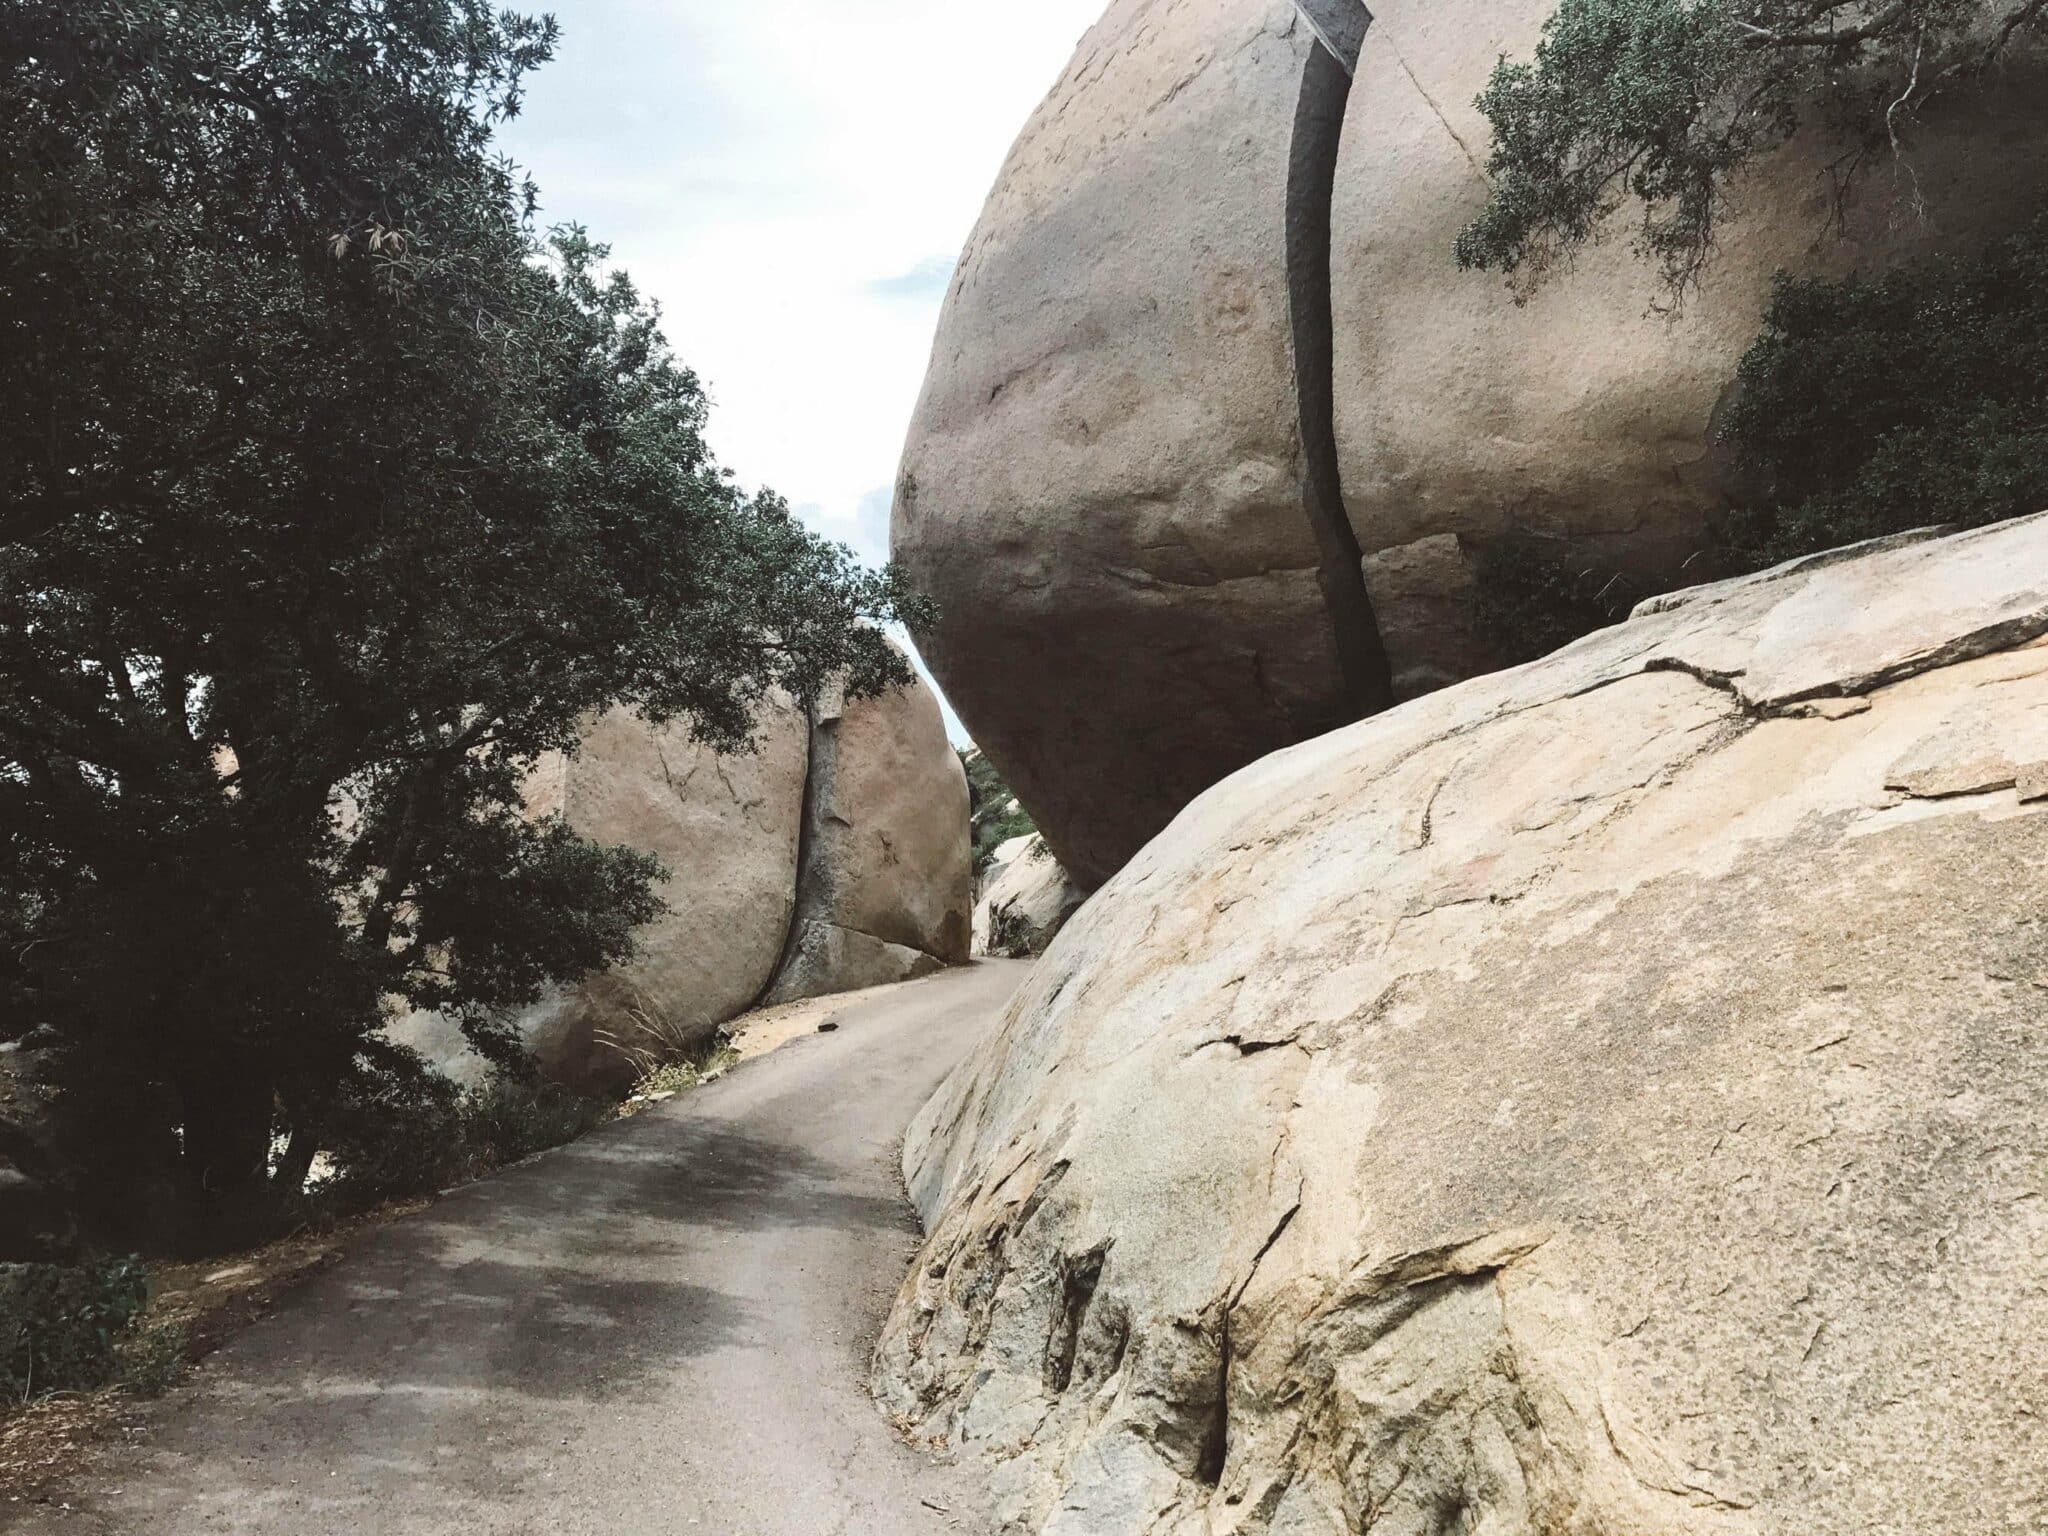
It’s totally up to you which trail you take. They each have pros and cons. Our hike down was much easier in some aspects, but harder in others. The steep incline down was quick to walk but it also hurt my knees. But since I wasn’t gasping for breath and seeking shade under random trees on the trail, I was able to appreciate the views on the way down. I also really loved all the huge boulders on this trail that are easily 20 feet tall. I do hear that the other trail has dedicated bathrooms in the parking lot so if that’s important to you, you may want to choose that trail instead.
Tips For Getting A Good Photo of Potato Chip Rock
This hike is becoming so popular the city is considering building a new parking lot to accommodate everyone trekking up for a photo. Let’s just all agree that you probably aren’t doing this hike for a workout. You’re hiking potato chip rock for a baller Instagram photo. So, let’s chat photo tips!
Early Morning Start
First off, early morning hikes are your best option for two reasons. First, you’ll beat the heat and make the whole hike a more enjoyable one. Trust me on this one. I can tell you that hiking in almost 100-degree weather is NOT fun at all. (I did get a good tan and probably lost a few pounds from sweating it all out.)
Secondly, you’ll beat most of the crowds that flock to the mountain to take photos of Potato Chip Rock. Early bird gets the worm, or in this case, the really cool photo without waiting in line. Most people arrive around Noon through the afternoon as it takes them a while to hike.
If you can handle it, start your hike before sunrise. I hear the view of the sunrise is amazing up there. (Secret third bonus reason?) At the very latest, start at sunrise if you are nervous about hiking in the dark. That means you get up to the rock mid-morning and hopefully before other people!
Go On A Weekday
We went on a Wednesday afternoon in the middle of summer and ended up having to wait about 20 minutes for our turn on the rock. We got off easy! When my friend went before, she hiked on a Sunday had to wait almost hours and the line stretched incredibly far. So, avoid the crowds by hiking early and better yet, go on a weekday. I’m thinking a Monday morning sunrise hike will have the least amount of crowds!
The Potato Chip Rock hours start at 6am and it closes at 5pm. Also, I wanted to quickly remind you to let other people know when and where you are hiking, especially if you are doing a sunrise hike or a solo hike. Safety first!
Safety Notice: Watch out for rattle smakes along your path! You can usually find them curled up on a rock asleep, so they are easy to miss. Make sure you don’t sit down on one and that you take the time to thoroughly scan your surroundings before sitting or setting things down. Also, remember to listen for their “rattle” sound in case one is on the move around you.
Have A Photo Buddy
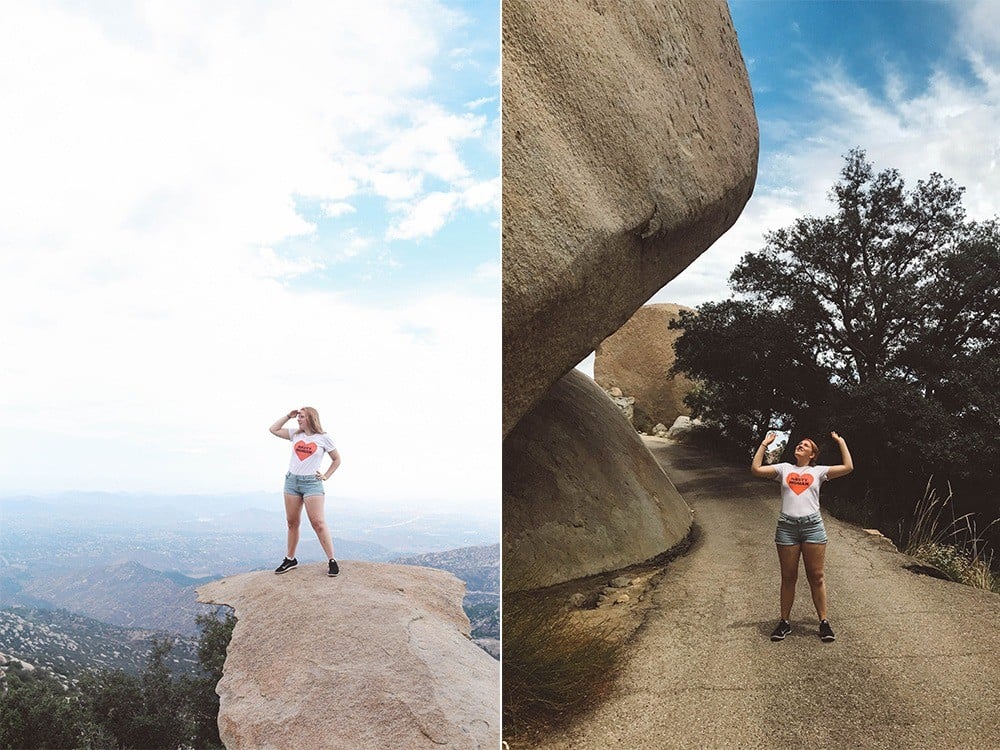
If you are hiking this for a cool photo, it’s best to hike with a friend as someone will need to take photos from below while you are up on the rock. I don’t think a tripod and timer will work in this situation. I recommend that you take photos From Two Sides when it is finally your turn to snap the rock.
The first, from on top of the rock so you can get that sweeping view of the valley below. Then, have your photo buddy below take a photo from the side so you can get the “chip” angle. Make sure to play with your body for a fun photo and bring props if you want! You hike far, you deserve your photo op. Just don’t hang off the rock because you can fall! Check out the hashtag for potato chip rock pictures and ideas!
I’ve seen photos of people who shot band album covers on the rock, complete with all the instruments! I’m sure it was a pain and took a lot of time to set up, but the photo? Really cool. Other people do yoga on the rock or take a fun group photo. Me? I choose just to stand on it because I can’t do yoga well even on days I didn’t haul my butt up a 4 mile trail.
Bring The Right Hiking Gear
On the risk of sounding like a broken record, this isn’t your average photo opp hike. I’m used many of these hikes to Instagram famous places being just 1-3 miles roundtrip and something I can do with little to no preparations. This is not one of those hikes.
As we talked about, make sure you bring a lot of water. I recommend a hiking backpack like this one that holds a lot of water. Also, wear the right shoes! Climbing over the rock to get a photo involves some low-key bouldering. I tried to wear just sandals but my friend brought me a pair of tennis shoes which were a life saver as I wouldn’t have been able to do in sandals. Better yet, wear hiking boots! I recommend a pair like these to really be equipped.
Also, wear sunscreen as you’ll be in an open trail and will get sunburnt! A hat or bandana will help as well. Here are some of my favorite hiking accessories!
So, should you do the potato chip rock hike? If you are in shape or don’t mind a very hard hike, have at least a half day to do this trail, can visit on a weekday and with a friend – sure, totally do this hike! You’ll be challenged but you’ll have fun and will probably walk away a few pounds lighter and with some really cool photos on top of the rock.
But, if you said no to those things, then skip it, for now. If you aren’t in good shape, this hike will be very brutal and probably impossible. If you’re hiking alone, you won’t have anyone to help you take a photo at the top. (You can ask strangers, but no guarantee they’ll be good photos!) And if you can only hike on a weekday, I’m sure you’ll be waiting for hours just to take a photo. If it takes you 4 hours to hike up, do you really want to spend 1-2 hours just waiting in line? Nah, I’ll pass.
And of course, if it’s the summertime, I also recommend skipping this hike and waiting to do it during cooler weather as the heat of August poses a serious health risk.
>> Looking for other fun things to do in the San Diego area and/or cool spots to take photos at? Check out one of my other regional posts!
My MASSIVE San Diego Travel Guide (so much info!)
Tips for Visiting the Carlsbad Flower Fields (San Diego area super bloom!)
18 Fun Things To Do In Oceanside (it’s a bit north of San Diego!)
After hiking up to Potato Chip Rock, there was nothing I wanted more than to drink 1329138291 gallons of water, take a shower and then have a cold beer on the beach. I was staying in La Jolla during this trip and it made for the perfect place to watch the sunset after such a physically demanding day! That being said, just writing this makes me want to book another trip back to San Diego. Got to love this city!
I hope this guide helps you get the best photo of Potato Chip Rock possible and helps you have a fun hike! Please leave a comment below if you have questions or any tips to add! Make sure to follow me on Instagram @thewhimsysoul for daily inspiration.

