As you probably know if you follow me on Instagram, we renewed our lease for another year here (bless up getting a rent reduction) and while our bathroom was ~fine~ before, I decided it was finally time to make it the renter studio bathroom of my dreams.
Renting and living in an old building brings a unique set of challenges to all my DIY projects but I downloaded a good audiobook, ran to HomeDepot (three times) and got to work. This is a renter AND budget-friendly bathroom makeover and a super easy DIY project. Take a step in…
Before & After Photos Of My Boho DIY Bathroom Makeover (With Only $300!)
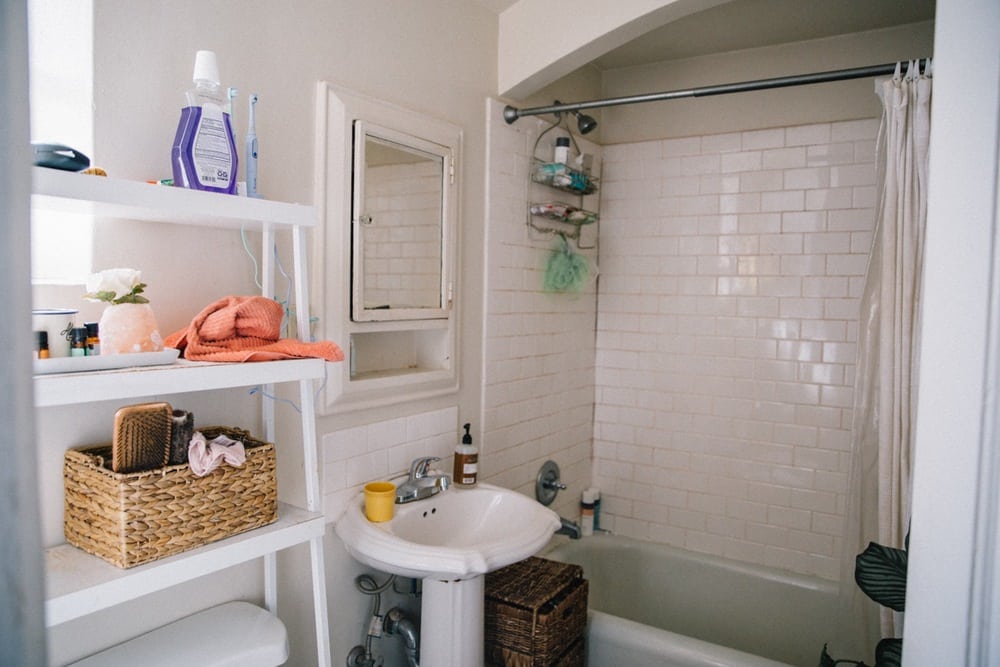
I can’t wait to show you my before and after photos of my bathroom makeover and all the fun things I did in my renter-friendly bathroom remodel! In this post, I’m sharing the design process, and then at the bottom, I break down all the costs of every material in a list.
My DIY Bathroom Makeover Under $300
As you may remember, I did a little bit of a redecoration process a couple of years ago on my bathroom, but I knew I could make it even better now. I gained a lot of DIY skills after redoing our kitchen last year so I felt confident that I could bring some fresh home decor ideas to life.
Plus, we’ve lived here for 6 years. Moved in when I was 24 and I’m turning 30 this year — my decor style has changed a bit.
I knew I wanted more plants in here and I wanted something that felt really different than what was previously there. Something bold. First I hunted around Pinterest and Instagram for small bathroom makeover ideas and found a few inspirational makeovers but for the most part, people’s idea of “boho” is really different than mine. (Sorry – one macrame hanging next to a “live laugh love” sign does not makeith a boho bathroom)
So I wasn’t armed with a ton of bathroom ideas to reference, which kind of made it really fun. I got to just see where the creative process took me, and I love the results. Here’s all the things I did:
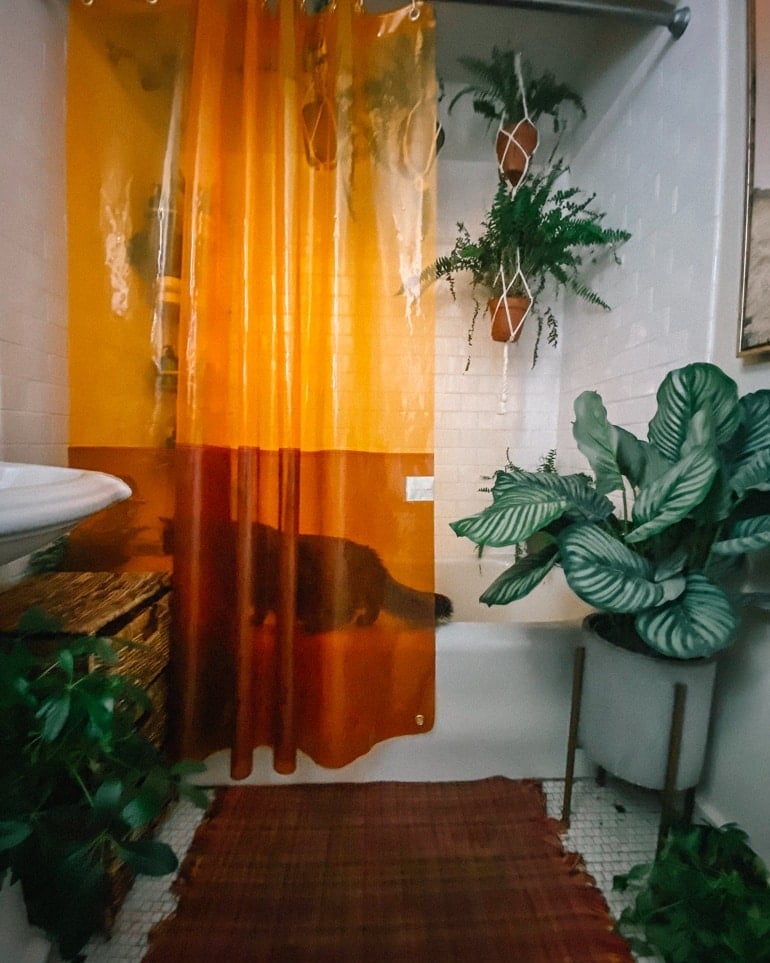
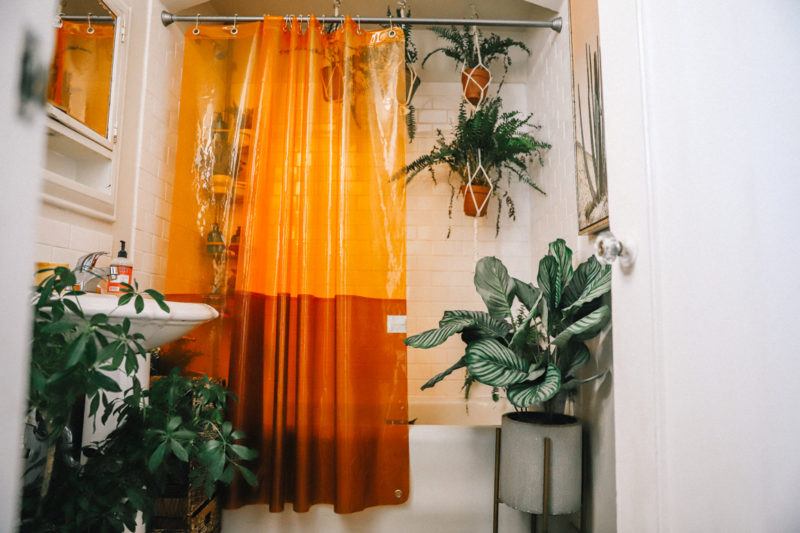
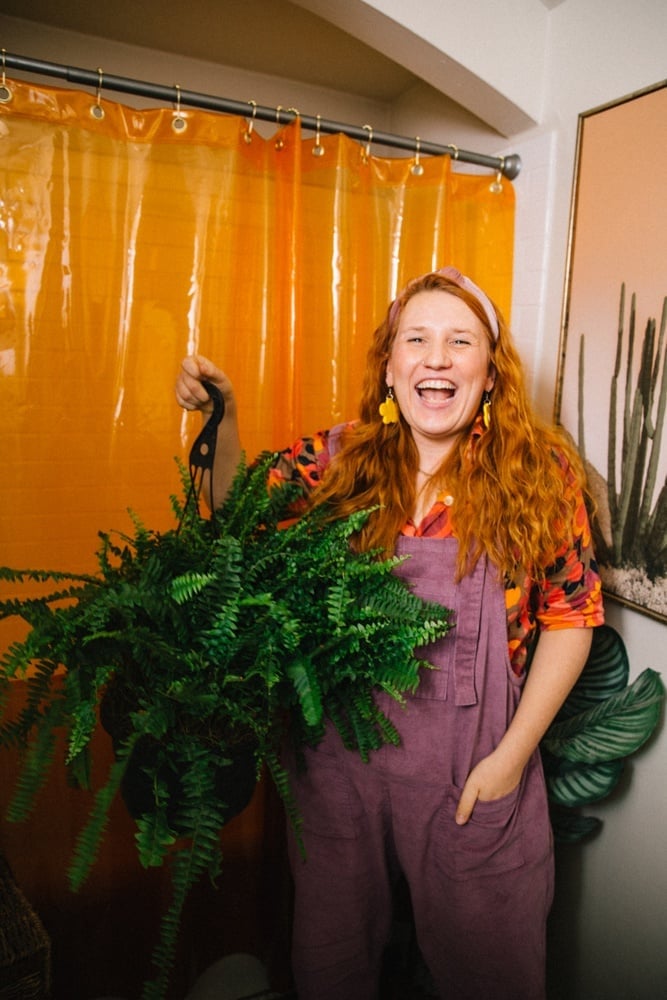
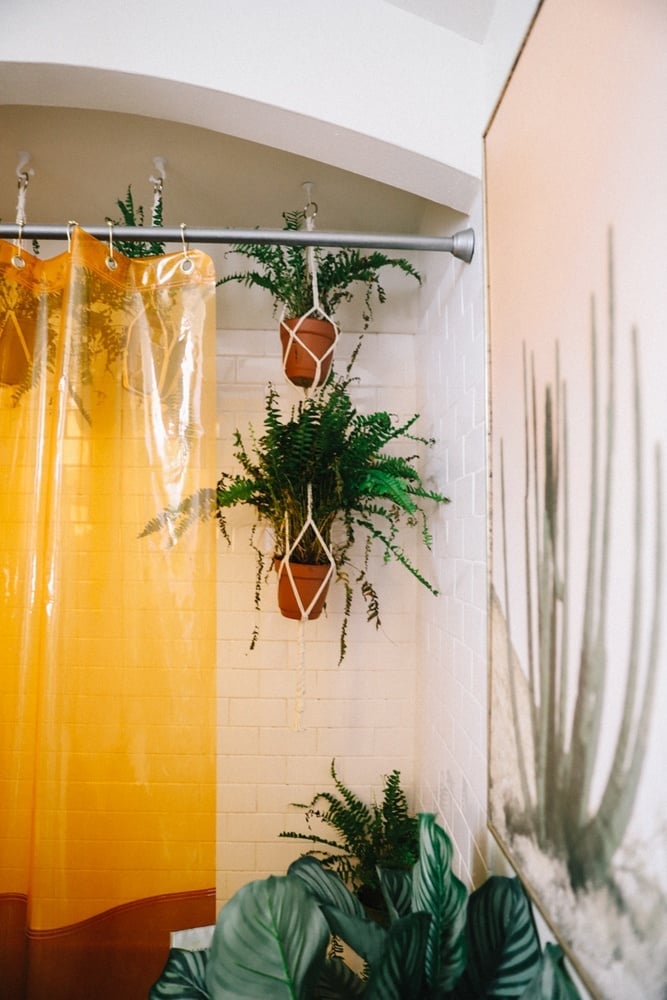
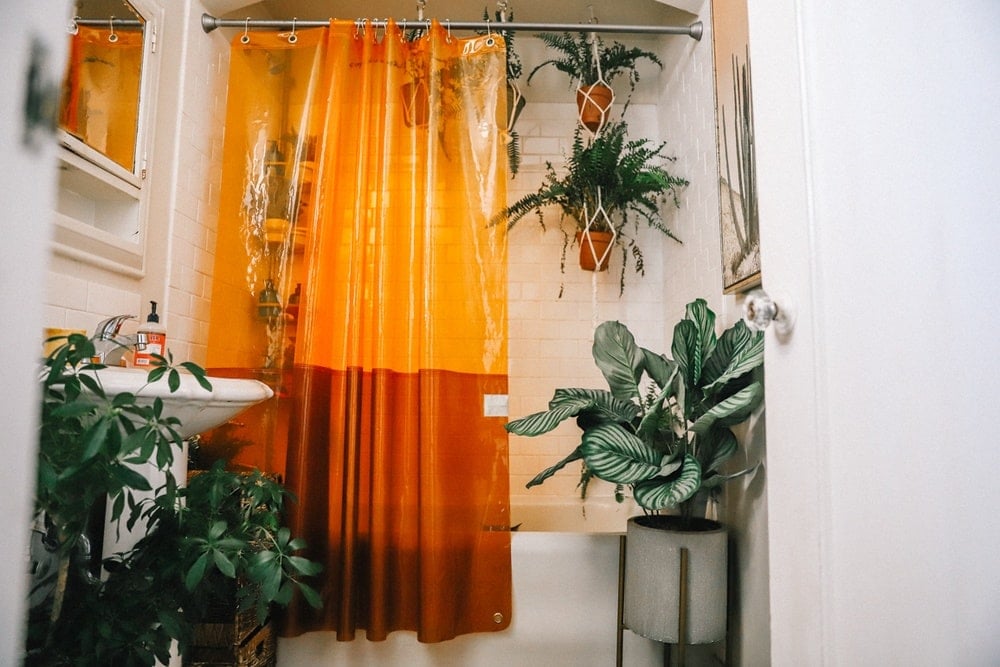
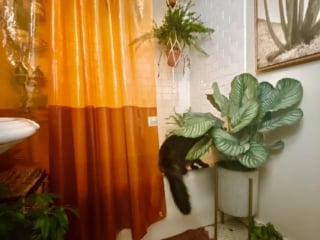
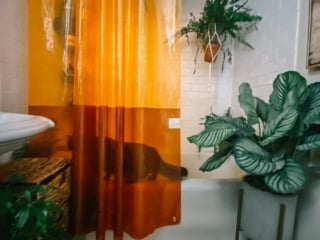
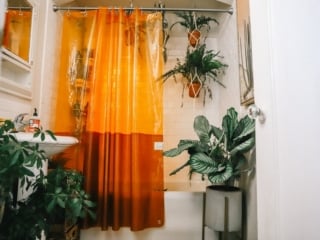
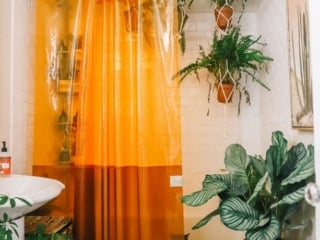
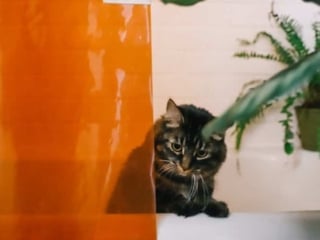
I Started With An Amazing Orange Shower Curtain
White shower curtains are so BORING and we’ve had this one for so many years, it was starting to get gross shampoo stains on it. I’ve been eyeing the shower curtains from Quiet Town for months and finally decided buy one.
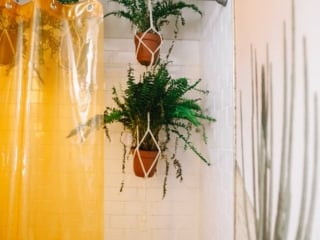
I was actually swooning over this curtain from them — I love love the pattern on it. But I was worried another solid curtain would make the bathroom too dark, or just get more stains on it. So on a whim, I chose this clear orange one.
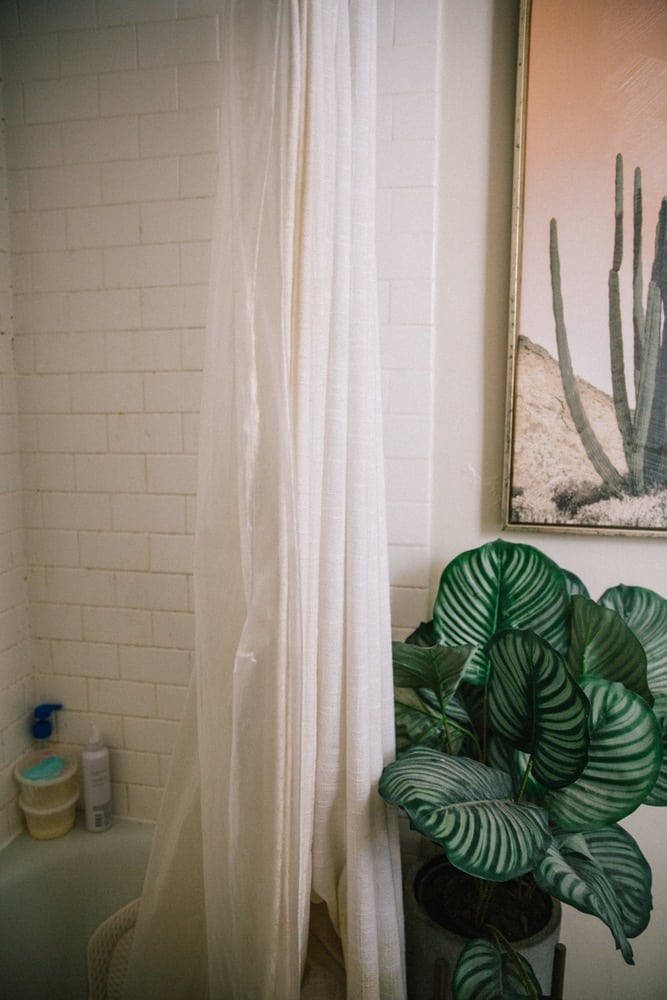
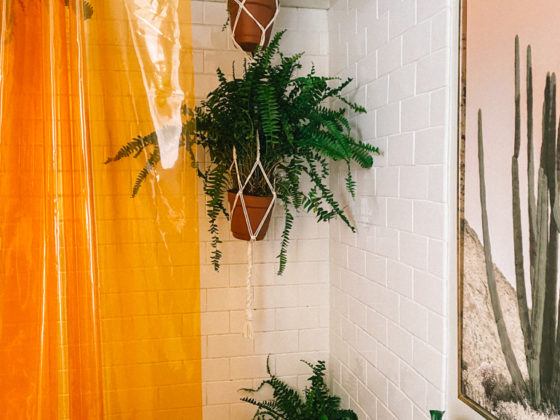
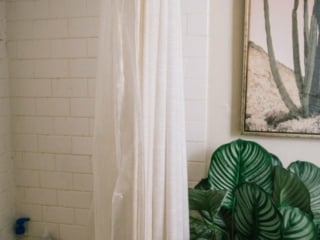
Side story: I love my giant cactus painting and knew I wanted to keep that in the bathroom. Funny story on that — this was part of my first bathroom redecoration attempt years back and I thought this painting was a LOT smaller. When it came I was shocked but I still hung it up just to see… and holy cow, it makes such an amazing accent wall. It was a very happy mistake.
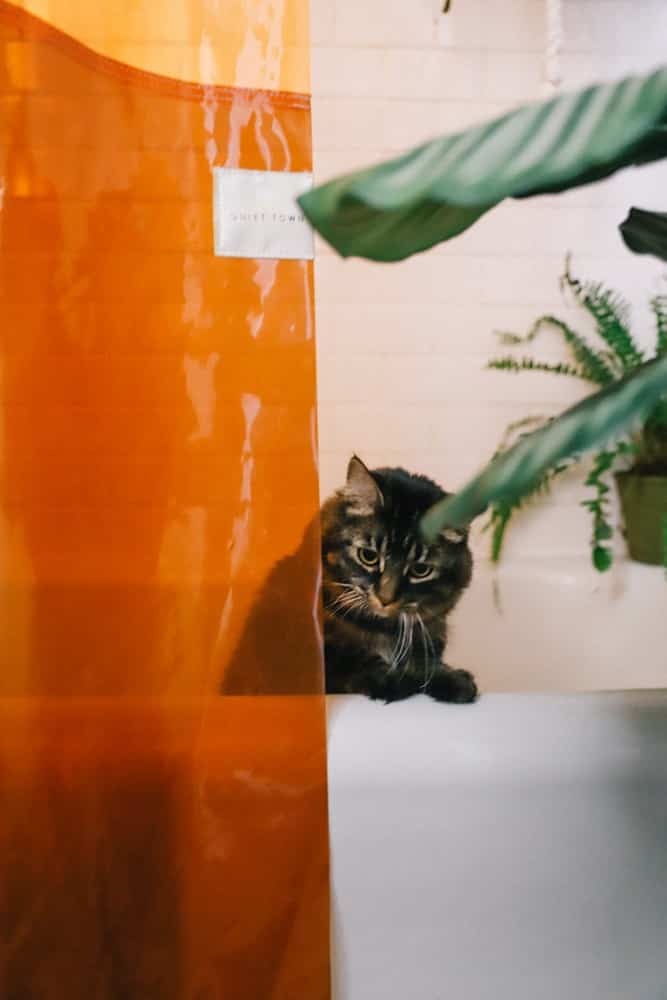
Anyways, I knew that was staying. When picking curtains, It thought the pink clear shower curtain was a little to bright neon pink, but the orange felt closer to desert sand to compliment the painting. We’ve had it for a couple of months now and so far, the shower curtain hasn’t held onto any soapy residue or anything and I love how it brings light into the tub area for all my shower plants!
Then I Installed A Bunch Of Shower Plants
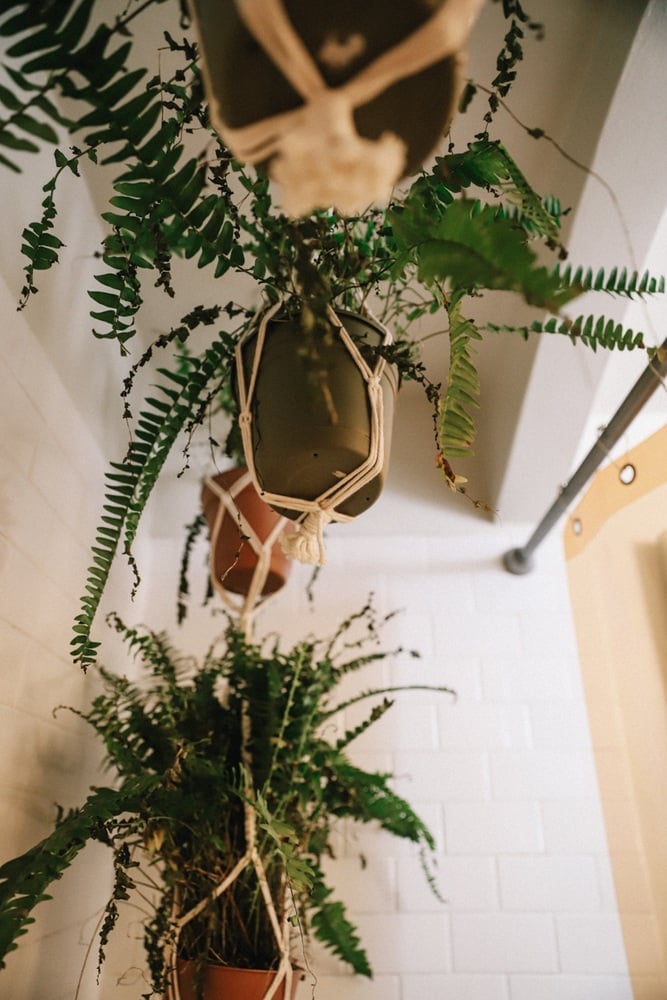
I wrote a whole blog post about my shower plants here, but the short rundown is this: Boston ferns are fickle AF but I loved the idea of a magical jungle shower experience. And they love humidity so they thrive in bathrooms.
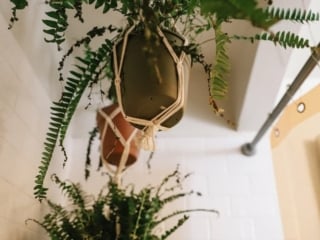
I learned from YouTube how to install these ceiling hooks and felt damn good after learning that skill. (You can also use less intrusive hooks like these if you are retrained by your lease.) I bought a bunch of macrame cord and made DIY plant hangers for the ferns. I was worried I would kill them but it’s been a couple of months and they’ve just started sprouting new leaves so i think I did it!!
The biggest question I get is: do you bump your head on the plants? Nope! Our bathtub ceiling is pretty high and I’m not crazy tall (5’5″) My husband is about 5’9″ (though he’ll tell you 6 feet ha!) so we can both comfortably stand under the plants.
The Shower Caddy Debacle
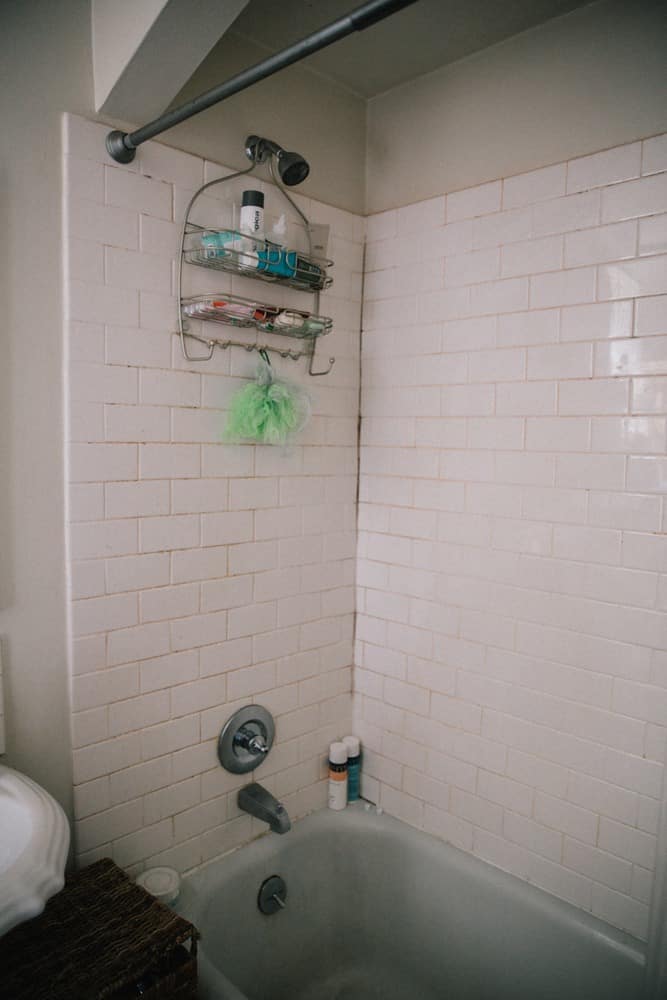
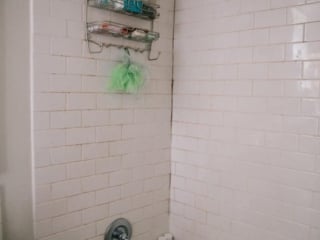
One day I dream of built-in shower shelves to seamlessly organize all our shampoos, soaps, etc. But in the meantime, I was sick of keeping bottles on the side of my tub and in a floppy caddy that hung on the showerhead. I knew I wanted a shower caddy pole.
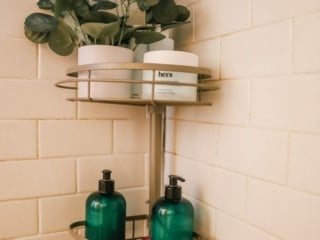
If you follow me on Instagram you know that I was on the hunt for a gold-colored caddy to match the curtain rings and the warm elements I was trying to bring in. They make tons of white, black and silver caddies but no gold. It drives me crazy! I was worried I would fuck up spray painting it gold so I had to settle with a grey one.
Then I Styled My Caddy To Make It Elevated
Tons of different bottles on your caddy looks really cluttery to the eye. I was determined to make my jungle bathroom feel as elevated as possible for what I could do on a small bathroom makeover DIY budget.
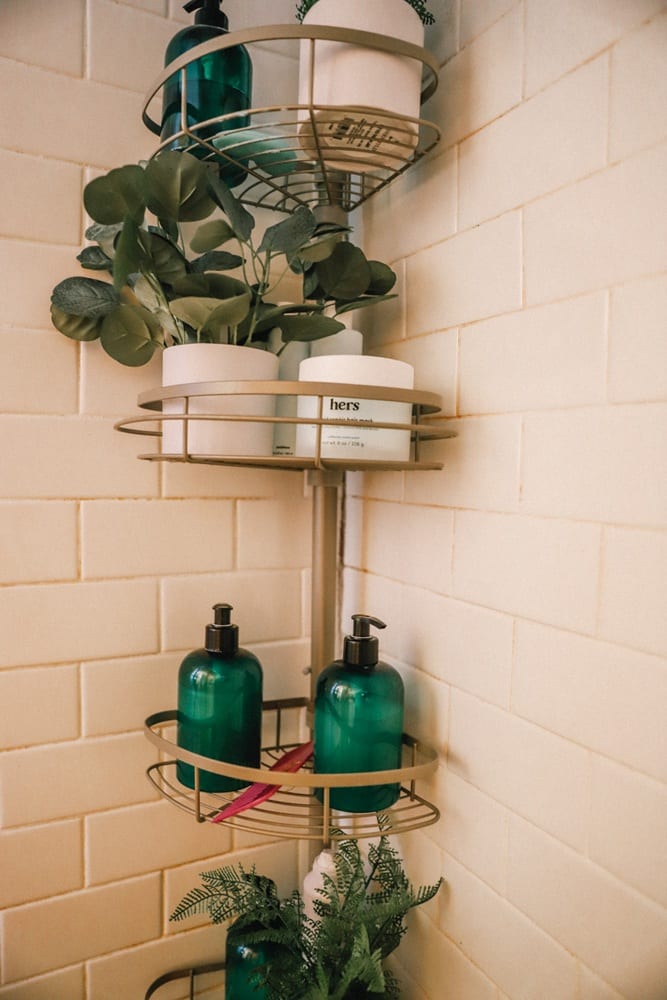
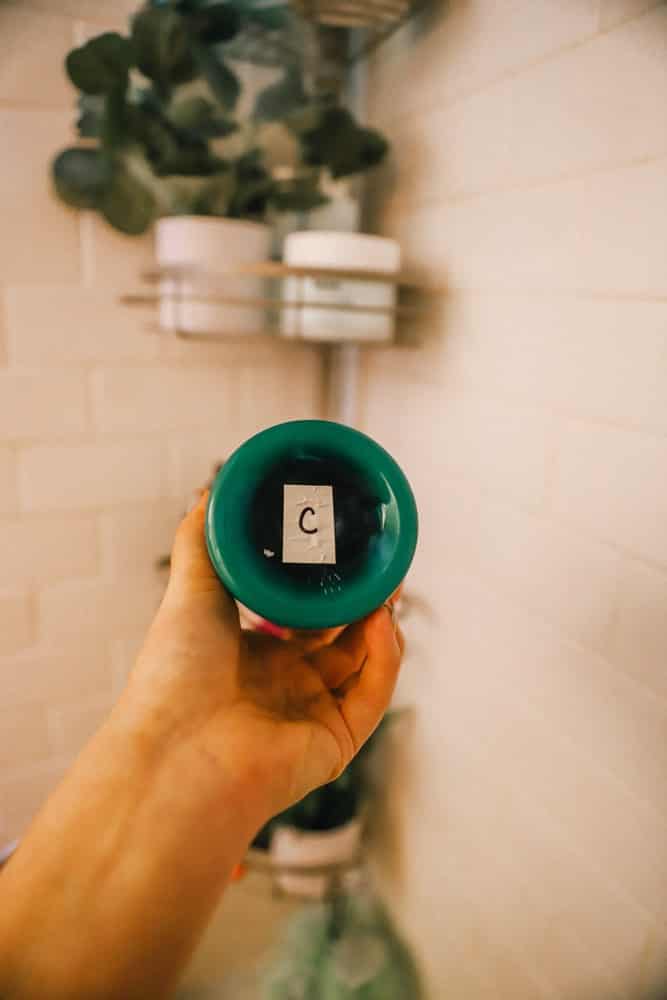
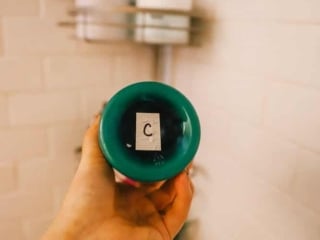
First, I bought green matching bottles to put shampoo, conditioner, face wash and body wash to eliminate the clutter. I just refill these when they’re low. I then was really stretch about what I kept on the caddy and what I didn’t keep. Razor, loofa, hair mask and comb could stay. But my collection of 20+ random other hair and body things had to go into storage. I still use those products when I need them, they just no longer live in my shower taking up space.
Lastly, I bought $5 fake plants from Target to style on the caddy to pull it all together. I could have done real plants but I had my hands full with the ferns and didn’t want to bother with more. All in all, the caddy makeover was about $80 and makes a HUGE difference both in my bathroom designs but also function. We can easily find things now AND keep things organized.
After a good scrubbing down on the bathroom tiles, my bathtub makeover was complete. Time to move onto the rest of the bathroom!
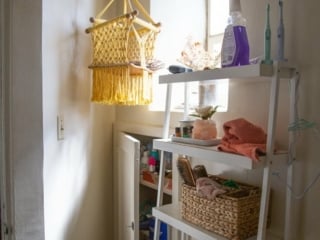
Easy $20 Shelf DIY Makeover
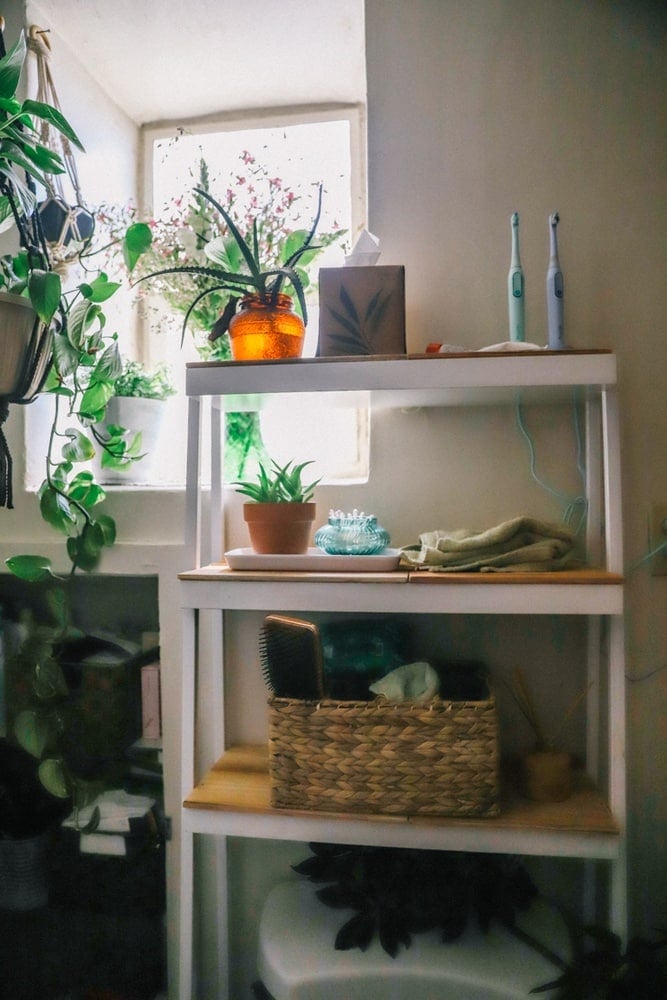
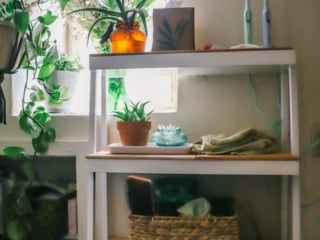
My proudest DIY project is how I transformed my boring white shelf for under $20 to a modern boho bathroom piece. I could have picked solid pieces of wood to make this a more farmhouse feel, but I wanted the room to still hold onto that bohemian bathroom style, which is all about layering things together.
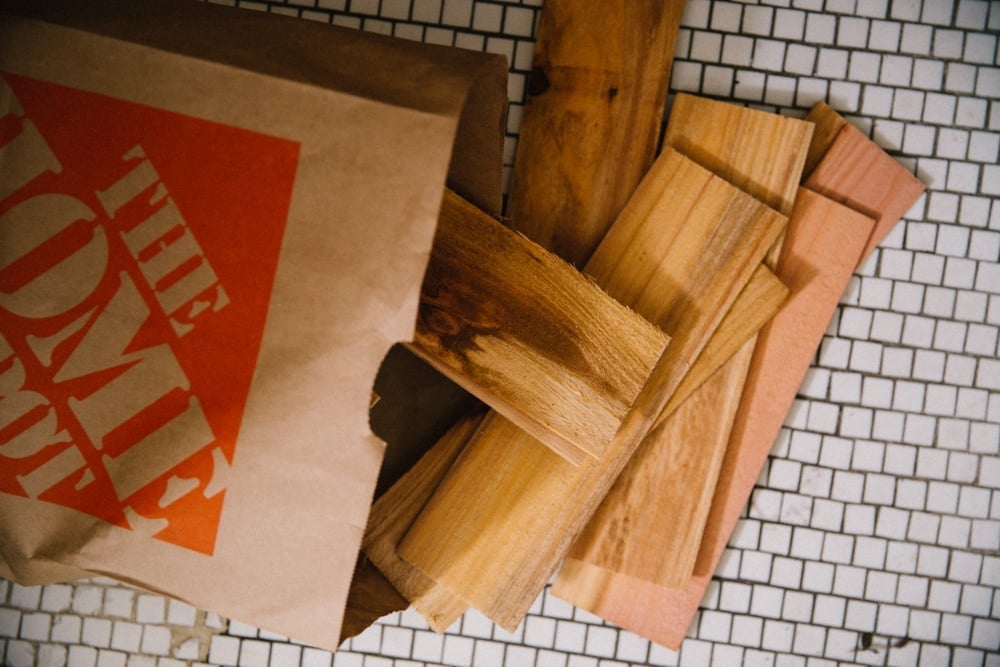
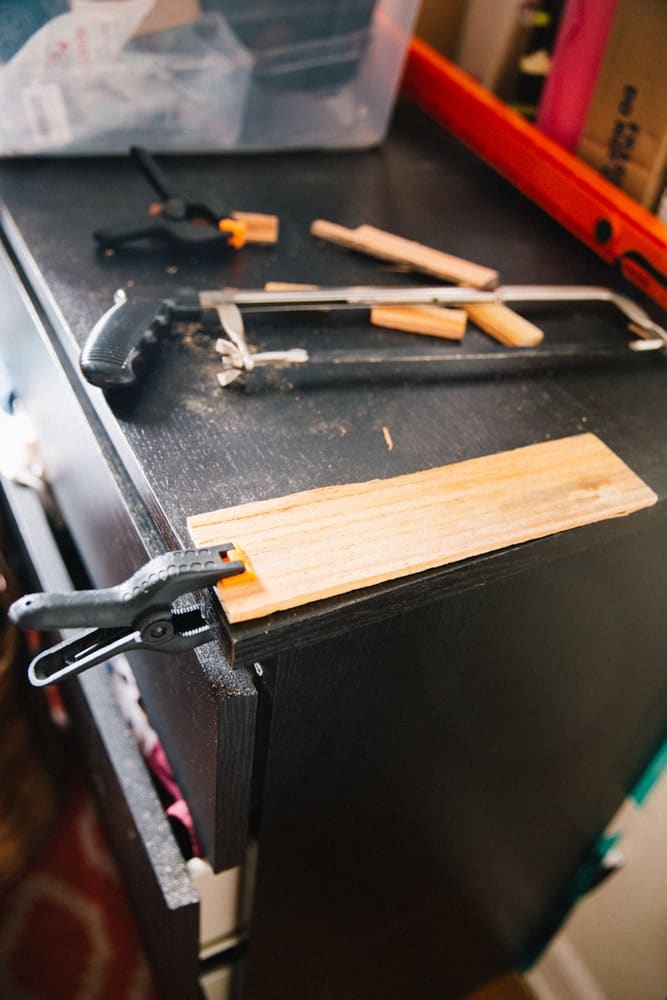
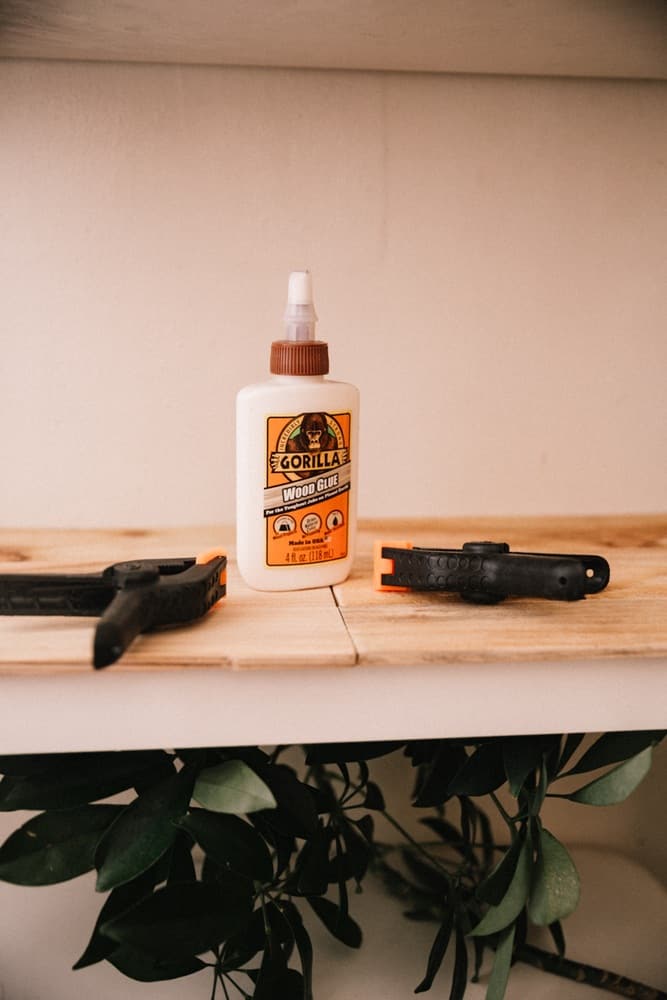
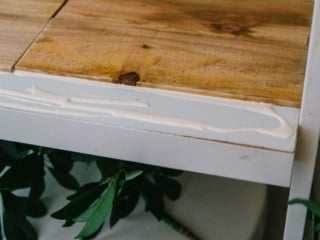
So, I bought a couple of thin pieces of wood from Home Depot for like, $7 in total. They cut wood there for you for free so I had them make the pieces smaller since they were originally about 10 feet long. HomeDepot couldn’t cut the wood to my exact needed dimensions. So, I bought a $5 handsaw and some wood glue. I used clamps we already had from my photography backdrop and I kid you not, I used one of our dressers in our closet as a makeshift cutting table.
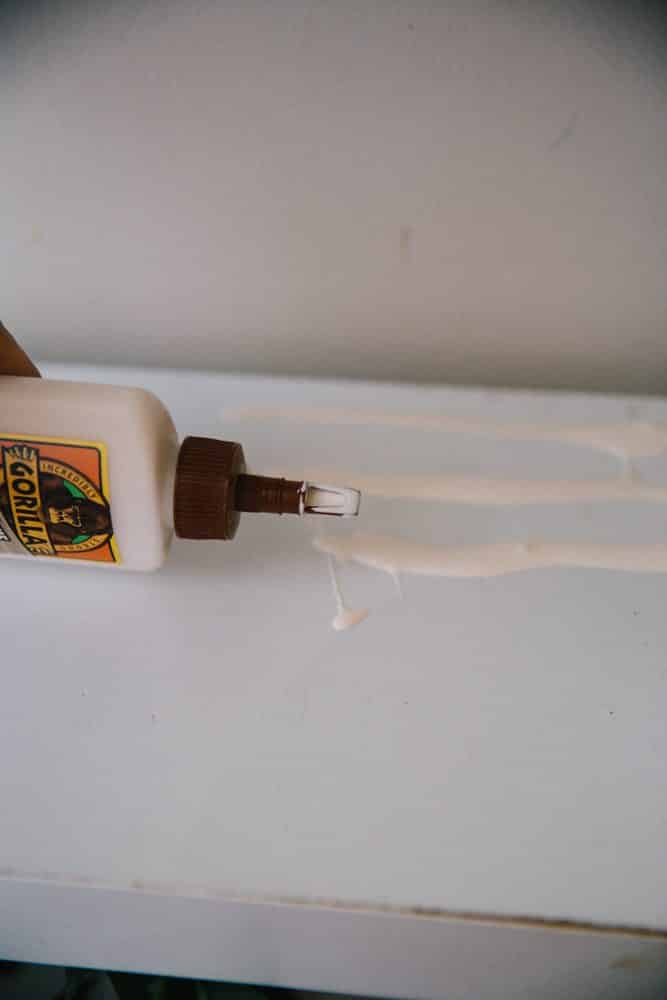
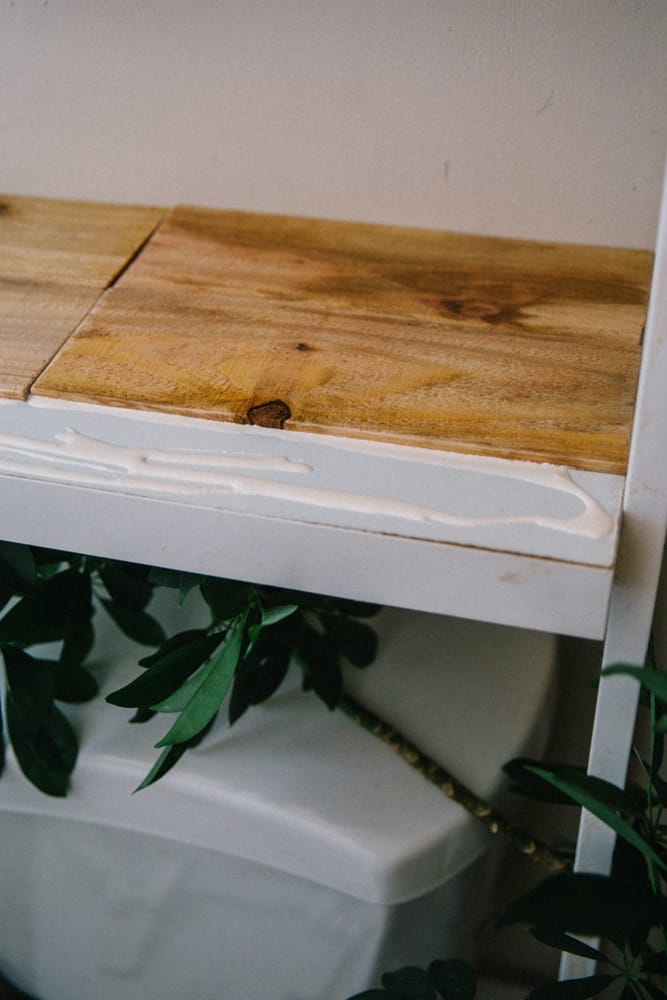
Hey, it worked! My arms were sore AF from manually sawing about 12 pieces of wood but it was really easy. I cut the pieces to my exact dimensions and used wood glue to cover the top of the shelf to turn it into a unique piece of furniture with mismatching wood. I love it, it really helped to tie the cool new shower into the other half of the bathroom.
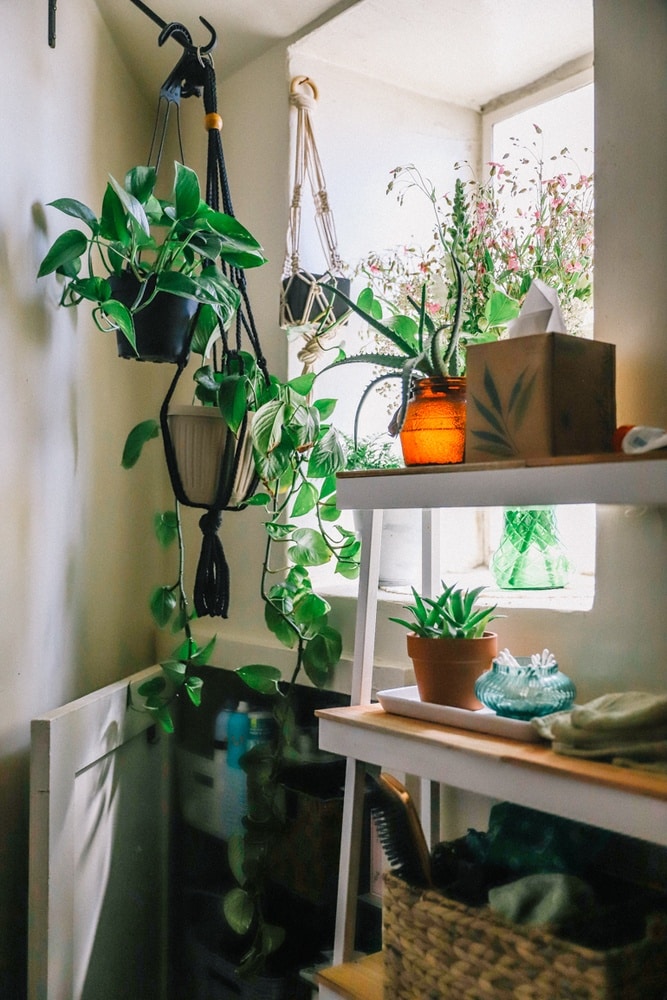
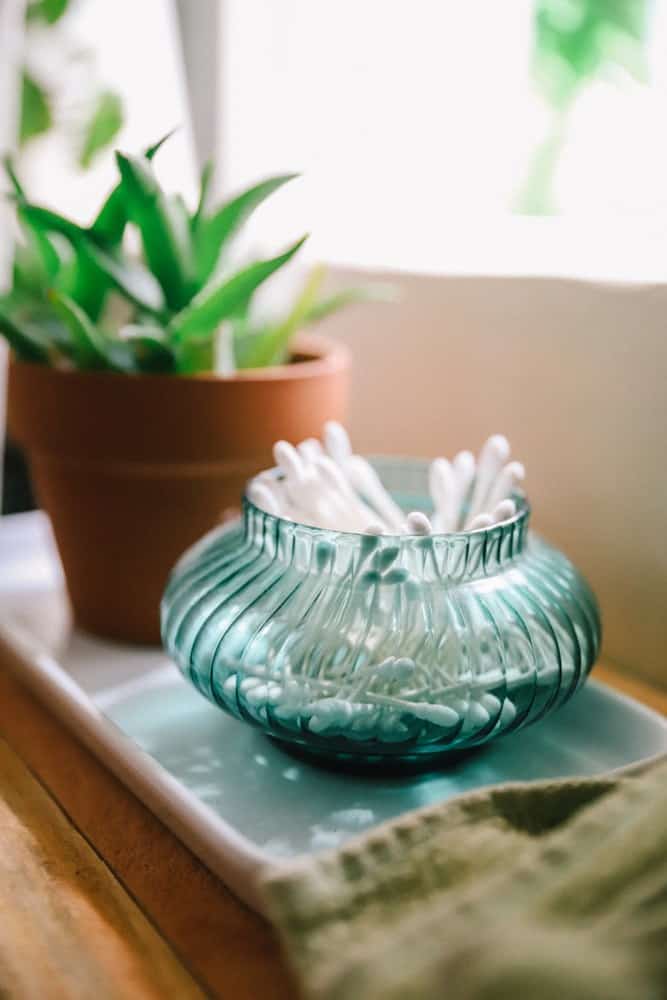
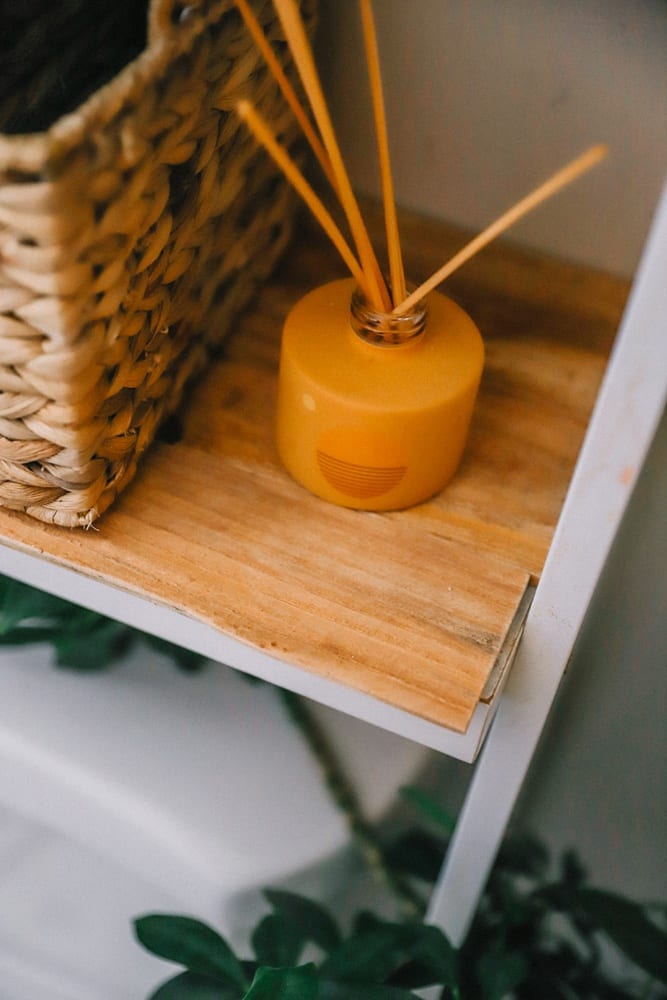
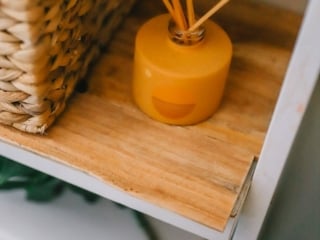
I then styled it with some chic thrifted vases and swapped the old candle for cute “Golden Hour” diffuser from PF Candle Co, which smells amazing by the way. I’m obsessed with candles in large rooms but a diffuser like this is perfect for small bathrooms. Now the bathroom always smells like wood and plants.
I Re-Organized My Bathroom Cupboard
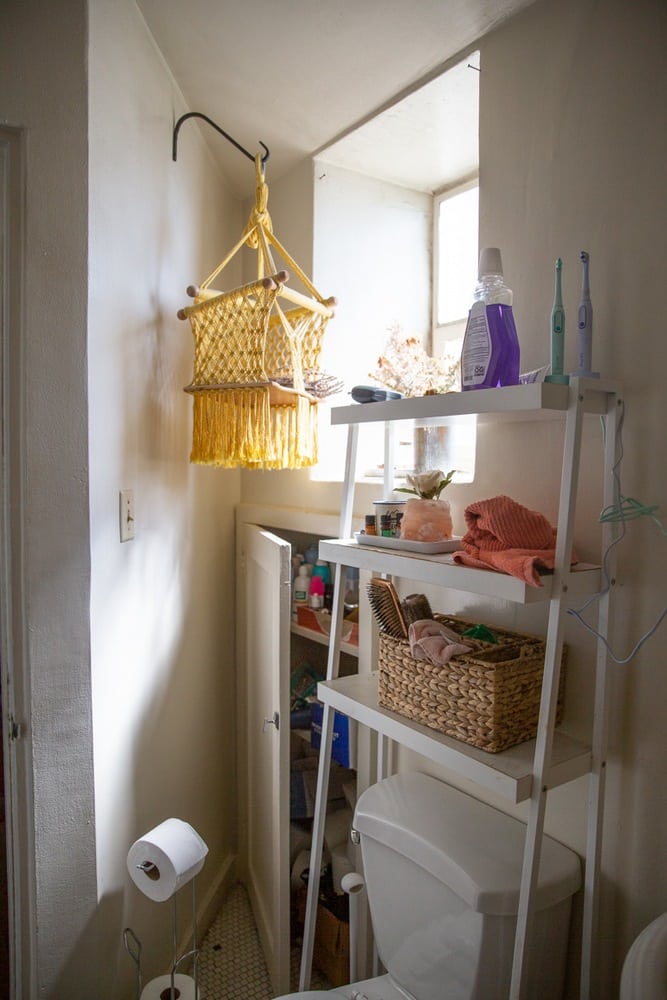
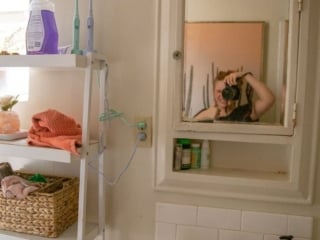
My bathroom is shaped really strange and my cupboard is in this triangle corner. Basically, we can’t open it all the way and it’s hard to get it to close all the way. The bottom shelf was missing when we moved in, so this has always been a pain point for me. I’ve tried various storage options over the years and currently have landed with these cheap $4 bins from Target to help keep things organized and less clutter.
The door still can’t close OR open all the way, but now we just keep it open and having the stuff on the inside more organized helps a lot visually.
Hanging Plants In The Window
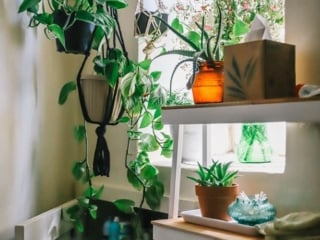
The very last thing I did was add new plants to the window space. I already had a sturdy hook in place from my previous renter remodel, and it can hold a LOT of weight. I just made a new macrame hanger and bought a new, large pothos and hung it there. I moved another hanger plant from our living room to the window for more green. Easy peasy!
Still On The Hunt For The Perfect Light & Bath Mat
I love this red bath mat that I bought in Nicaragua but I don’t think it’s *perfect* for space. I’m still on the hunt for a new bath mat but I’m not going to rush to it. This woven mat does the trick for now, but one day this will change.
Same with the light. Our landlord put the most random light fixtures in our apartment and they all drive me crazy. Taking this down was one of the first things I did during this makeover process, but alas I couldn’t find a new fixture that fit so I had to put it back on. I’m still on the hunt though — I totally envision something rattan here.
The Things I Couldn’t Fix But Wish I Couldn’t…
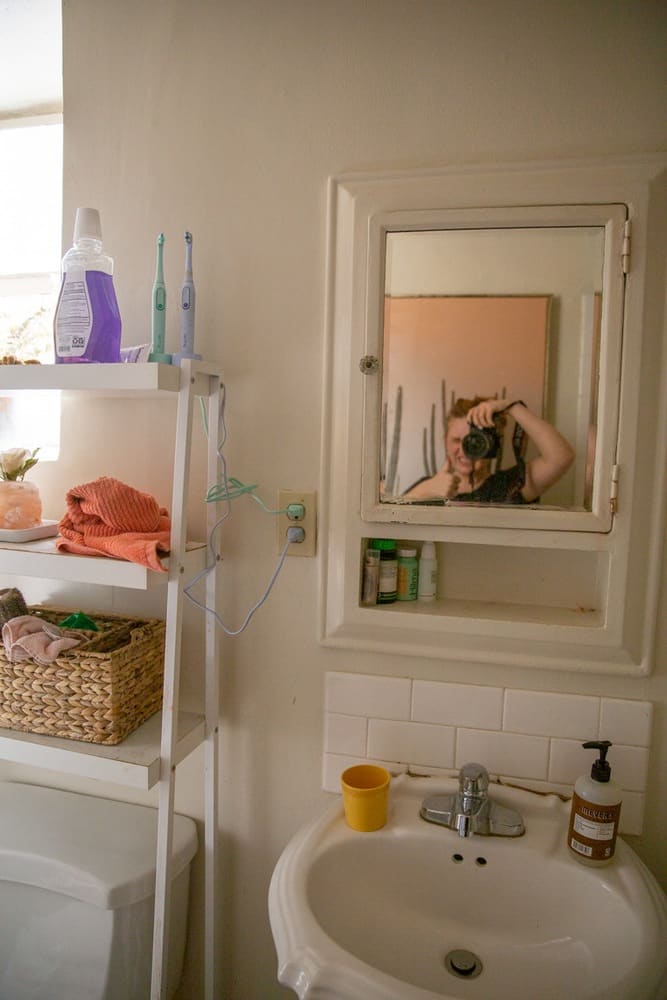
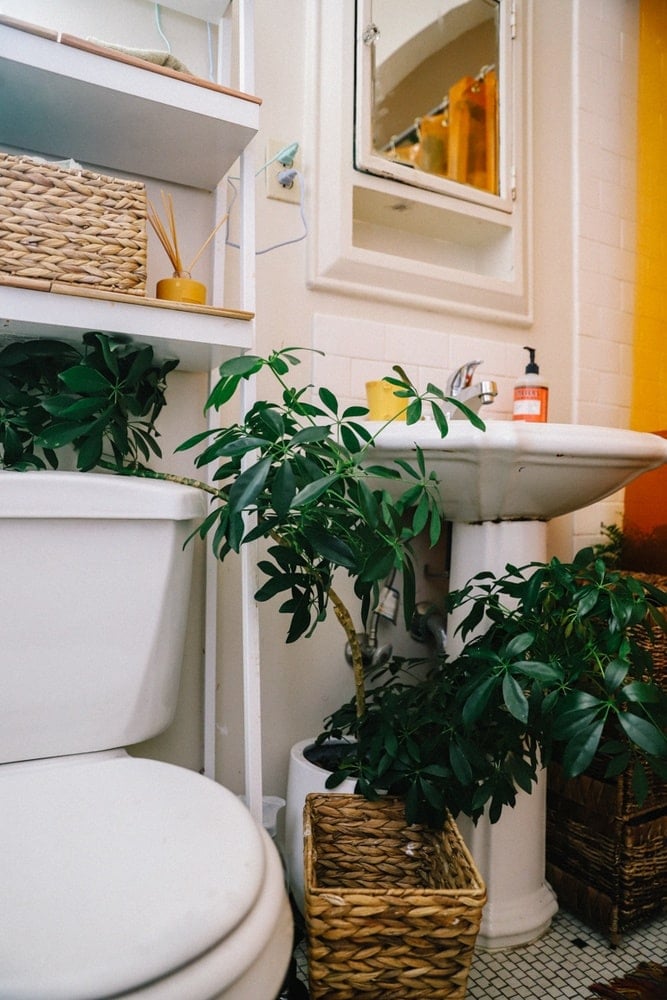
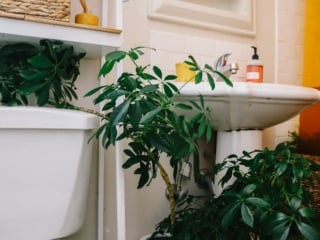
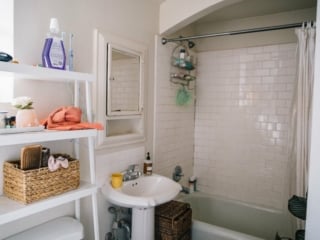
If this was a bathroom I owned, I would totally overhaul the vanity mirror and bathroom vanity sink. Maybe get a gold mirror frame or something and absolutely a sink that had storage under it. But alas, there’s not much I could do here so I left it. I did place a big umbrella plant under the sink to cover up the hardware and that helps. Nothing plant can’t fix!
DIY Bohoheiman Bathroom Design Budget Breakdown
Here’s a breakdown recap of all the DIY projects and costs:
- Shower curtain: $62
- Rings: $8
- Caddy: $63
- Boston Fern: $30
- Macrame + Rings: $15
- Planter pots: $10
- Ceiling Hooks: $10
- Green bottles: $15
- Faux Plants: $15
- PF Diffuser: $26
- Shelf Wood + Supplies: $20
- Thrifted Vases: $2
- Cupboard Bins: $10
- New Pothos Plant: $15
So, that’s my DIY bathroom makeover on a budget renter friendly budget! Small bathroom ideas are hard to find inspiration on, so I hope this helps you feel inspired to upgrade your space even if you rent!
PS — need a kick in the butt to actually redo a space? Join the One Room Challenge! A have a friend who does thins and says it’s really motivating.
What do you think of my DIY bathroom makeover before and after photos? Got any questions I didn’t answer? Drop a comment below or DM me on Instagram @thewhimsysoul and I’ll be happy to help!! Stay creative.

