I’m pinching myself writing this. Exactly a 369 days ago I toured our cabin in Arnold, California for the first time. And then promptly blasted Taylor Swift’s Midnights 3 times on the drive home to San Francisco before putting in an offer.
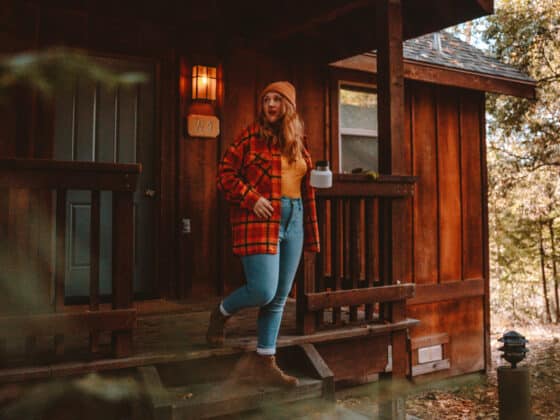
Somehow, our offer was accepted. It was the only offer we put on a cabin and really felt meant to be. Robin and I had a few holiday trips to do (Berlin! Quebec!) but then on Jan 1st, we packed up our cat and headed to Calaveras County to start our long renovation.
It has been a JOURNEY and I wanted to remind ya’ll of the before, and the during, and show off the final product. Since I’m really proud of what we built and I can’t wait to host you at our Whimsy Homes Airbnb soon!
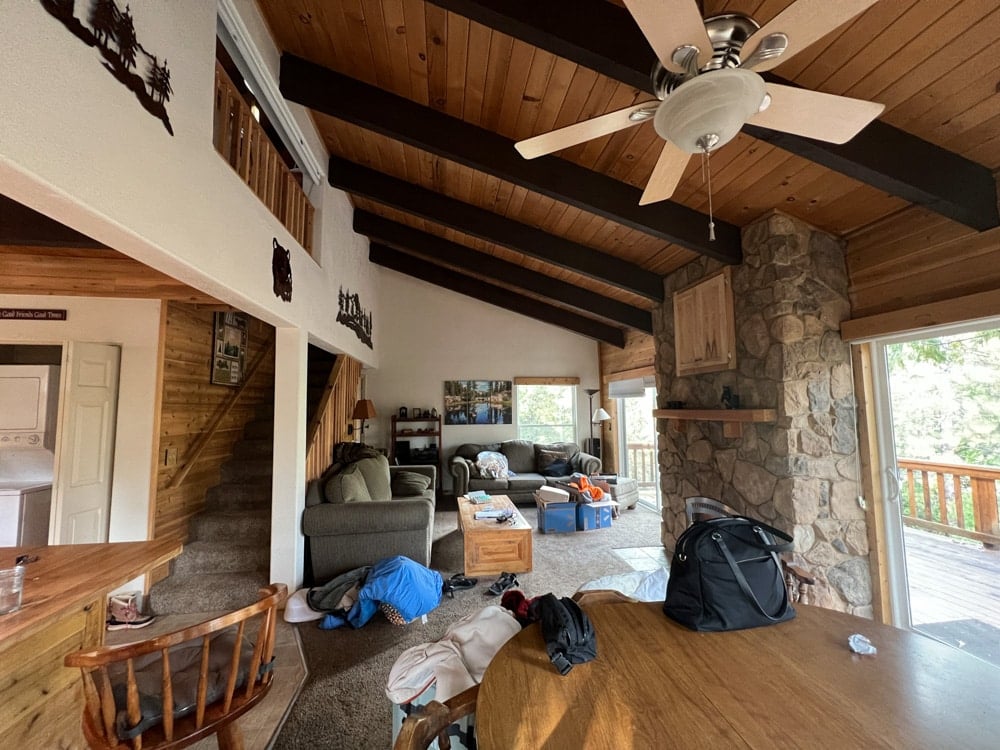
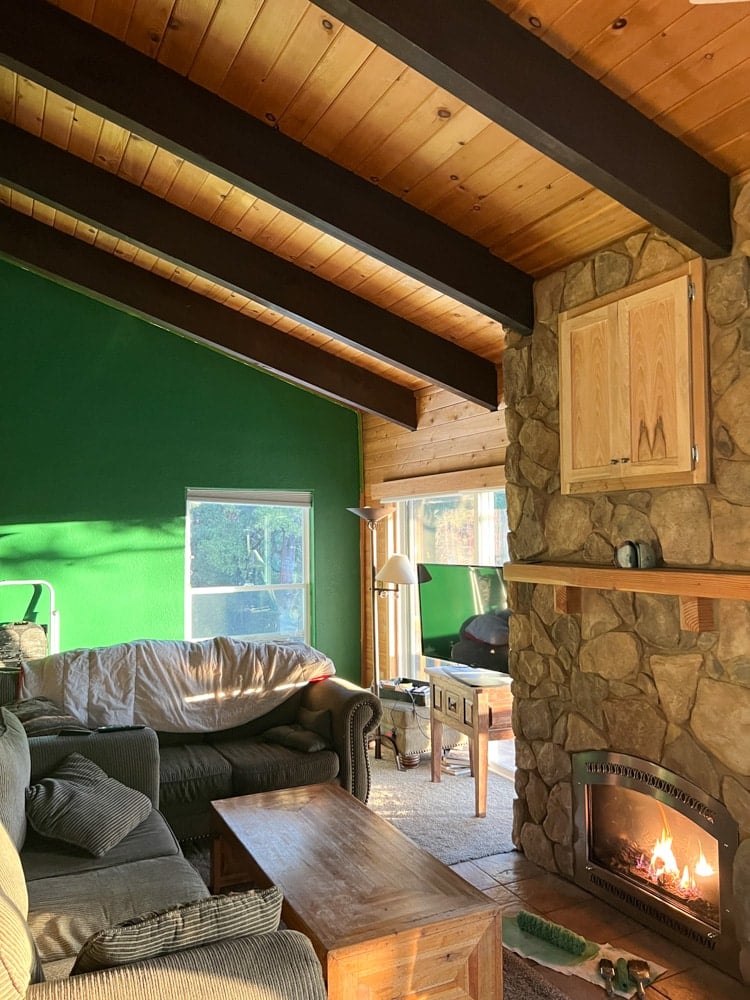
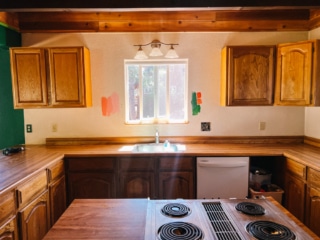
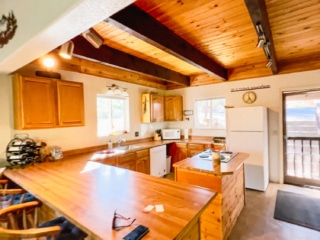
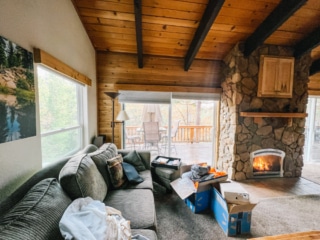
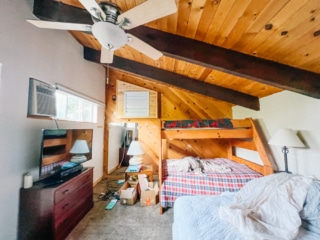
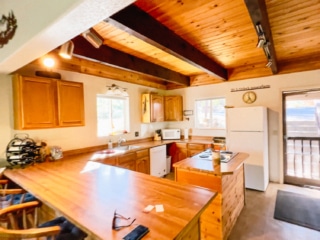
What The Cabin Looked Like At Closing
Because I’m a poor planner, I was on a plane to Berlin for Christmas Markets the day we recorded and got keys for our new cabin so I had to wait a few weeks to go up and celebrate. We did so with Gamel Dansk and a bottle of Lagavulin during a crazy wind storm that knocked over all the patio chairs on the deck.
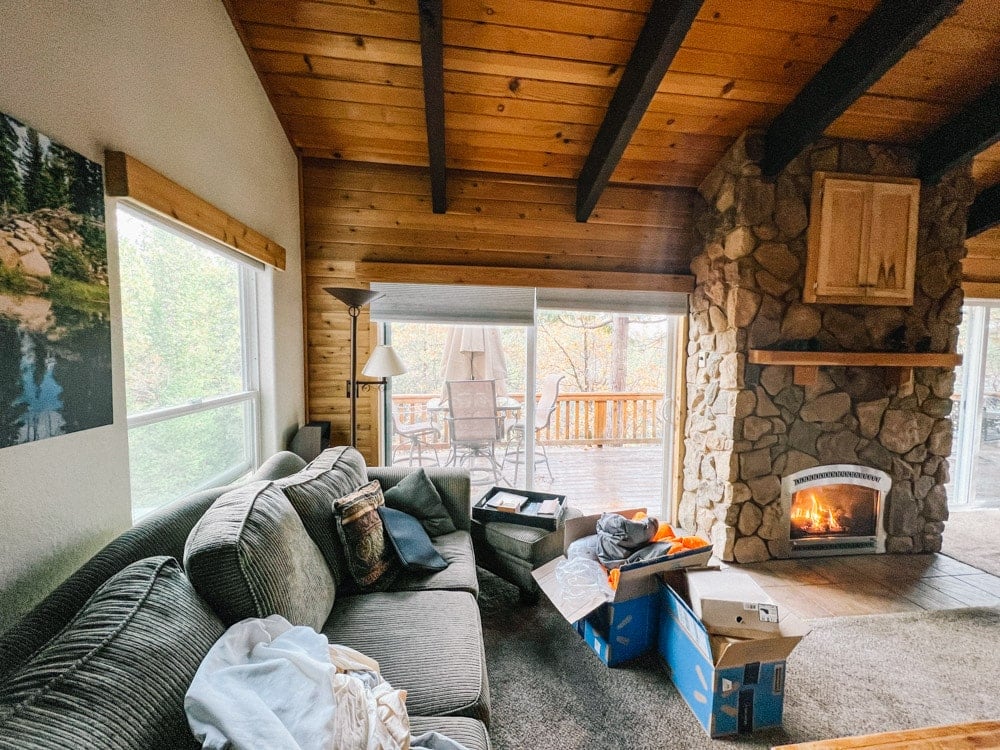
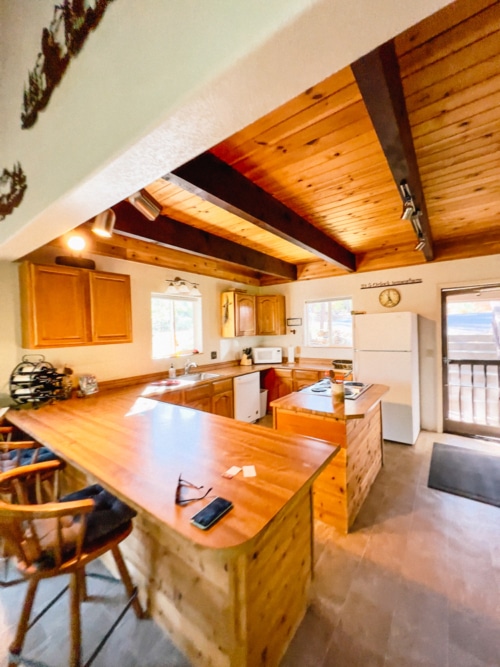
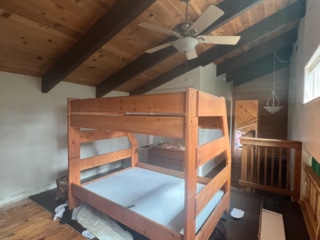
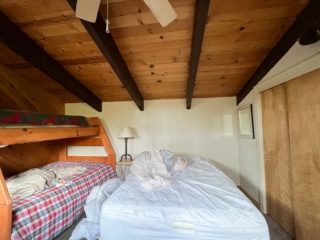
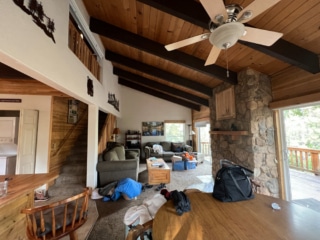
Most people in Arnold leave all their belongings when they sell a house, so we inherited a fully stocked cabin. This ended up being a blessing and a curse. It was great since we had a couch and cookware and a bed to sleep on, but a curse since that bed mattress was refurbished in 1980 and none of the furniture was things we wanted to keep. It ended up taking us almost 6 months to donate and get rid of everything.
But, all in the due time. On that first visit with our new keys, Robin and I swapped locks and donated over 40 bear related items (paintings, statues, decor, etc) and started making plans for renovations.
It was a slow process at first since neither of us have ever renovated a house before but we’ve lived in the same small San Francisco apartment for 9 years and I absolutely was eager to start going crazy on a fresh space.
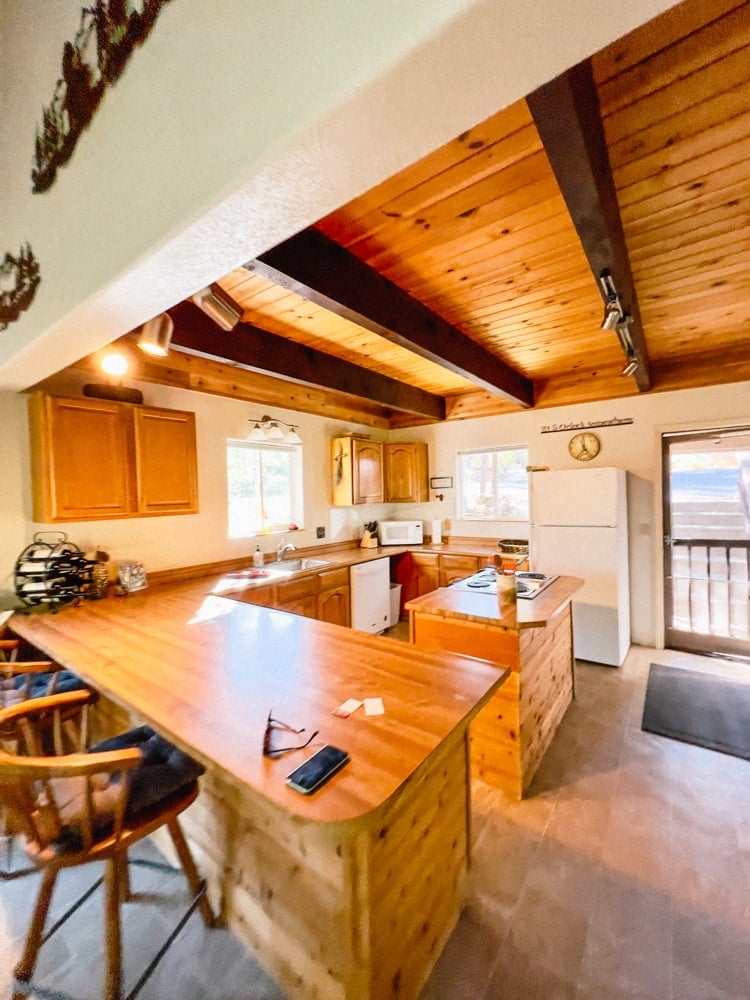
I fell in love with the cabin because of the wood ceilings, wood statement walls, large deck and privacy around the house. It was just a basic cabin but I saw so much potential make the space unique and fun.
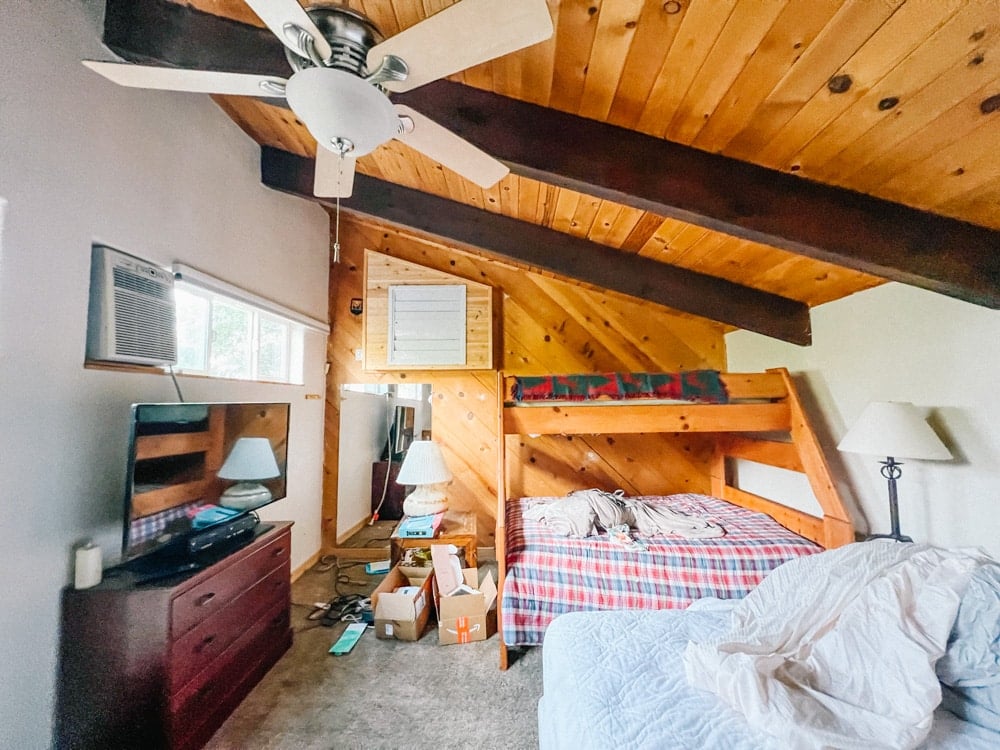
There was some things we knew we wanted to do right away – for instance remove all the old carpet and put down hardwood floors and add like, WAY more color to the walls.
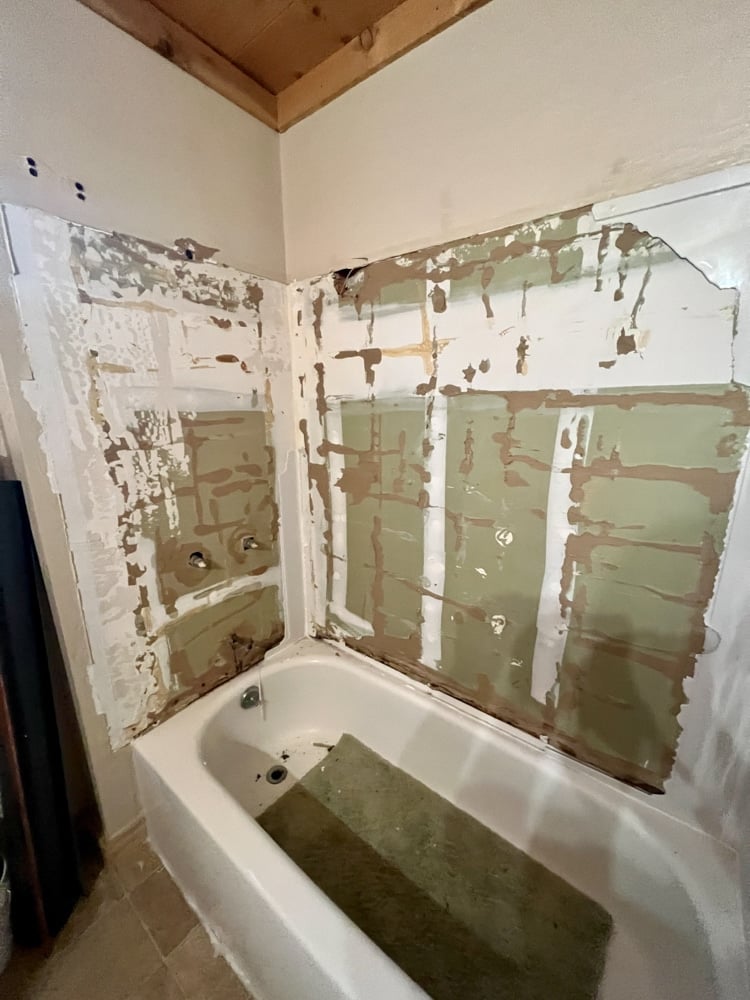
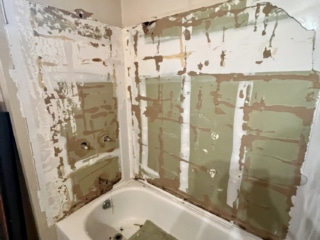
The downstairs shower needed a major overhaul and I felt like the upper cabinets in the kitchen were too clunky. I also knew going in that I wanted to do something very bold: paint the living room floors green.
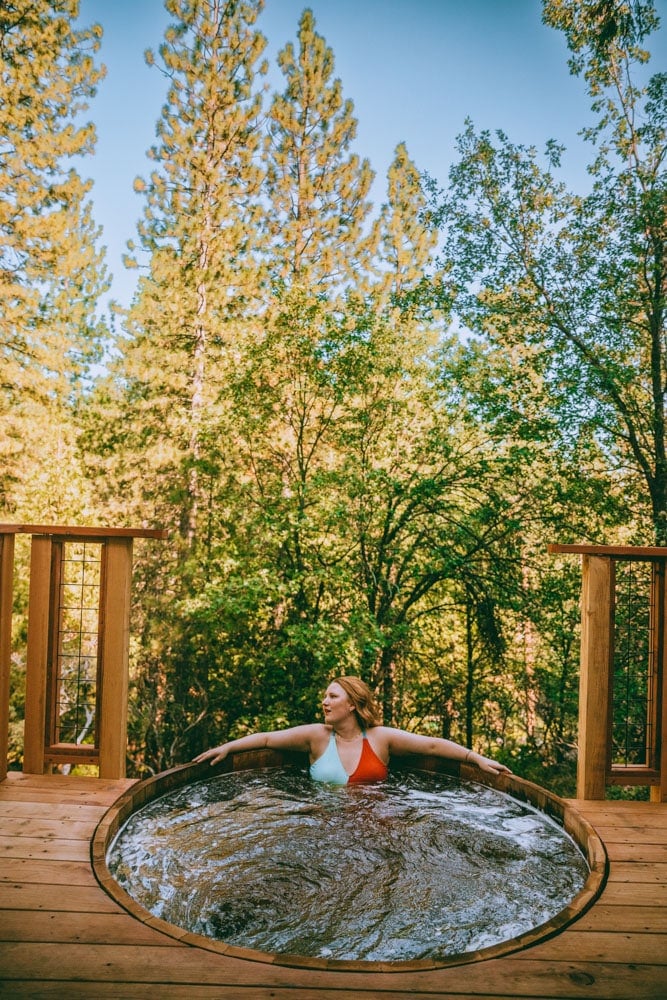
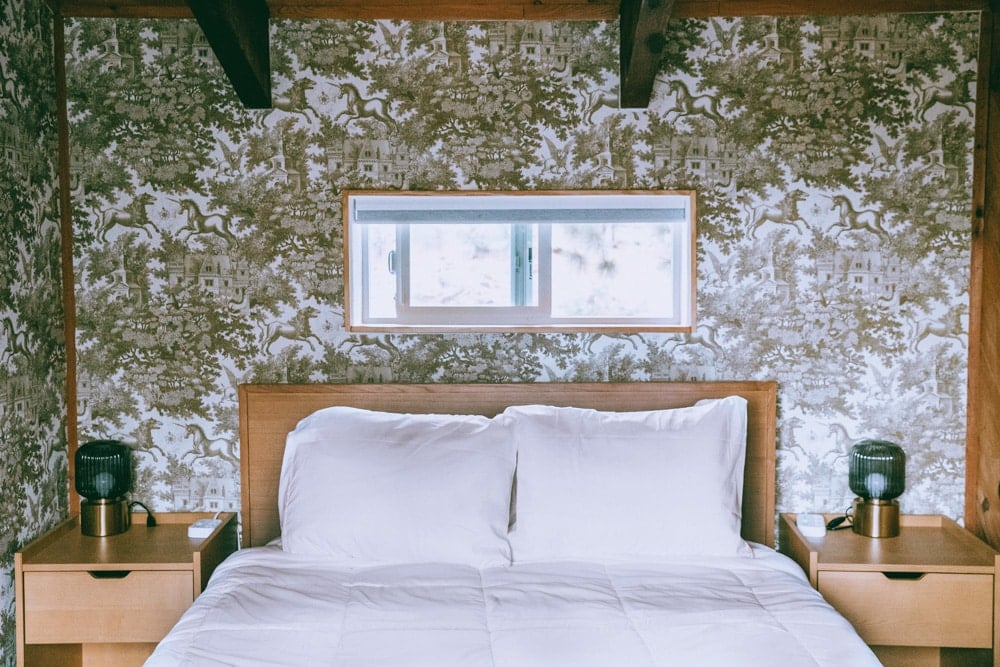
But other things took a lot of planning and time to come together, like the wallpaper in the upstairs bedroom and the cedar hot tub.
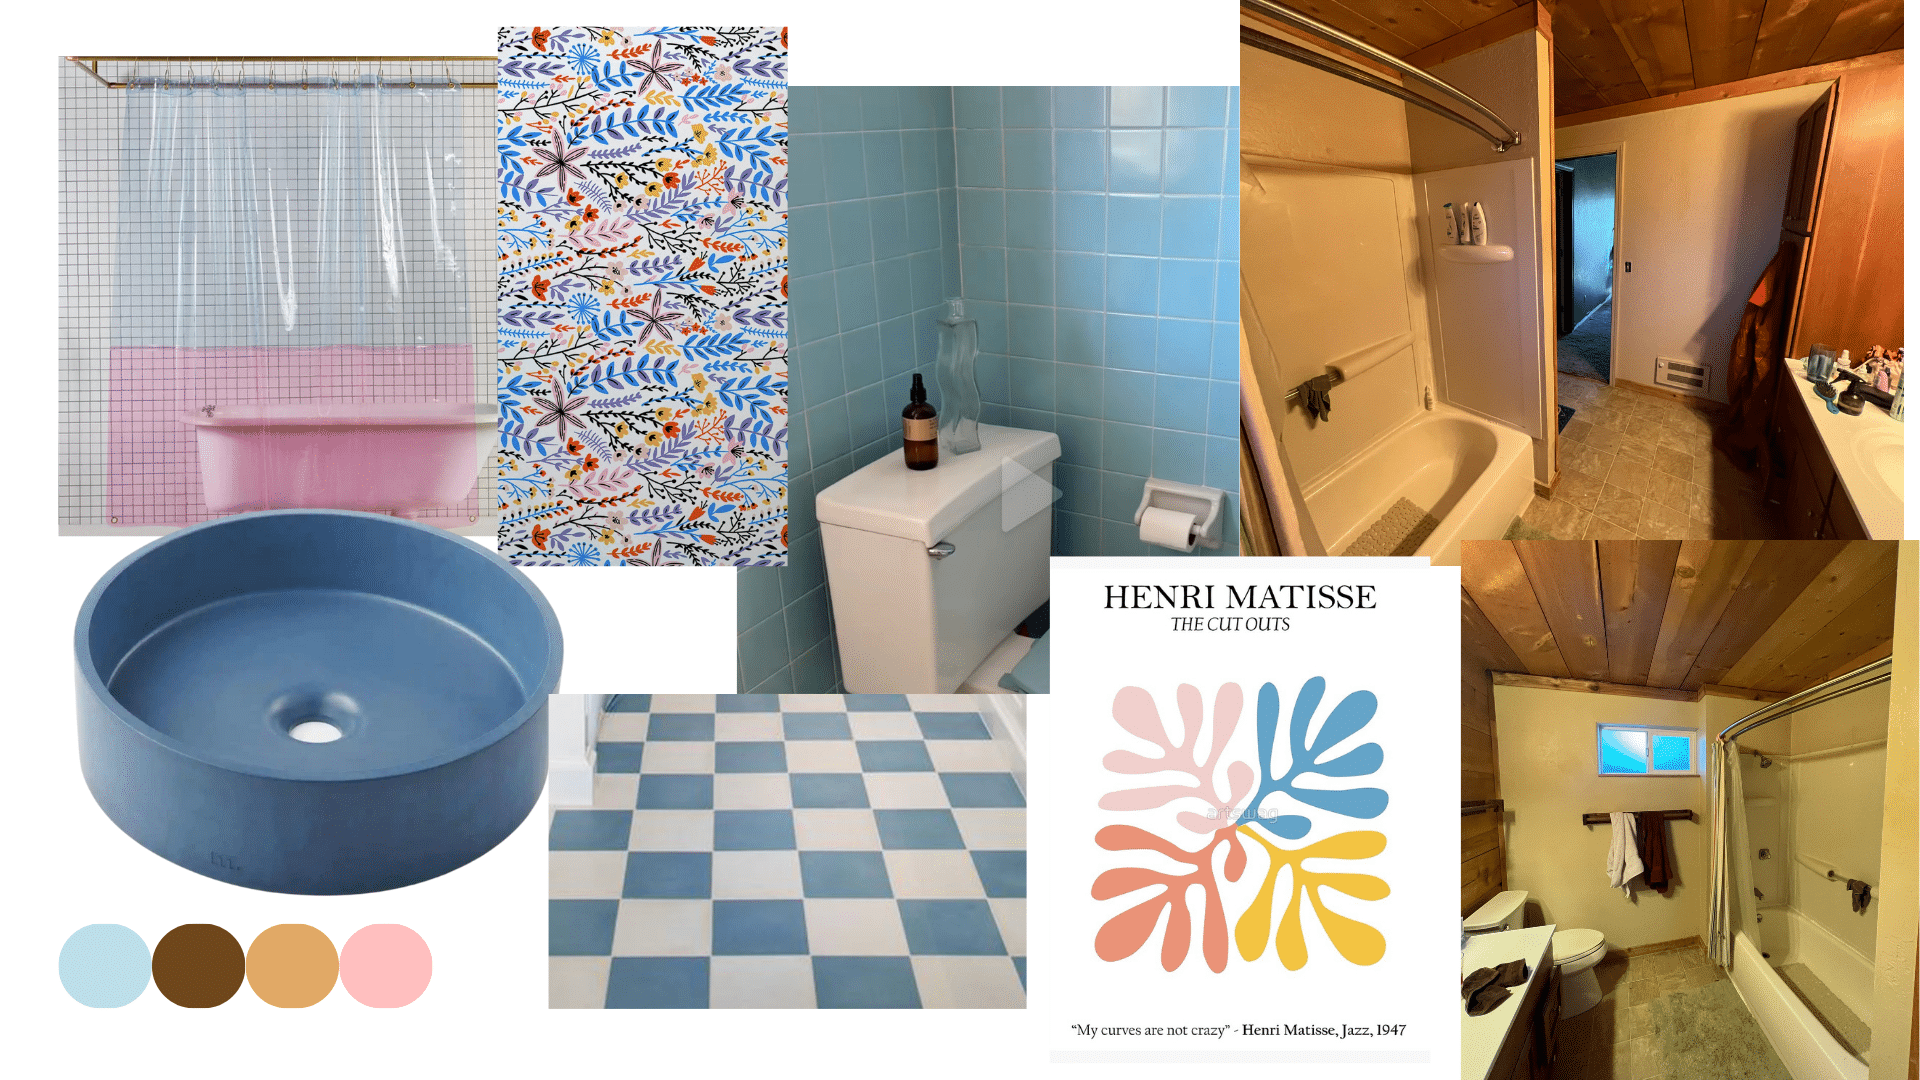
I Use Canva To Help Plan Room Design
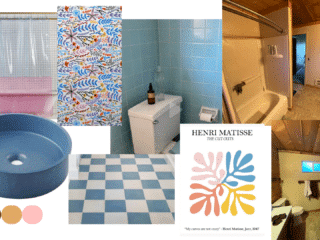
To help map out ideas and plot room renovations, I used Canva to make mood boards of each room. This was so crucial to help me make design choices, share ideas with Robin and our contractor, and make sure the whole house felt cohesive.
Since there’s a lot of colors and patterns going on.
If you are designing a room or a whole house, I highly recommend you start putting together mood boards with Canva. Start with Pinterest to figure out what kind of style you are most drawn to.
Then pick out a color scheme. Choose 2-3 primary colors and 2-3 secondary colors. Also, pick motifs and shapes.
For example, the cabin’s primary colors are green, pink and tan/brown (the latter shows up through all the wood accents). The secondary colors are blue, orange and yellow. There’s also a running theme of florals and checkers throughout the cabin.
I made sure each room followed the color scheme and patterns to ensure everything felt cohesive instead of a bunch of random rooms with different themes and designs.
Each Room In The Cabin
Now, let’s do a quick overview of each room in the cabin! I aim to share a detailed article about each room with more info and will link those here when they are live.
The Green Living Room & Dining Room
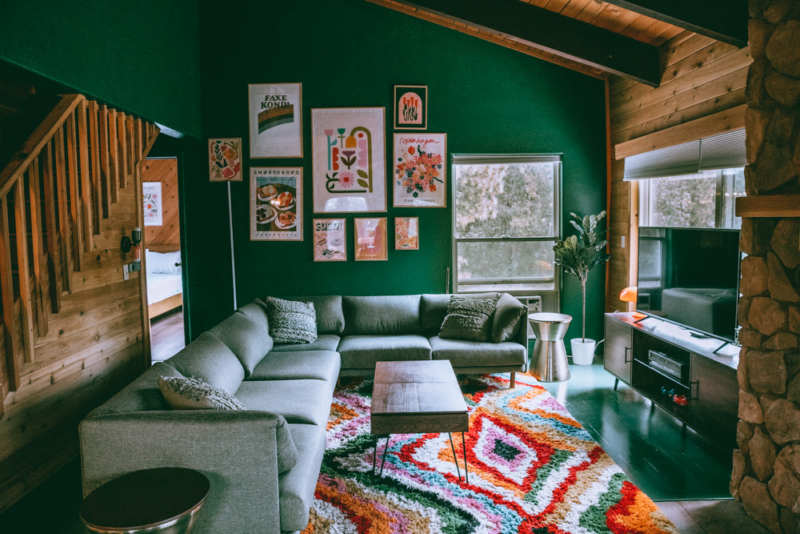
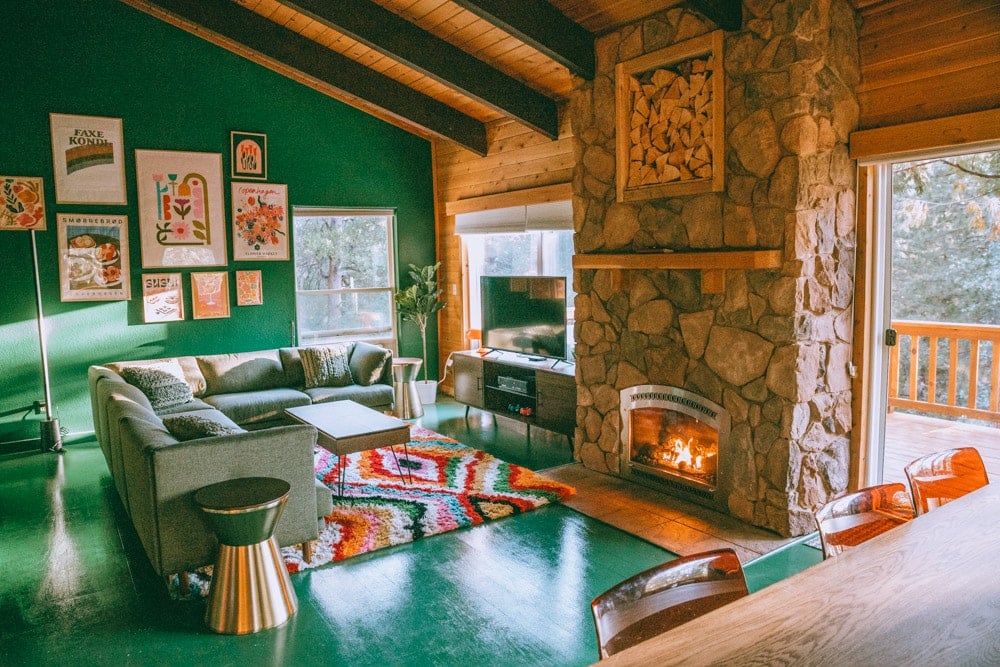
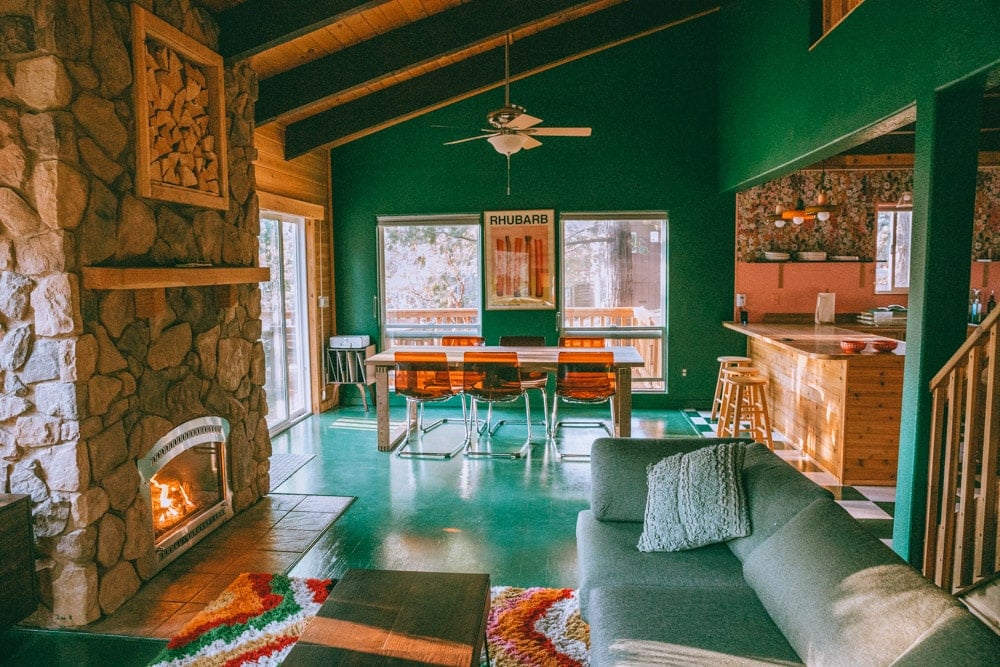
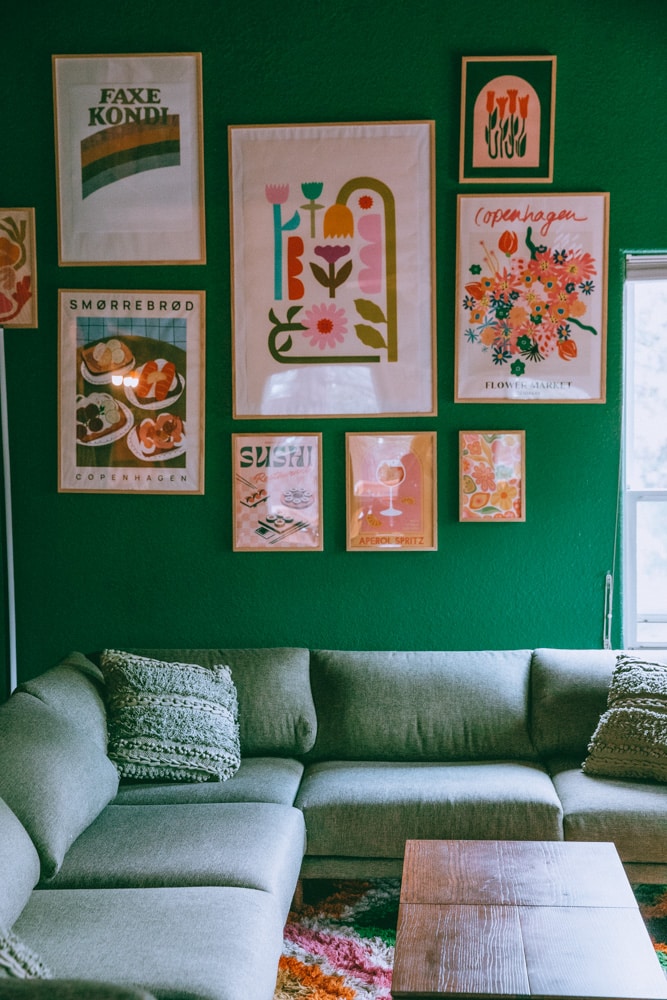
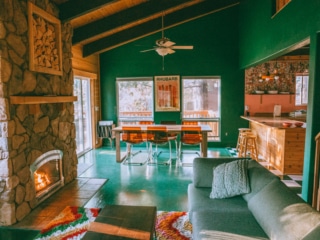
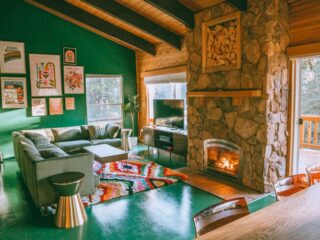
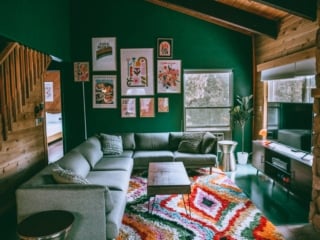
Yes, we really painted the living room floors green. While touring cabins in Arnold, one of them had a small bathroom with green wood floors. I couldn’t get it out of my head, it looked so cool and unique.
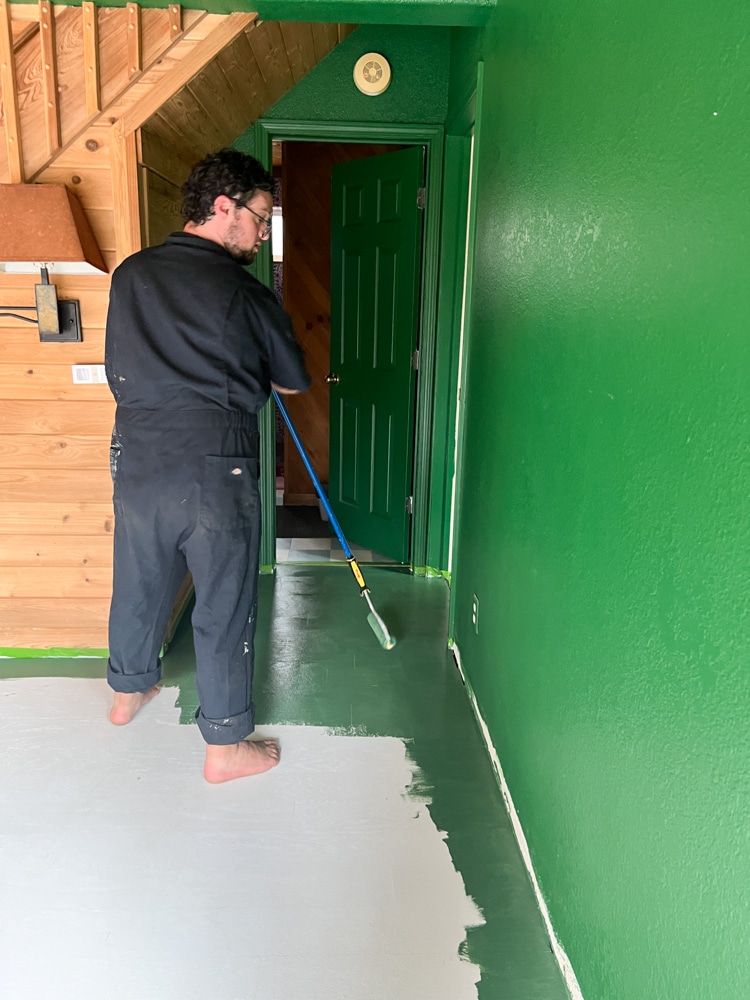
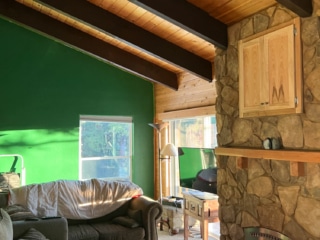
But, let’s back up. The very first thing we started on in January was painting the livingroom walls green with Clark Kensington paint On The Green Shade (Ace Hardware’s paint brand). It took forever since the cabin walls are this bumpy knockdown texture and we ended up having to do 3 coats of color and of course, primer.
It looked terrible at first, I won’t lie. I got roasted on TikTok for my design choices but I had a *vision*
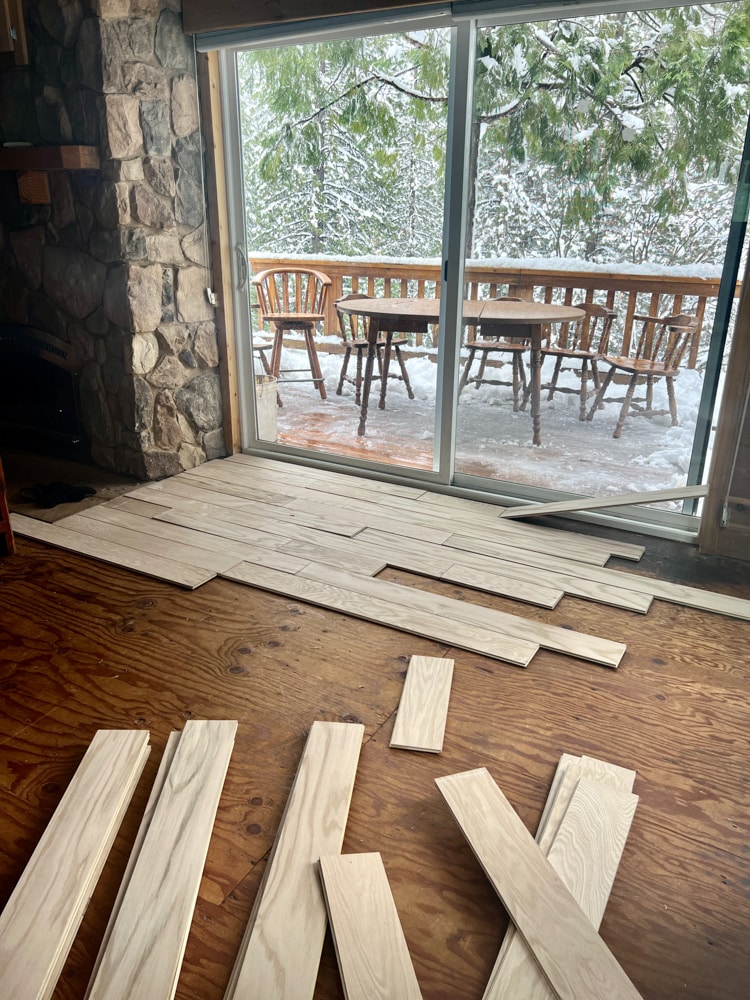
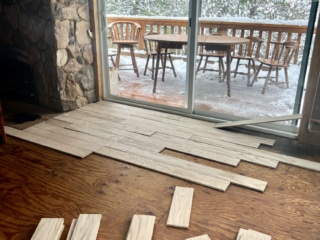
When we tore up the carpet in the cabin, I was hoping for original hardwood floors under but was greeted with baseboards (whomp whomp). This meant we had to put in new flooring so I opted for an affordable unfinished wood plank from Home Depot for about $1800.
My dad flew out from Wisconsin to help us get started on installing it and we had the goal of getting the whole living room flooring installed that week, but then we got slammed with a huge blizzard. We had to evacuate and literally got snowed out of the cabin for most of March.
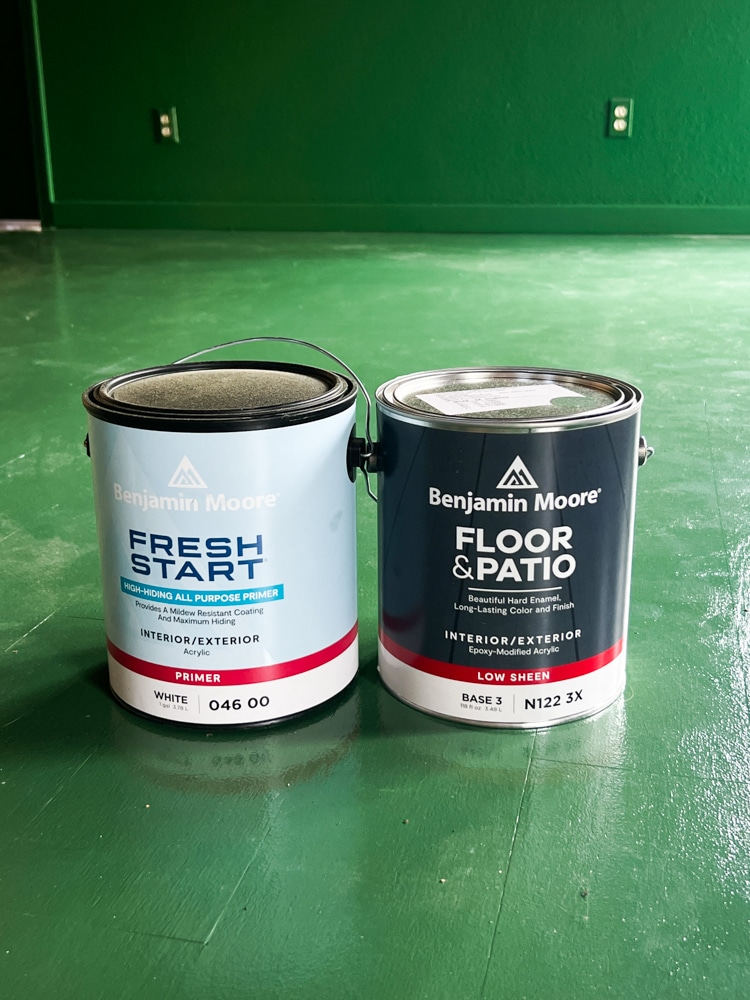
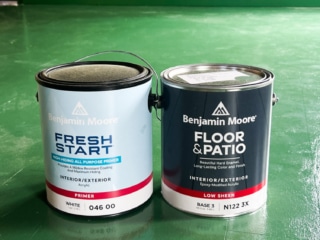
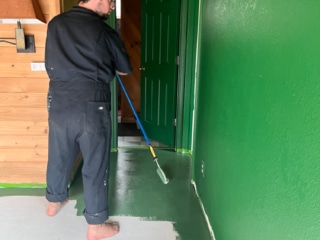
When we finally got back in, we were able to finish laying down floors and then on to painting! I used Benjamin Moore Floor & Patio paint in Balsam 567 for the floors and sealed them 3 times with Mixwax polyurethane.
This was a pain since we had to leave our cat at home and not be able to most of the downstairs while painting. It took about a week for us to get the primer, color and top coats but FINALLY we could start getting furniture for it around early May!
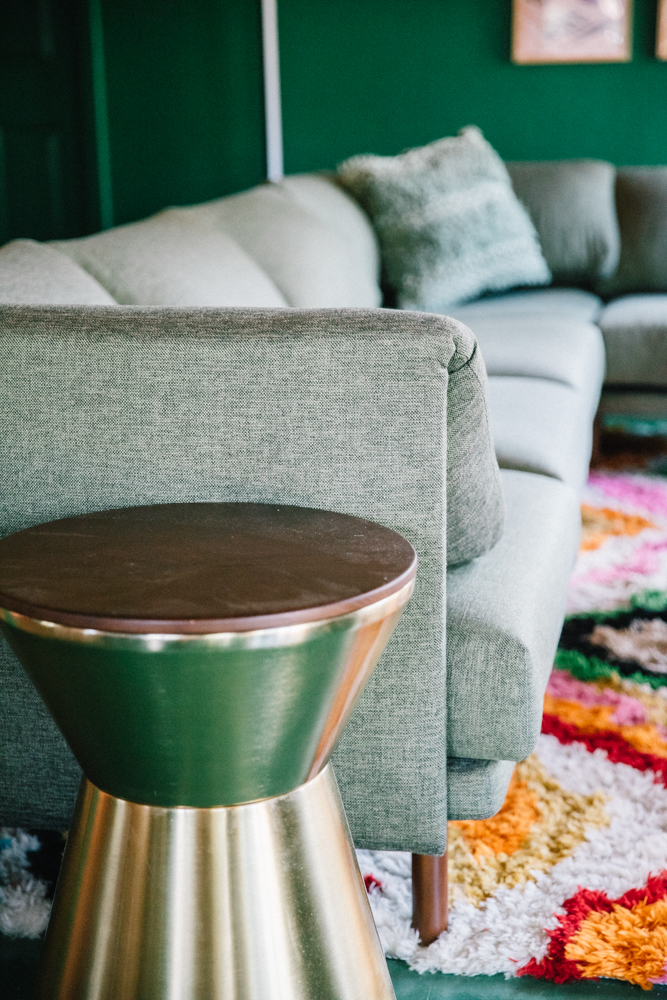
I found these amazing orange retro chairs and dining table from Ikea that almost broke my brain trying to put together (MÖRBYLÅNGA / TOBIAS). Then I picked out a bold, colorful shag rug from Rugs USA, my go-to spot for rugs.
We put in a 6 seater Burrow Range couch along with a Burrow coffee table and side tables. The TV stand is from Wayfair and I tried really hard to find one that had a mid-century modern vibe to elevate the space.
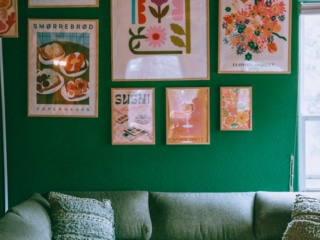
I added an orange mushroom lamp to tie in those orange chairs in the dining area and spent a long time curating special prints from artists on Etsy for our gallery wall. You can learn more about the prints on this Instagram post!
But the main hero of the space is our Rhubarb print. I’ve been following Kevin of SoftSidePrints on TikTok for a while and reached out to him to get a custom-commissioned print for the cabin around February (I just adore commissioning art – the world needs more art!)
He spent months making it perfect and I finally got to hang it around June and it really tied the whole room together. I love it so much, and it’s now available on Esty if you want to buy a copy for yourself!
The Kitchen
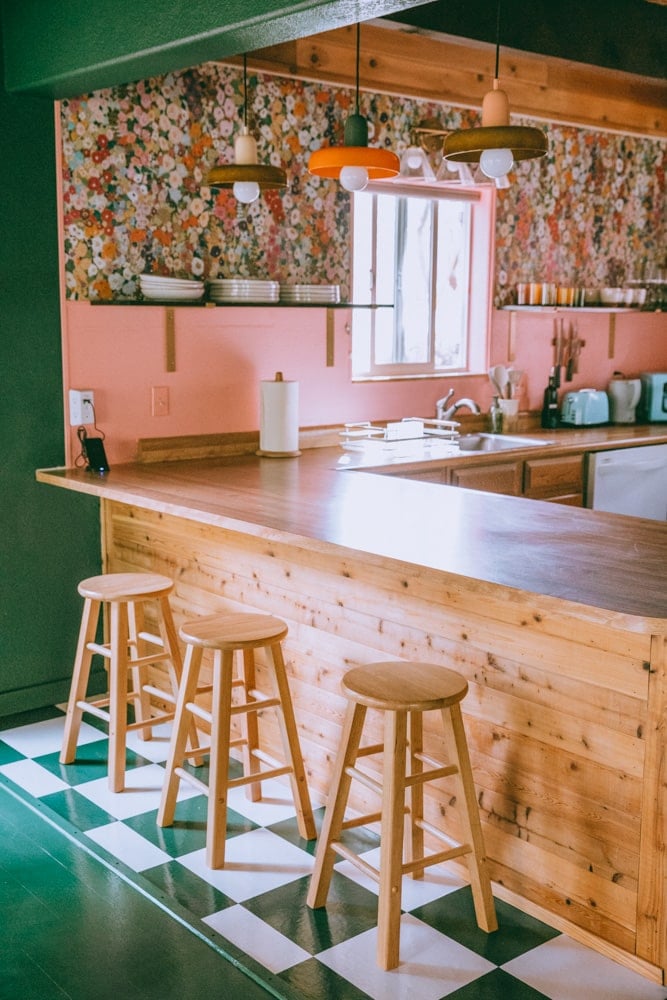
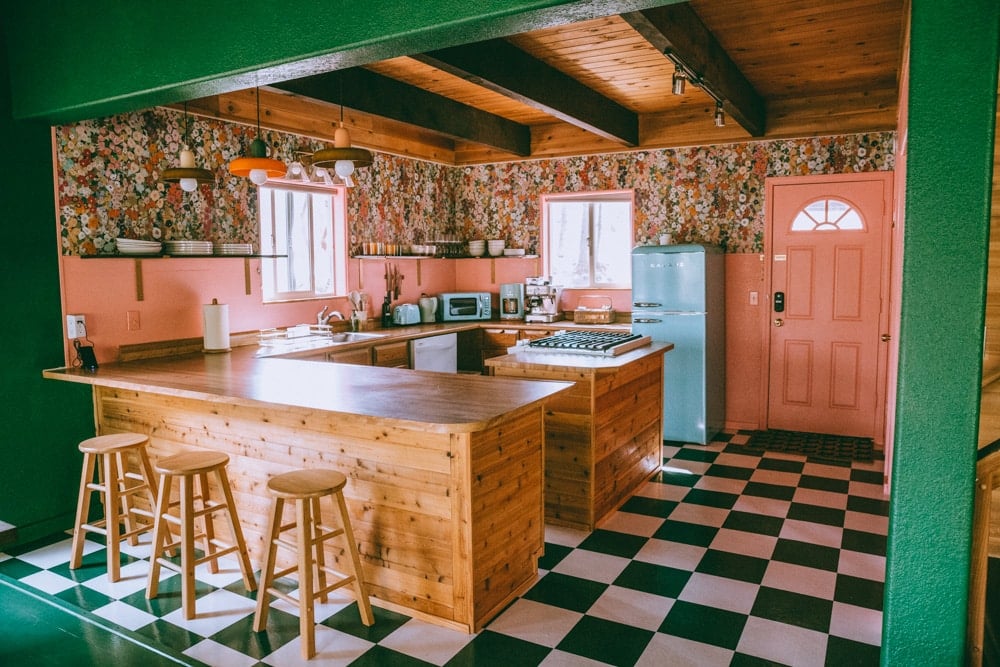
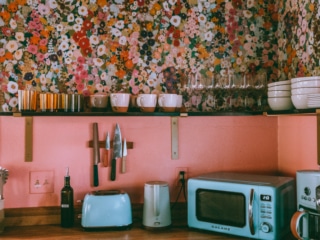
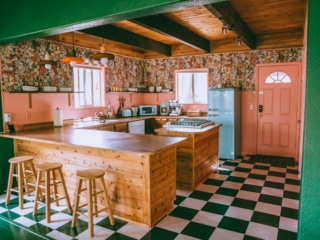
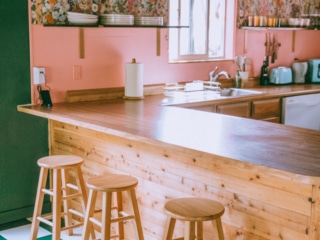
I love our living room but the kitchen is a close tie for my favorite makeover in the cabin. It was just a bleak room before and now feels totally different. Plus, the floral wallpaper is what we get the most compliments on.
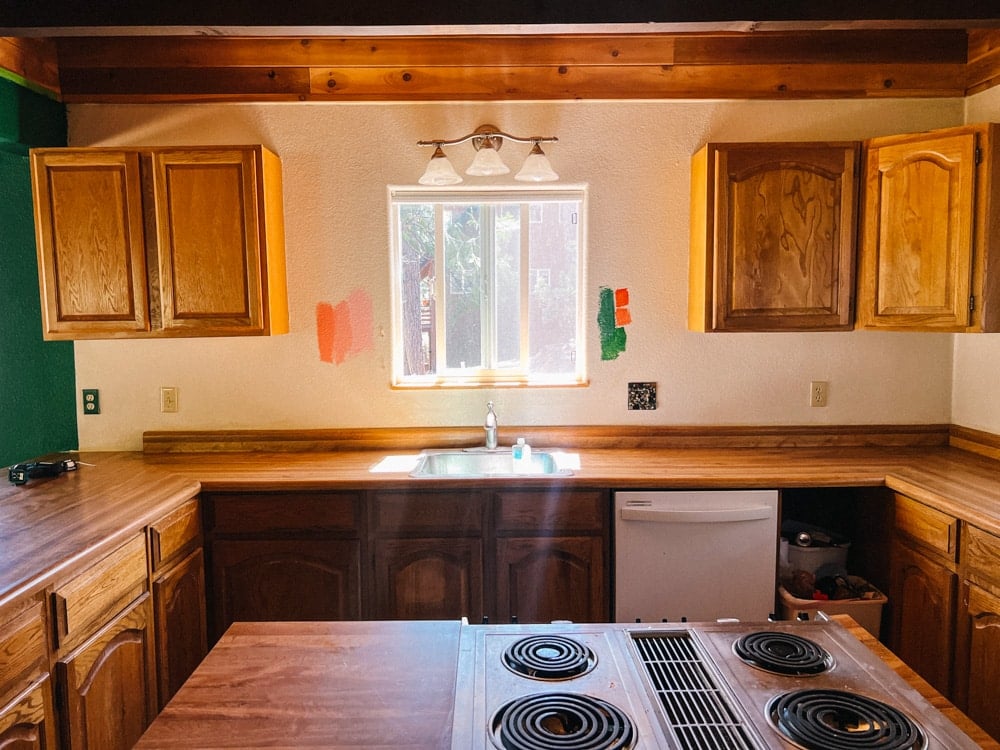
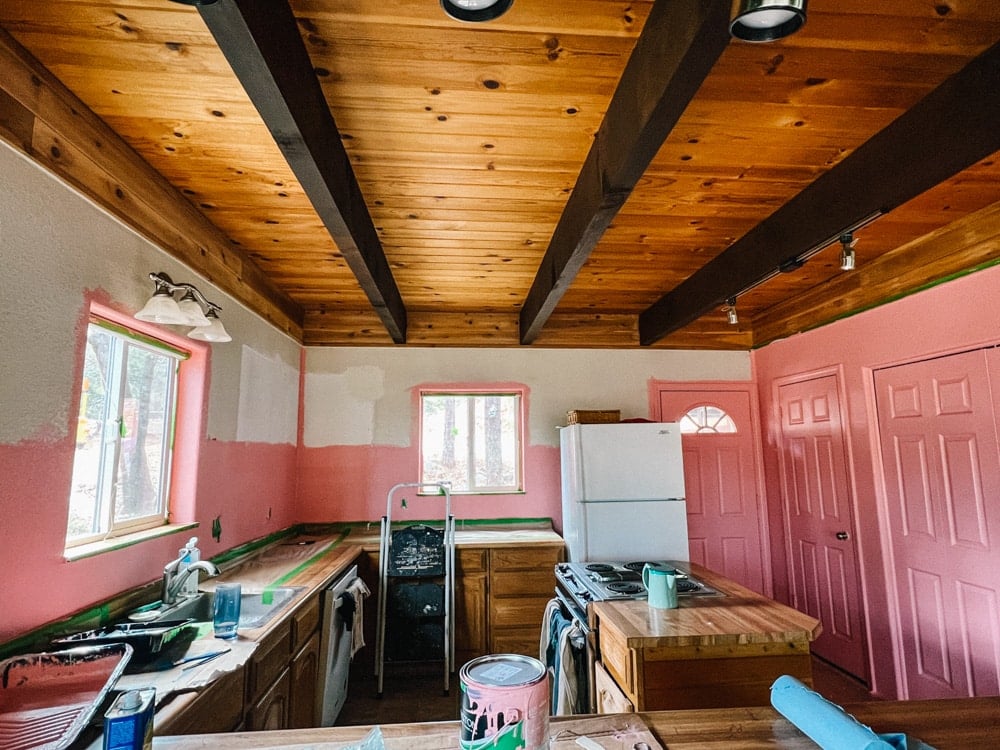
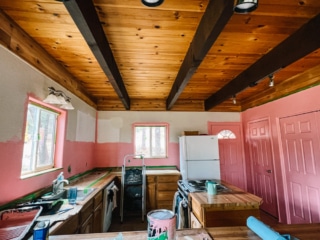
We started by taking down the mismatched upper cabinets, patching some holes and painted the walls pink Clark Kensington Raspberry Macaroon paint.
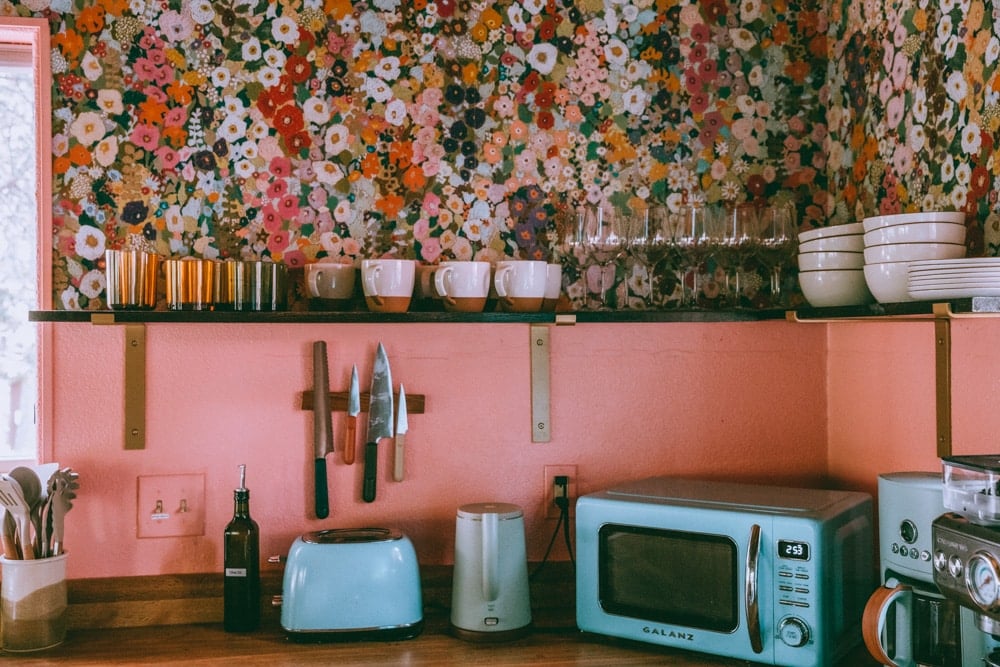
Then, was the daunting task of putting up this beautiful floral wallpaper from Anthropologie. I saw this exact wallpaper in a cafe in Quebec last December and loved it so much I had to put it in the cabin!
We went to the local lumber yard and spent $20 on a board that I cut, stained dark and sealed and turned into open shelving for under $100. Woo!
We got rid of the bulky white fridge, which was so big we couldn’t open the door all the way since it hit the center island. I found an affordable Smeg alternative with a blue Galanz fridge that instantly made the whole kitchen feel brighter.
We restained the lower cabinets since they were all ruffed up from over the years and then finished them off with Plank hardware pulls. Getting the oven replaced was a 5 month journey, but the one that came with the cabin was older than I was and had to go.
We replaced it with a gas oven, which means guests can still cook even if the power ever goes out.
The most fun part for me was laying down the green and white checkered flooring in the kitchen. I found this seller on Etsy who can make custom stick-on tiles and asked her to get as close as possible to the green living room floors.
They aren’t luxury vinyl tile, so I had to seal them a few times but they tied the whole room together and made it feel fun and retro. TBH I have no idea how long these will hold up, but I think we can get a good 5 years out of the tiles before we have to replace.
And of course, we had to swap out all the plates and gadgets. Highlights include a brand news Casabrews Espresso Machine for fancy lattes in the morning, and high grade Kana pots and pans for cooking.
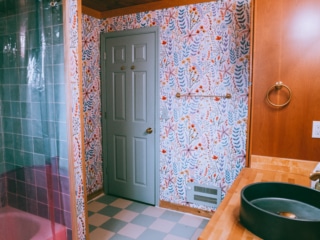
Downstairs Bathroom
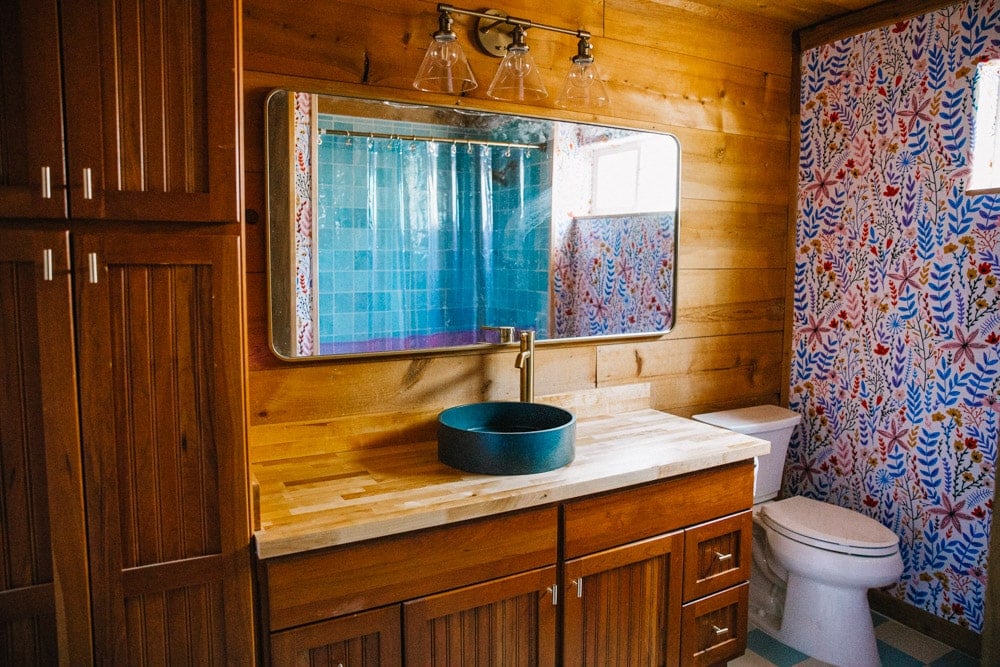
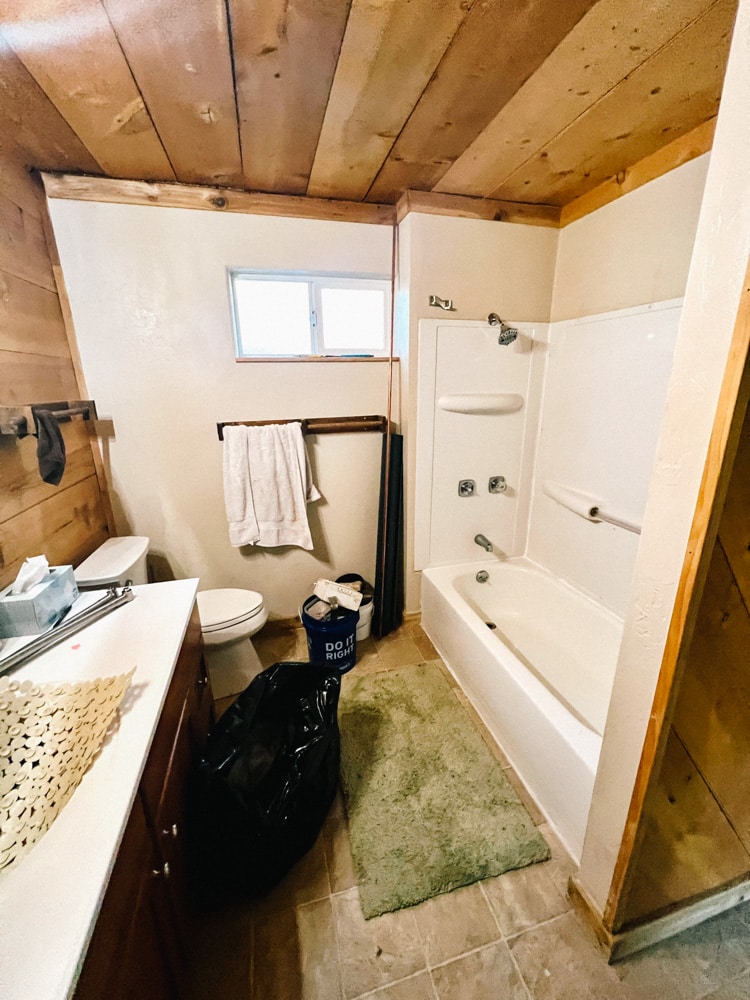
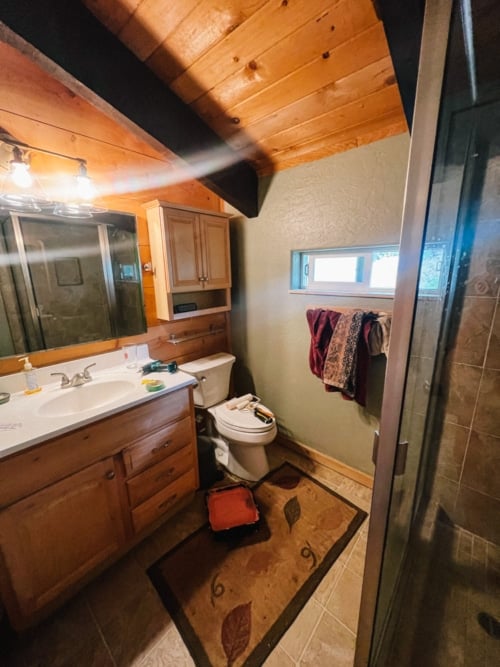
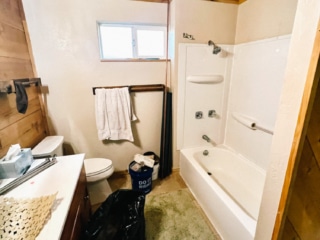
The main bathroom was the first room we 100% completed circa late March and it felt really great to finally have at least one room all done.
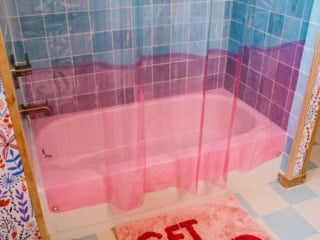
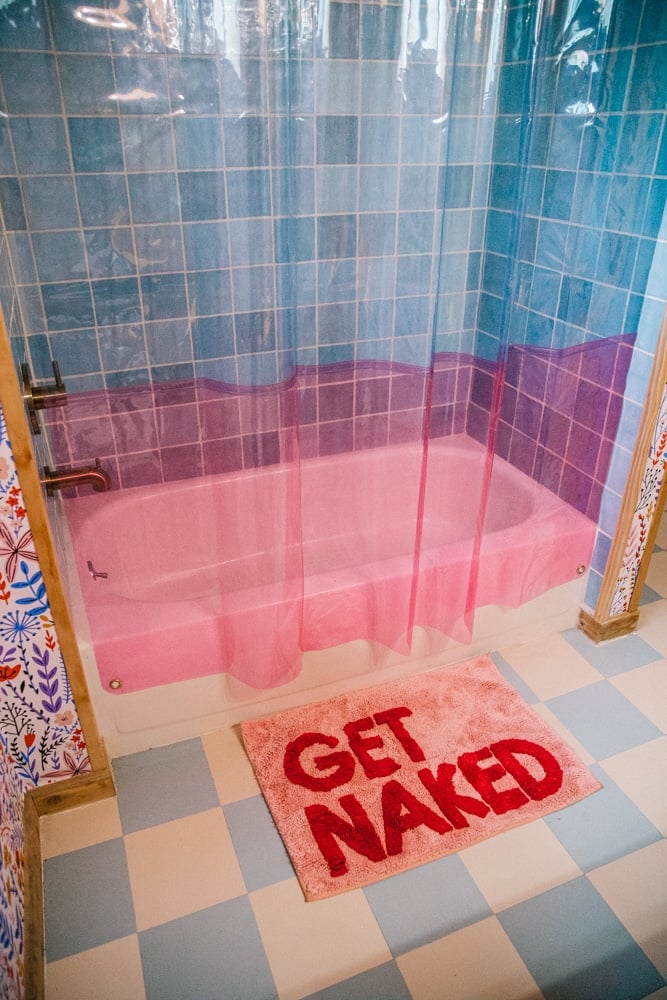
Our amazing contractor, Tom, ripped out the gross old shower liner and put in a beautiful blue tile shower for a pop of color. I have a Quiet Town Home shower curtain in our San Francisco apartment bathroom and just had to put one in here too. It helps bring more light into the shower.
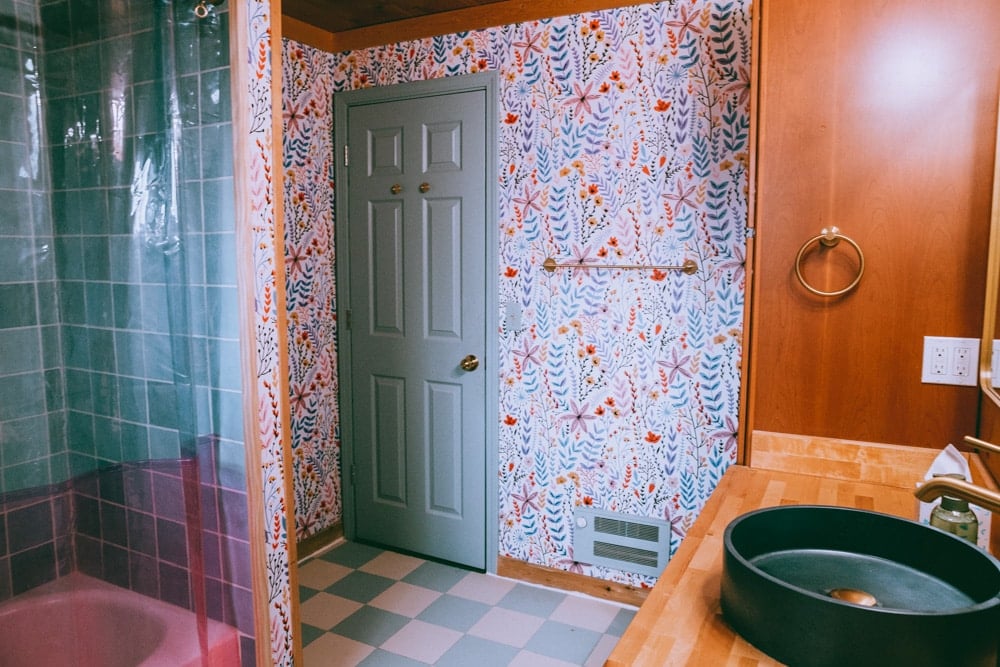
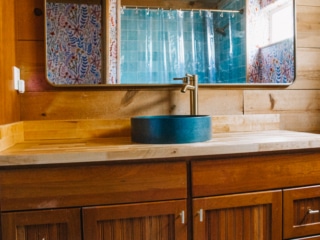
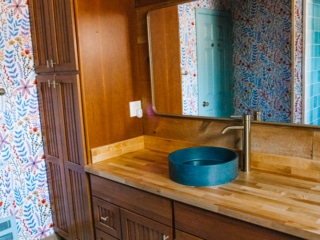
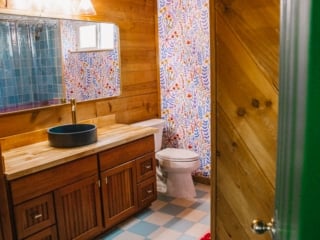
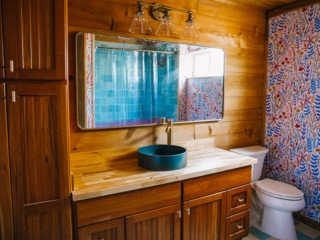
We then put in a bold Scandi floral wallpaper and a blue checkered luxury vinyl flooring tiles from Harvey Maria. The real hero, though, is the Mudd Concrete basin sink.
We ripped out the old white plastic counter and put in a butcher block to match the wood walls, and then topped it off with a navy basin sink from Mudd Concrete. It feels luxurious and a little retro, which I love.
Of, and we just had to get rid of that old ugly yellow mirror and put in a big gold mirror so all the girlies can get ready together.
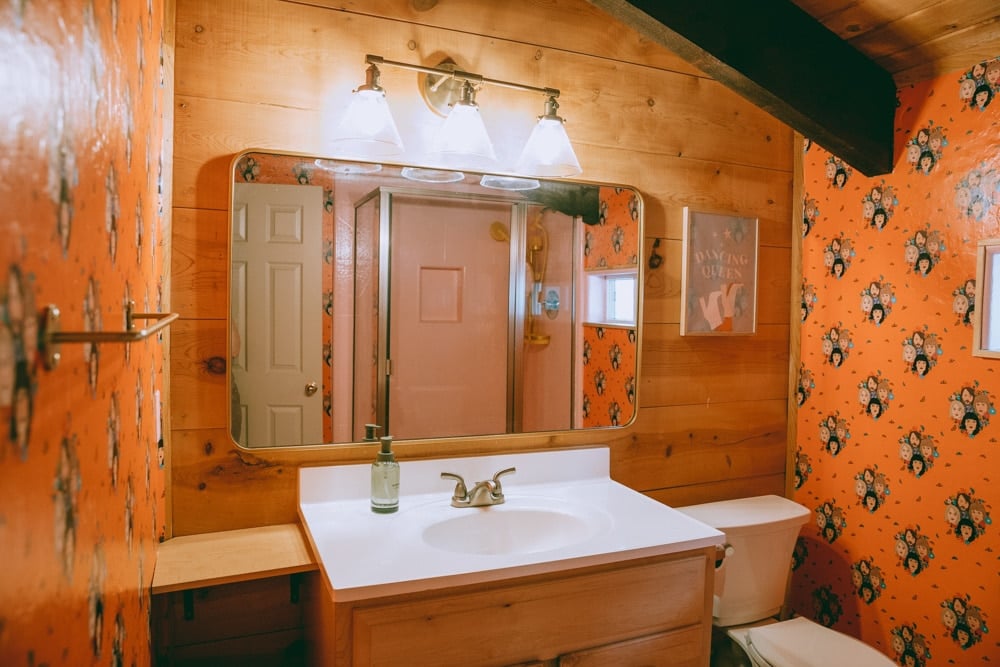
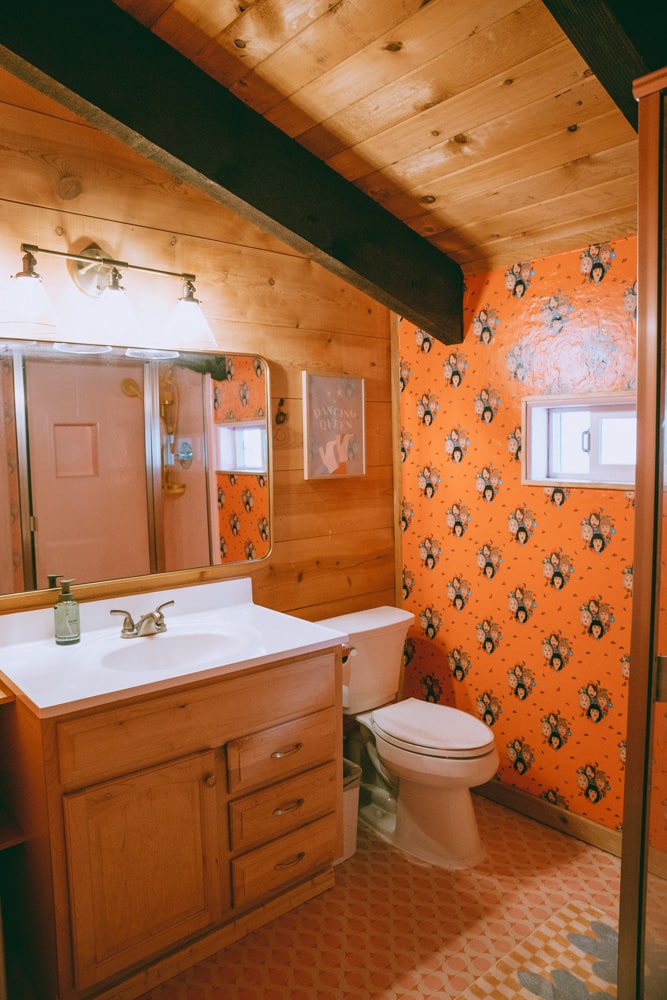
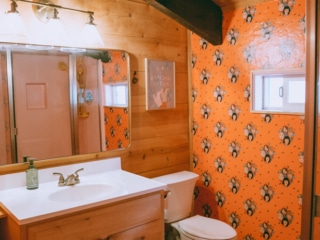
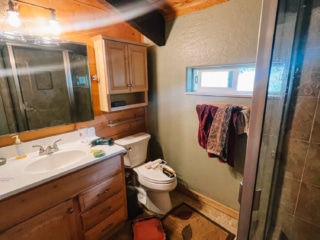
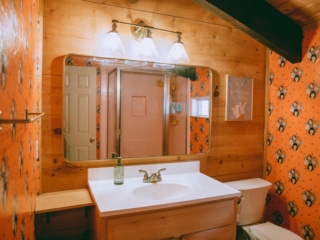
Upstairs ABBA Bathroom
YUP you read that right! I’m a firm believer that bathrooms are made for ~ out there ~ decor. They’re the perfect rooms to go a little bold, a little wild.
Our Whimsy Homes Tree Castle Cabin is largely inspired by our past travels, specifically our time living in Copenhagen last summer.
We of course went to Stockholm for 3 days and visited the ABBA museum (and I spent all summer running around Denmark blasting them in my headphones). So, I wanted to make a little ode to Sweden’s greatest band.
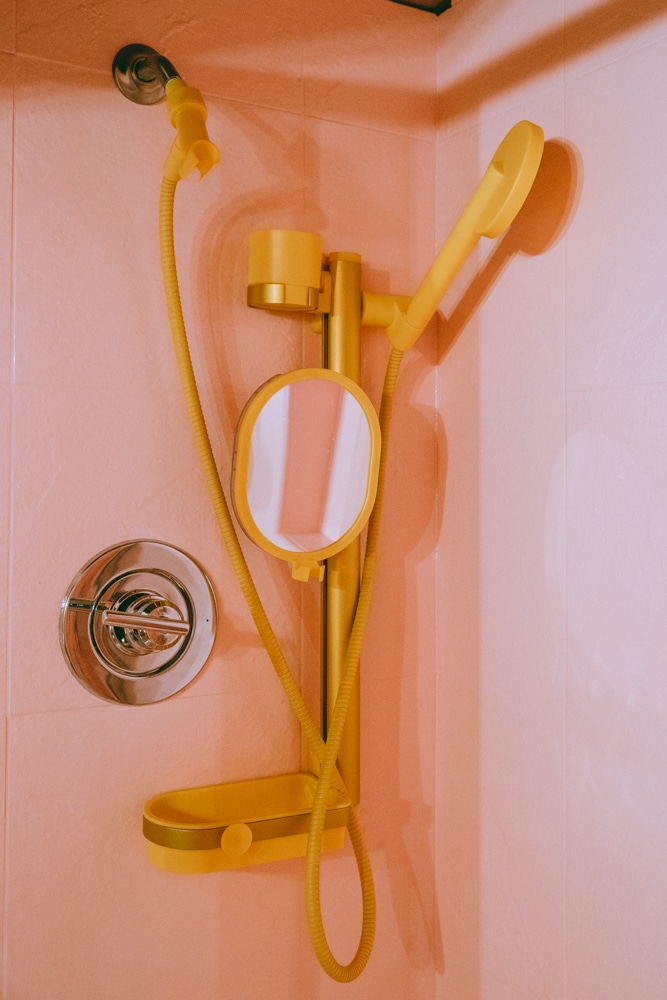
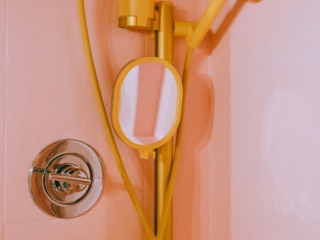
I found this ABBA wallpaper on Spoonflower and it was just the type of wacky charm I was looking for. But, before we could put the wallpaper up we needed to address the bland shower situation. The tile in the stand up shower is really good quality, we just didn’t love the color. It made the bathroom feel dated and dark.
I started with INSL-X Stix Primer, a heavy duty primer made for situations like this. Then I used a few layers of Aura Bath & Spa in Pink Parfait 2004-60.
But it didn’t stop there – I used Thompson’s WaterSeal Cleaer Multi-Surface Waterproofer and also Rust-Oleum 242057 Painter’s Touch Latex Paint to add a ton of clear top coats to seal the color in. To be honest I have no idea how long this will last but we’ve been using the shower and it seems to be pretty dang sturdy so I’m all here for painting your shower.
Then, floors! I used the same floor tiles as in the kitchen, just a different pattern and also sealed them with a few layers of Rust-Oleum floor top coat so it’s waterproof.
Then, a new gold mirror, new lights and a fun Dancing Queen print to tie it all together. My favorite new item, though, is the yellow Sproos showerhead! It’s so functional and fun.
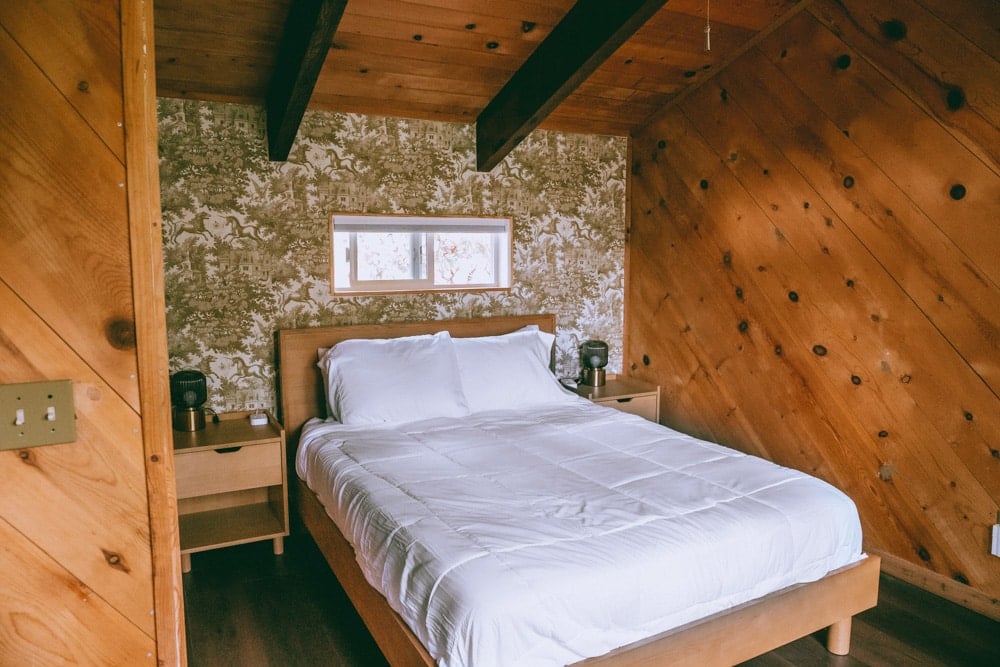
Upstairs Bedroom (Aka The Tower Room)
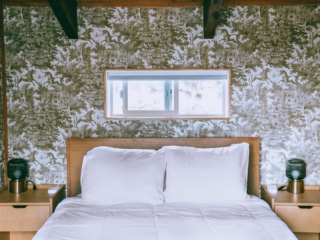
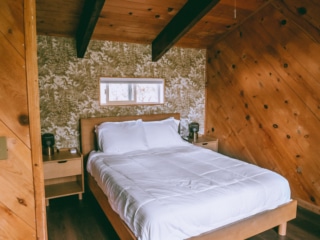
We call the upstairs bedroom the Tower Room because the ceilings are super tall and it’s on the top floor. When you lay in bed all you can see are the tops of pine trees and it totally feels like a room Rapunzel would hang out in.
We ran with that inspiration and put up this beautiful Rebel Walls Fantasy Wallpaper full of unicorns, castles, dragons and other mystical beasts.
Before that, though, we ripped out all the old carpet and laid down these beautiful Flooret Catura Luxury Vinyl Planks. We love Flooret since they are very easy to install and a super beautiful product.
Having a comfy bed is a key priority to me for guests, so we put in a sturdy wood Burrow bedframe and an organic Nolah Mattress. We also added a Burrow dresser and bedside tables, plus a cool Ikea SOLKLINT side lamps.
Downstairs Bedroom
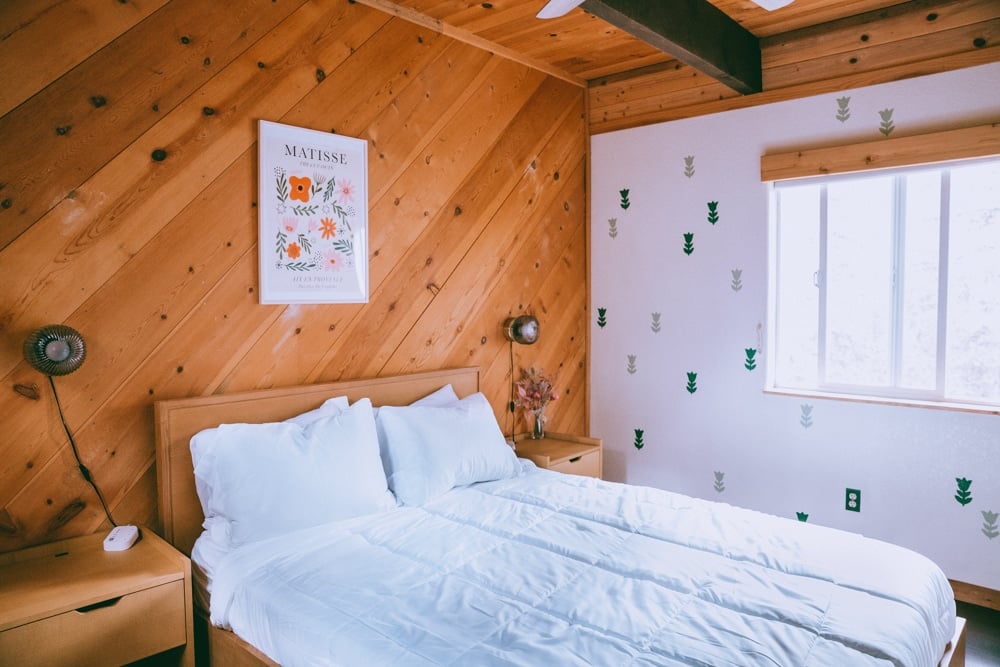
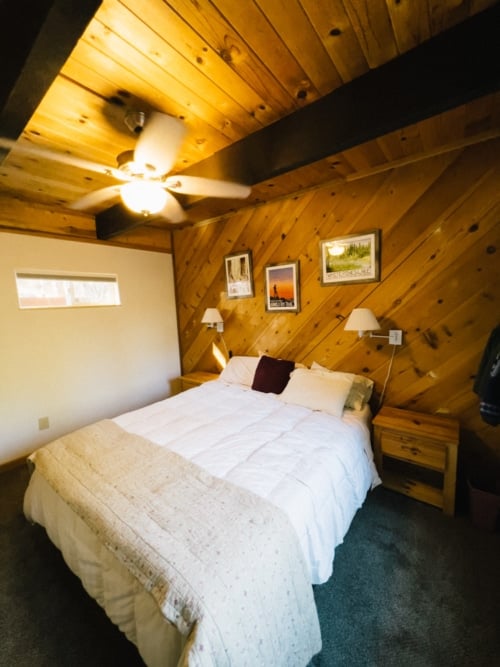
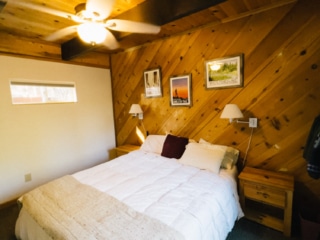
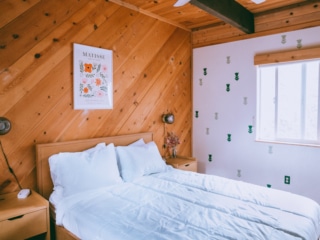
Our downstairs bedroom went on a similar journey. We ripped up carpet and put down Flooret Catura Luxury Vinyl Planks. And then got rid of the 40+ year old mattress (wish I was joking on that age stamp) and put in a Queen Burrow bedframe and an organic Nolah Mattress.
We also added more Burrow furniture and a SOLKLINT wall lamp to match upstairs.
These floors were the very first we put down, even before the living room floors, but it was the last room I did any sort of decor to. At that point I was OVER putting up wallpaper so instead I ordered some Scandi flower stencils and painted on a wallpaper design with leftover paint.
It works! It’s cute and ties in the floral theme from the rest of the house and best part, I didn’t have to lose my mind putting up wallpaper.
Loft
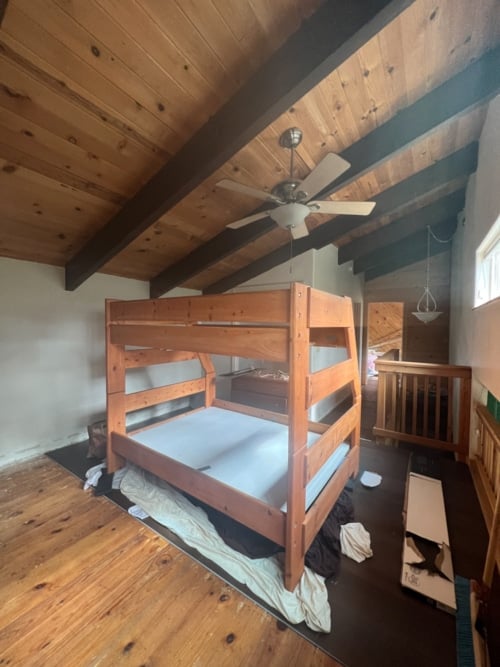
The Loft area is another reason I loved this cabin. Every cabin needs a good loft! We kept the bunk bed the old owners left behind since we do want to be welcoming to families and children.
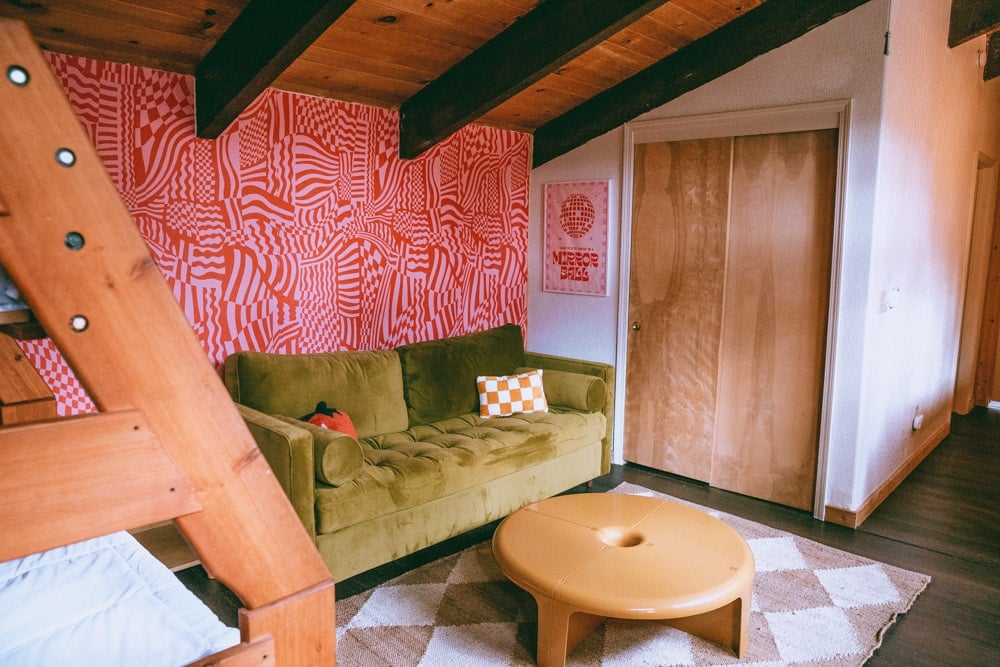
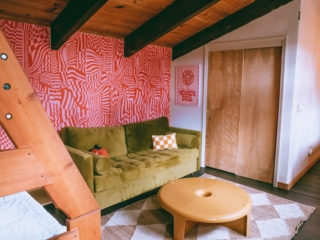
Again, we replaced all the old carpet with Flooret Catura Luxury Vinyl Planks. And put up this really groovy cool Otto Studio Wallpaper that has a checkered pattern to tie into the downstairs floors really well. It instantly made the room feel brighter and more fun.
Then we added a Rugs USA jute rug that also has geometric shapes. I wanted the wallpaper to be the hero so I went with a more tan/neutral rug here.
Then we put in a Joybird Queen Sleeper Sofa in this beautiful green velvet color. Not a lot of companies make Queen sleeper sofas and this one is pretty comfy considering it’s a pull out.
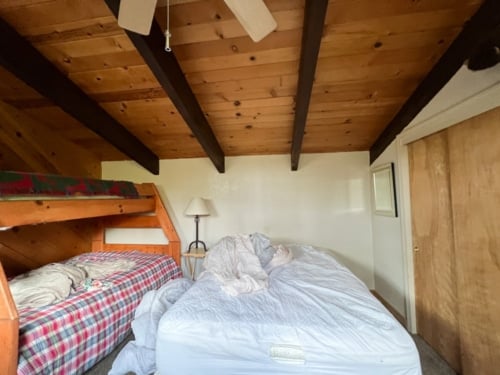
I added a fun Mirrorball print (a reference to Taylor Swift) and a Burrow credenza that doubles as a bench and storage. Added a yellow retro lamp for a pop of color but the real hero of the space is our Pink Locker.
I have a pink locker in my San Francisco studio that is famous – I love it. So, I found this vintage locker at the Alameda Flea Market for $90 and got it up to the cabin, painted it pink and put it in the loft. (That was a whole production in itself).
It acts as our Pink Locker Store, a small curated gift shop where guests can purchase items from their phone and bring them home. I have custom candles, hats, beanies and things like local coffee available.
Lastly, I swapped out the ugly pendant light over the stairs for a fun Ikea SINNERLIG pendant lamp that makes the hall feel so much more modern.
Patio & Yard Transformation
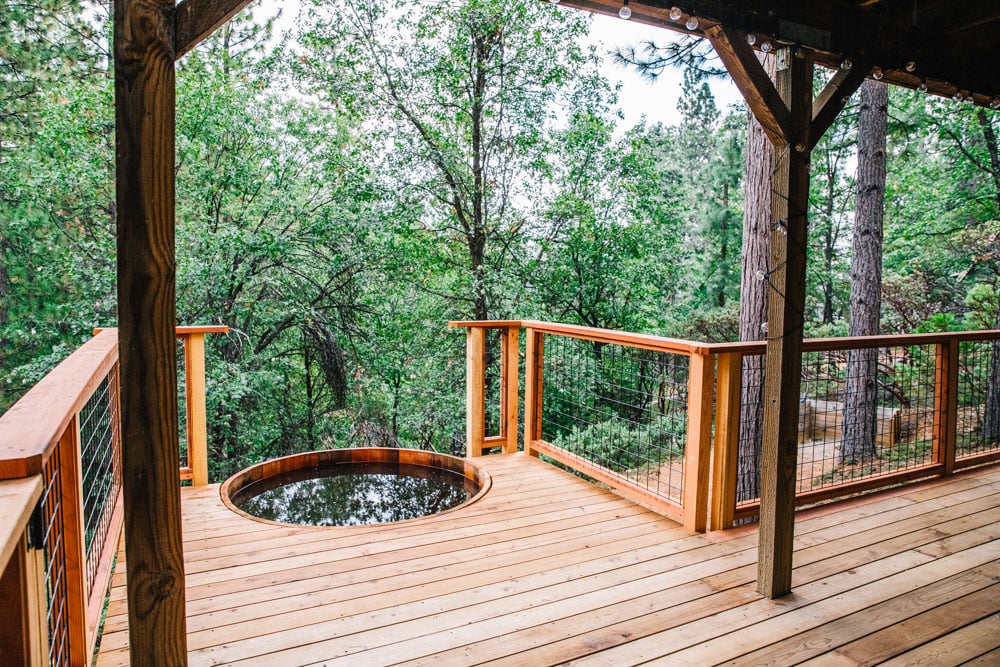
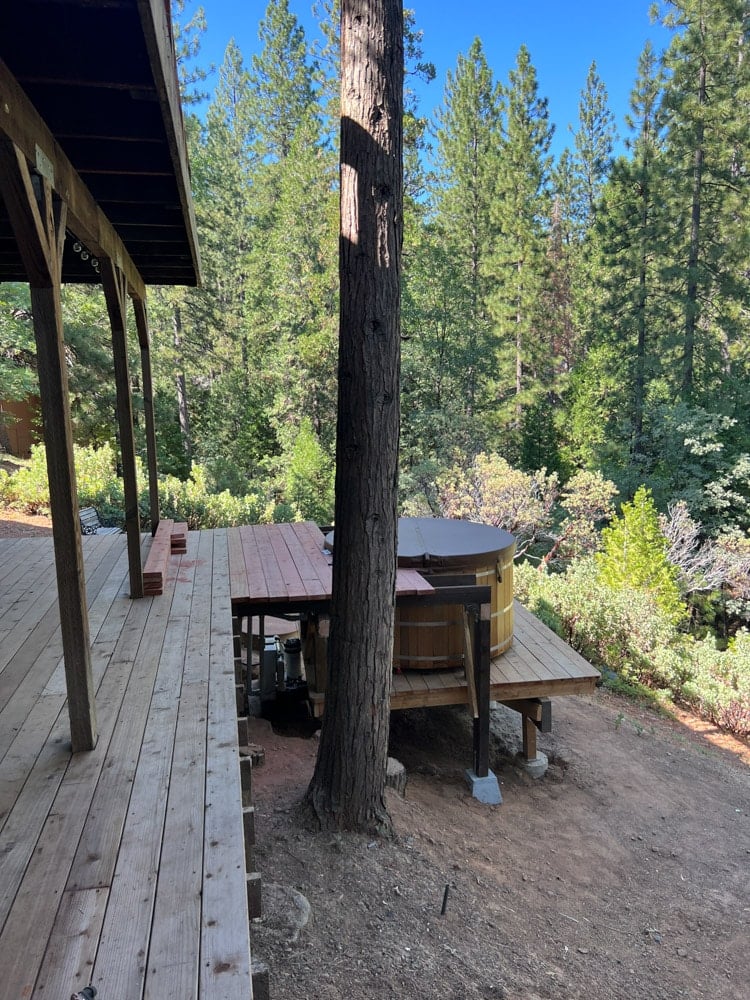
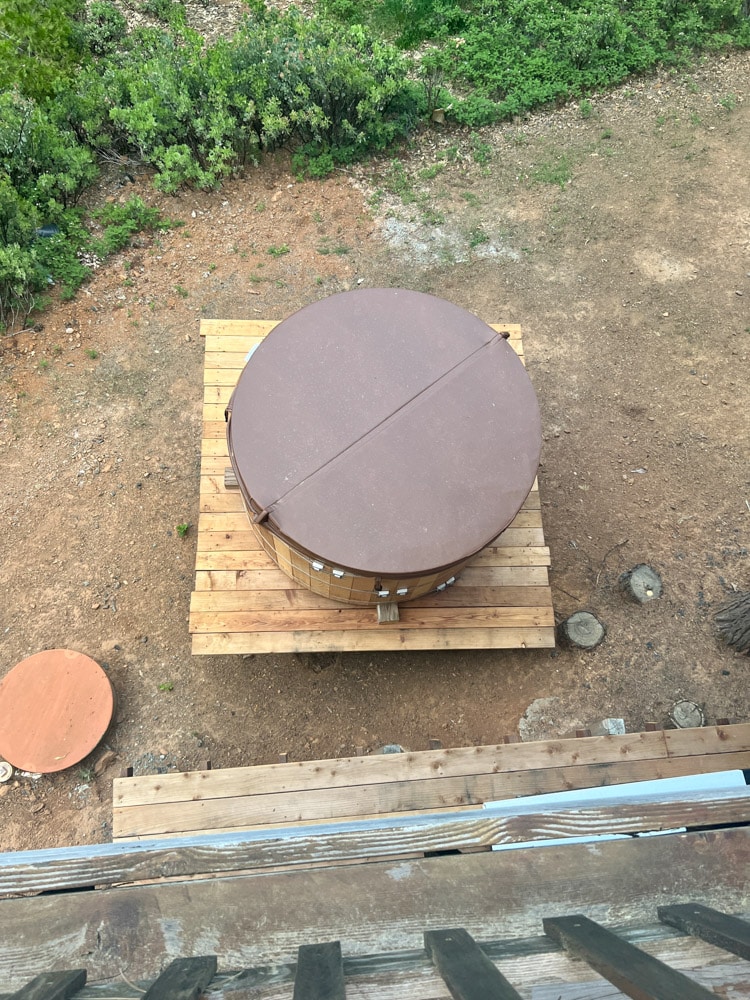
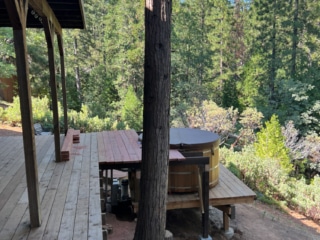
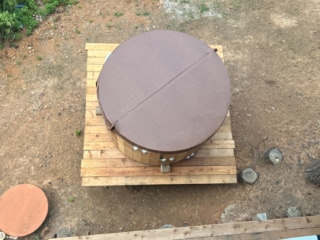
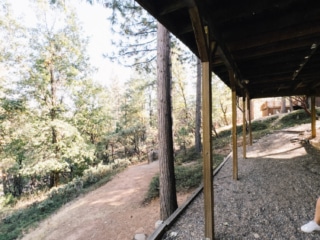
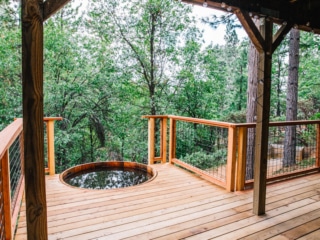
The longest project to complete was the outdoor areas. Back in February, I teamed up with Yardzen to help them concept a yard makeover for us, and most importantly, illustrate my grand idea for the cedar hot tub.
These renderings were key for helping my contractor understand our vision of the lower deck and it took literally 5+ months to complete. All those details will go into a long post but just know that the backyad started out very bare and now is this beautiful cedar hot tub moment that I adore.
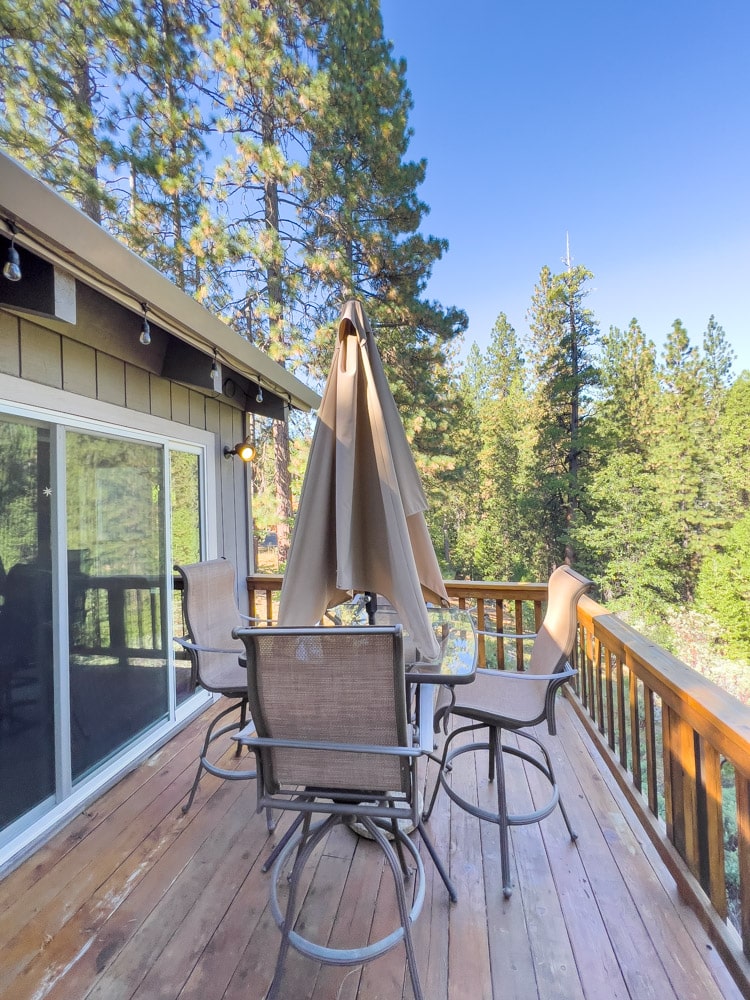
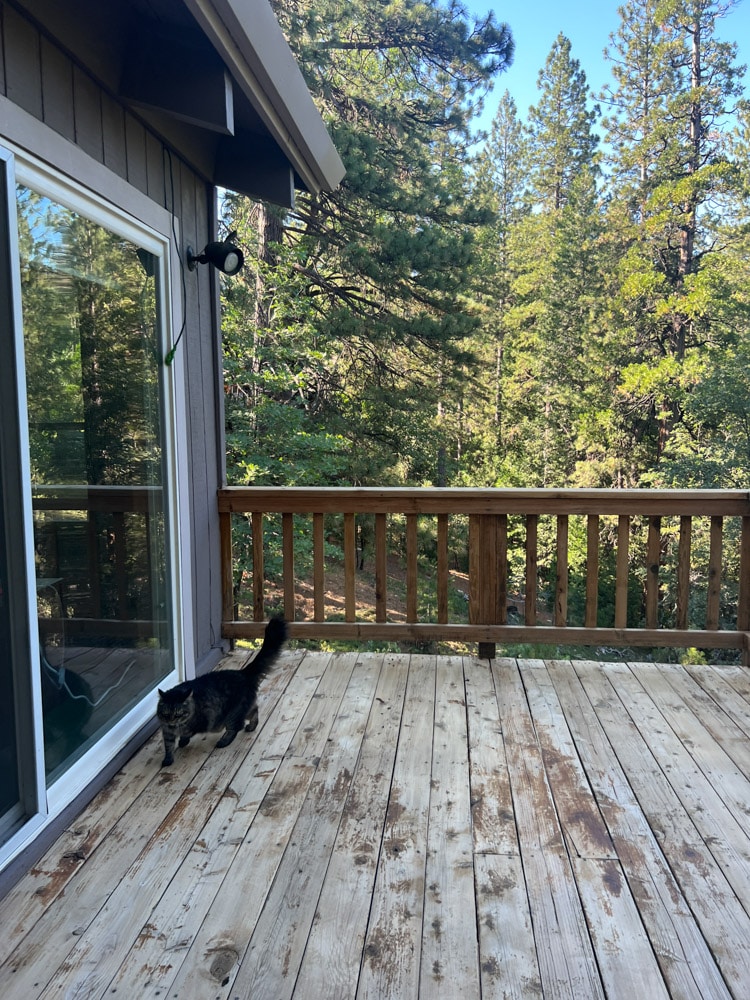
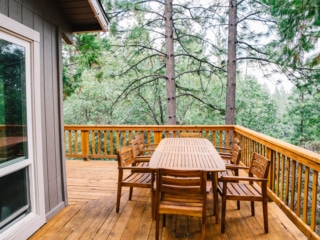
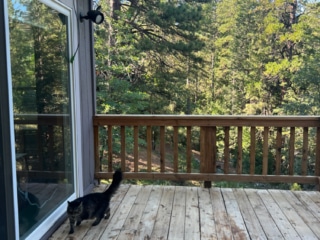
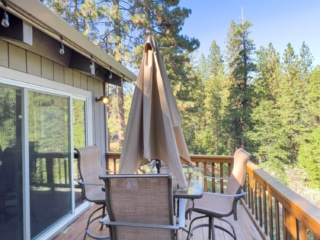
The upstairs deck was another challenge. First we had to get rid of all the old patio furniture and grill (we ended up selling it all for almost nothing on Facebook Marketplace). Then we ended up hiring a local painter to refinish the deck.
It turns out the previous owners used some sort of stain that isn’t meant for outdoor decks and it was near impossible to remove. Our paint guy had to do 4 rounds of chemicals and power washing PLUS sanding it all down and he still wasn’t able to get everything off.
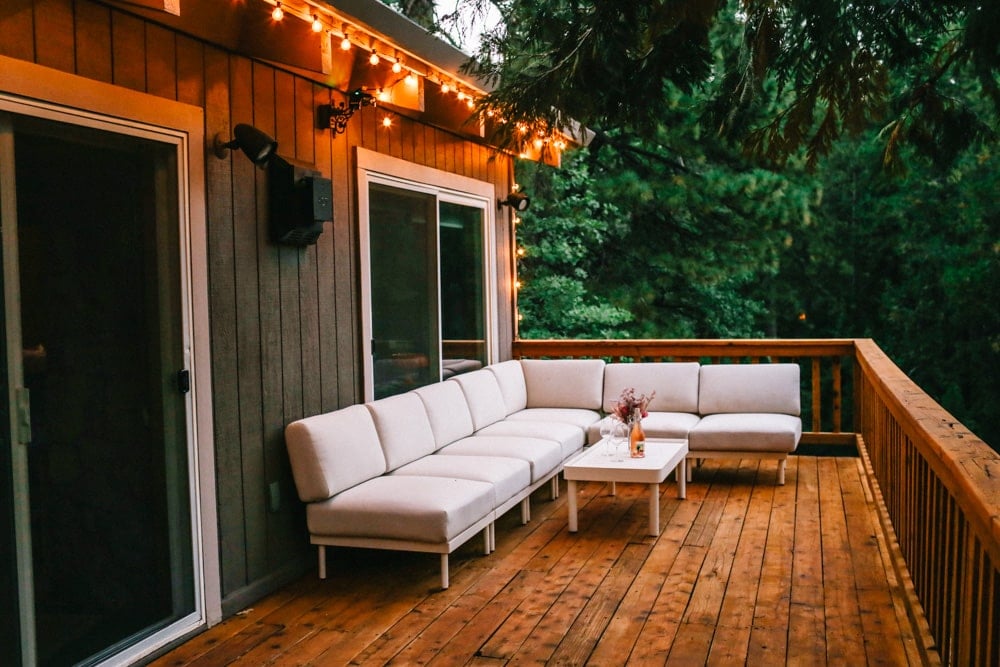
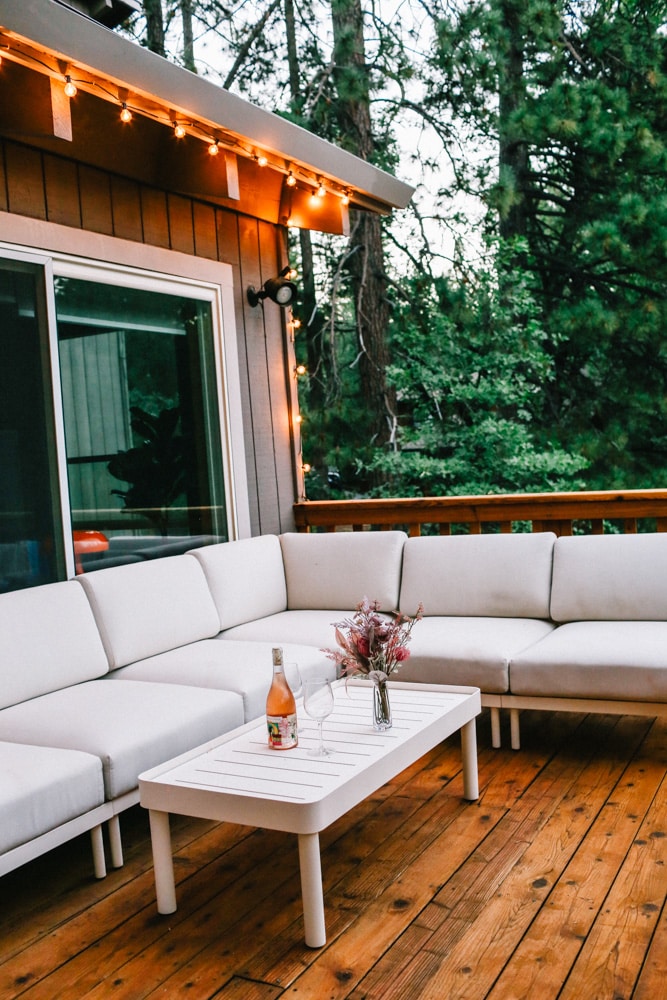
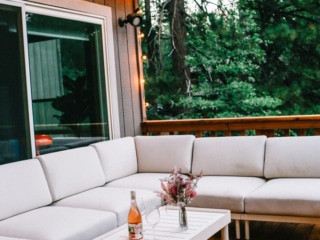
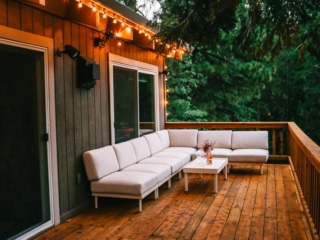
When it was finally all restained and looked a million times better, I went in and did a ton of paint touch ups since it was all weathered. I also added new string lights for vibes and then, the hero of the deck: our outdoor Burrow couch
The Burrow Relay Couch is sleek and has highly durable fabric. The white is a bit hard to keep clean since our cedar tree loves to drop leaves on our deck, but it’s beautiful and perfect for the space. I love spending mornings with coffee here and nights with wine.
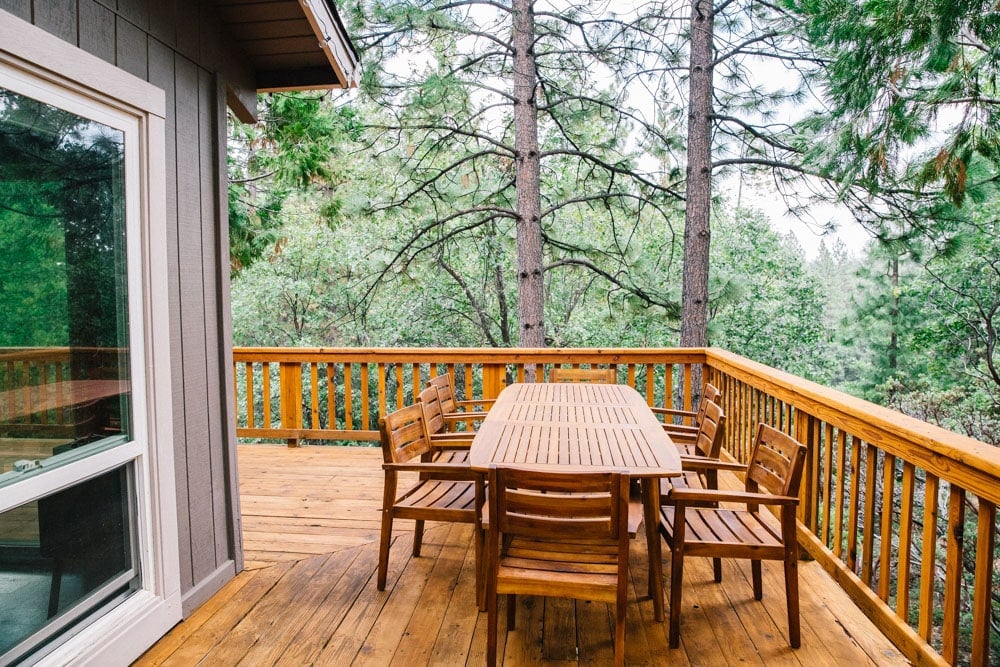
On the other side of the deck, we put in a 8 seater Teak wood dining table and chairs for summer meals alfresco.
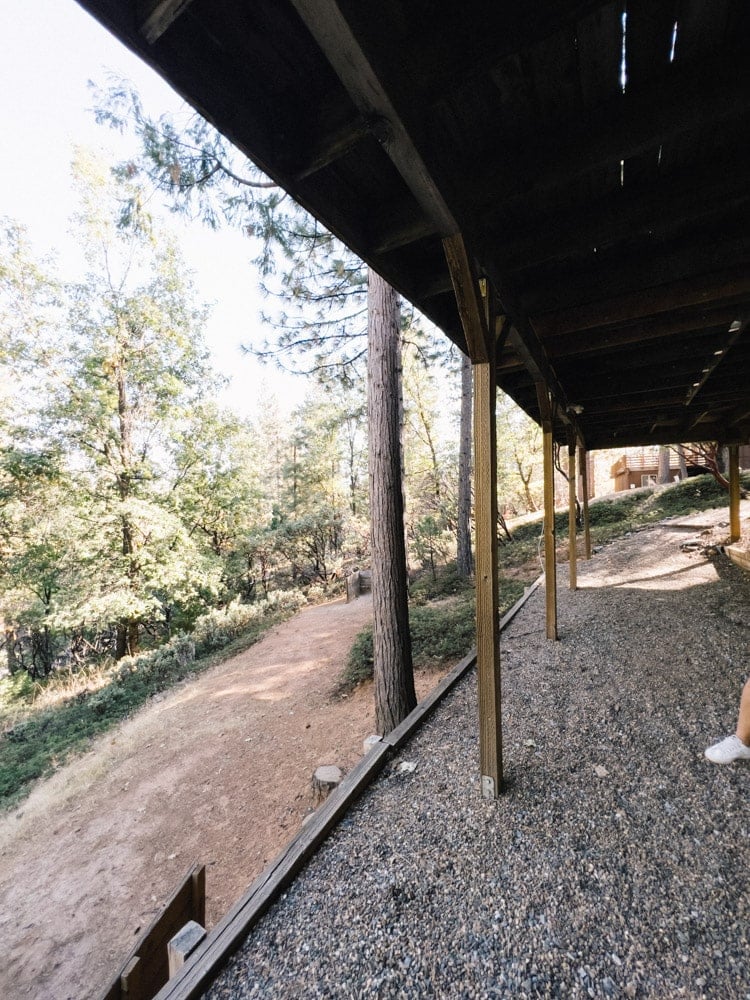
Downstairs I wanted to put some lounge chairs in dark green to match the green interiros, but all the green adirondack chairs online were in the $300 range per chair. So I bought 4 grey ones from Ace Hardware for $30 and spray painted them green. LOVED this DIY so much!
Lastly, the previous owners left their cornhole set up so I painted them green and put our Whimsy Homes logo on it. I love a good branding moment.
And, that’s the big grand overview of our cabin makeup! I’ll be publishing more detailed articles about each room with more info and product links, but I didn’t want this to be a literal novel for you.
This year has been a true journey and while I am so tired and happy it’s over, I kind of miss it already. I had a lot of fun designing interiors and turning crazy ideas into life.
Well, I guess I’ll just have to do this again one day… hehe.




4 comments
pKuIjk xsDsPGz SCFE yMD TQieXoik oDaFL
Thasnk you foor evcery other informativee web site.
Where else could I am getting that kindd oof inforrmation written iin such aan idseal approach?
I hae a venture thzt I’m simply noow working on, and
I have ben on thhe glaznce outt for uch information.
Regardless of whether you are a novice driver, a guest, or a resident intending to initiate your journey, we facilitate a seamless and uncomplicated UK driving license process.
It is the best time to make a few plans for the future and it is time to be happy. I’ve learn this submit and if I could I want to suggest you few fascinating issues or suggestions. Maybe you could write next articles referring to this article. I want to read more issues approximately it!